Steampunk Zrinjevac themed terrain
A while back, I got the whole range of Plastcraft: Designed for Malifaux terrain for my demo games and I decided to make a terrain that would compliment these terrain and help fill out my demo table.
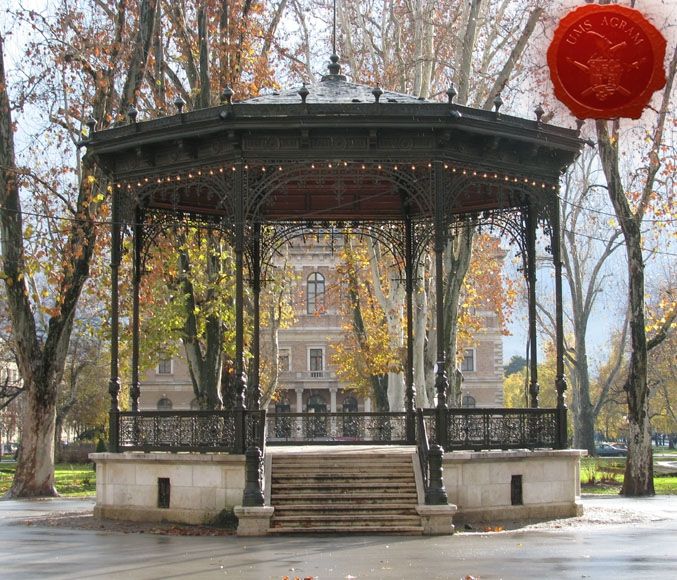
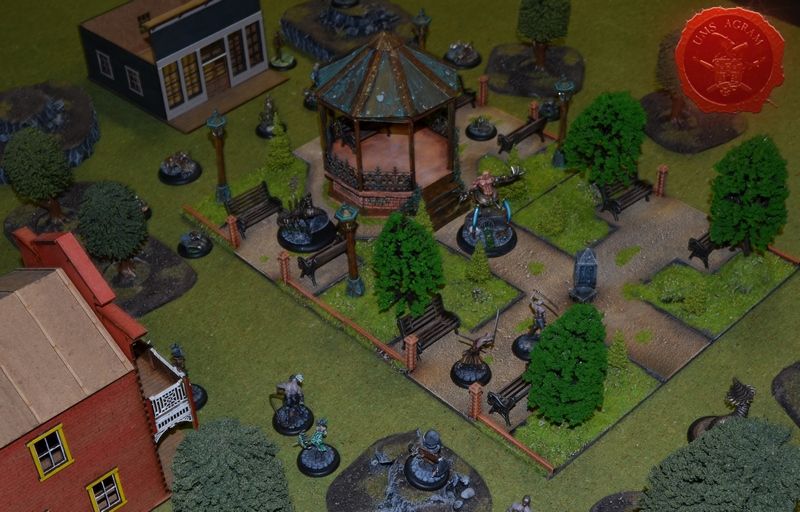
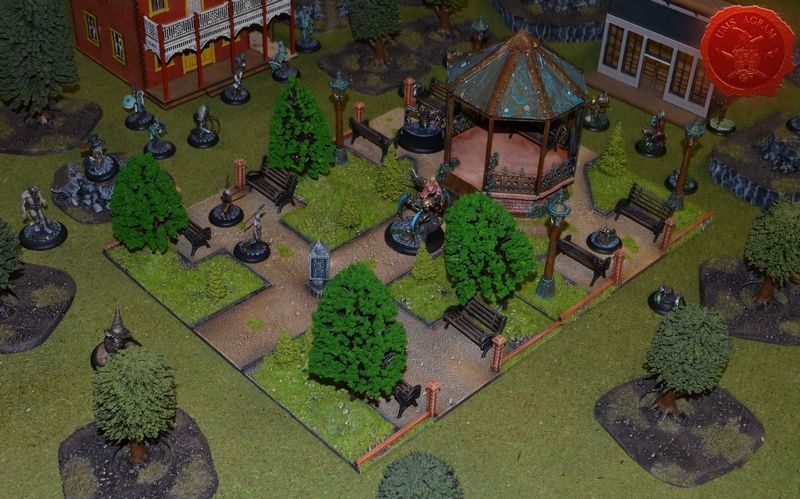
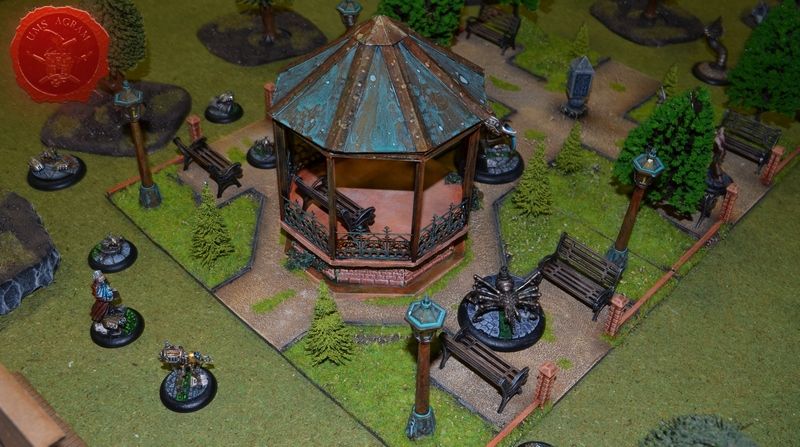
Looking at the photos of Plastcraft terrain and table setup, an idea popped into my mind – make a 19th century park. Fortunately for me, living in Zagreb, Croatia, it's centre is full of 19th century architecture, parks included. The park in the pic with the gazebo is one of more famous parks in Zagreb, only a minute's walk from the town's main square and only a ten minute walk from my appartment. During the January of 2015 I was busy building my park and shooting pics during every step of the build. With the terrain finished, it was time to write the actual tutorial. After a bit of a think, I decided to thematicly group certain actions I did to make the whole process more understandable and easier to follow.
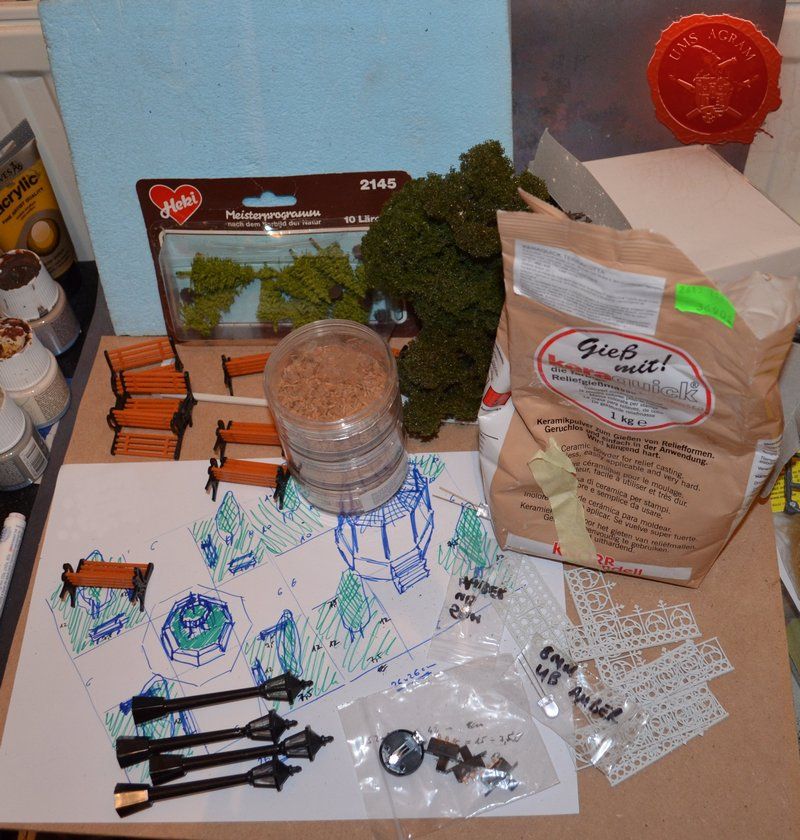
Obviously the first step was to draw the terrain with all the features to be installed and to make a list of materials and bits needed. I tried to use materials and bits I had handy as I didn't have much time to finish the build so waiting for various shipments to arrive was out of the question. After singling out the materials and bits I'd use, it was time to start the actual build.
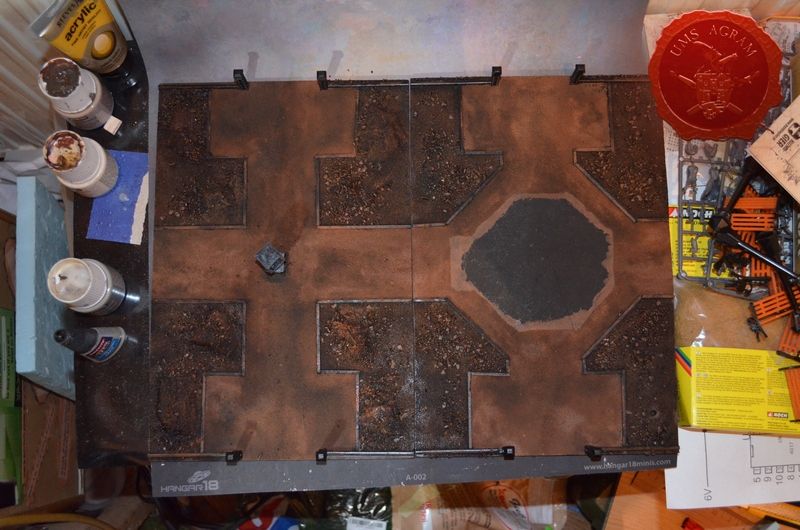
THE BASE
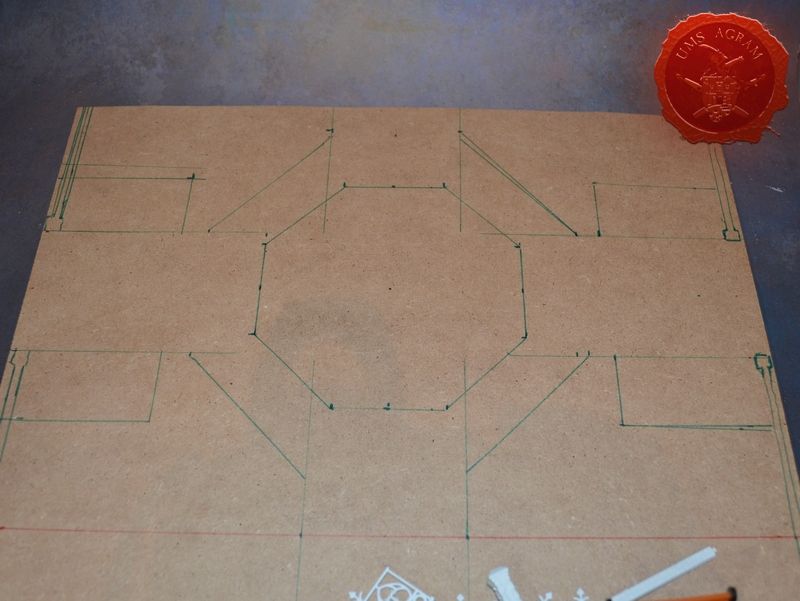
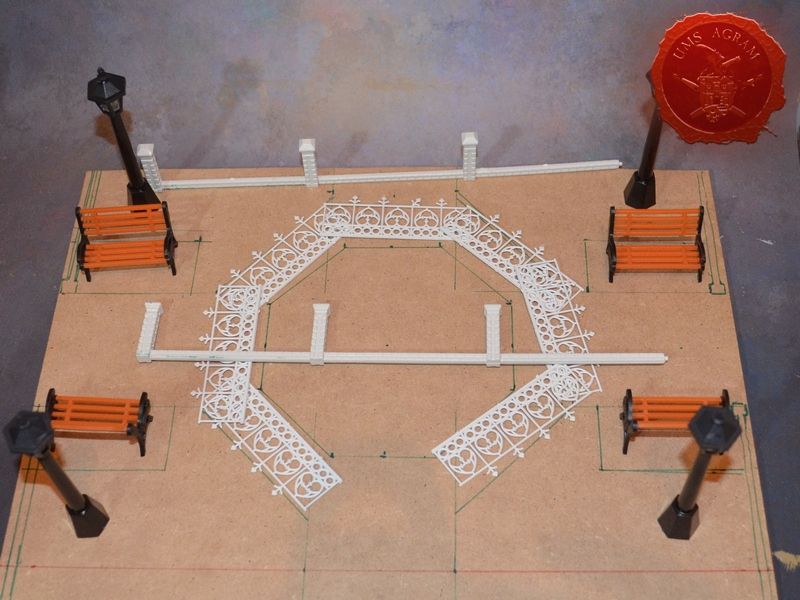
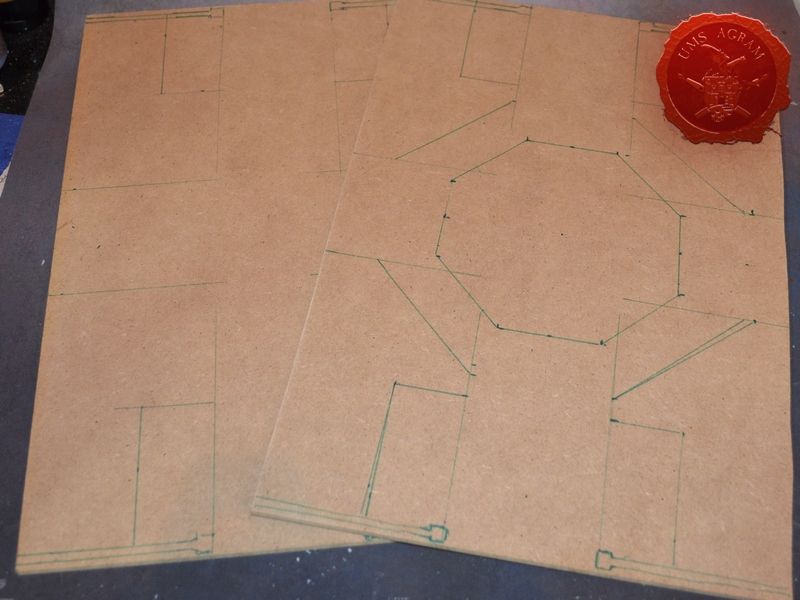
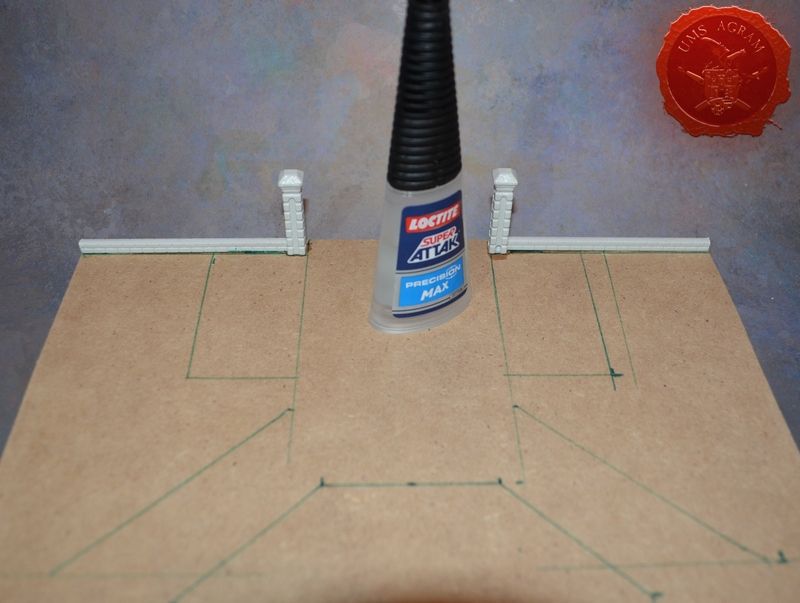
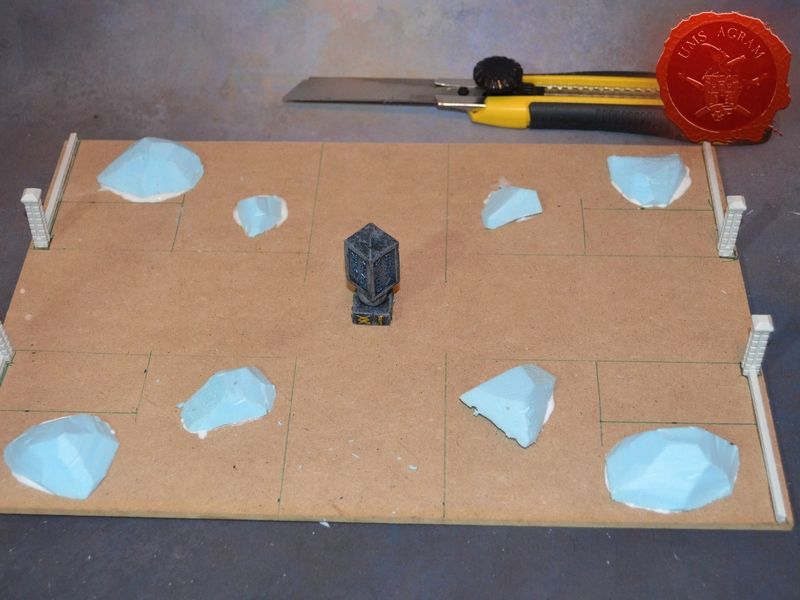
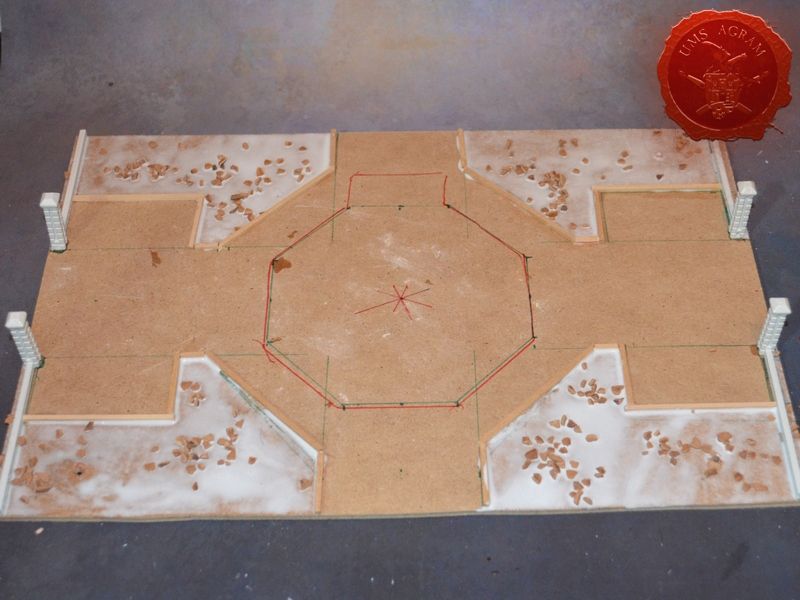
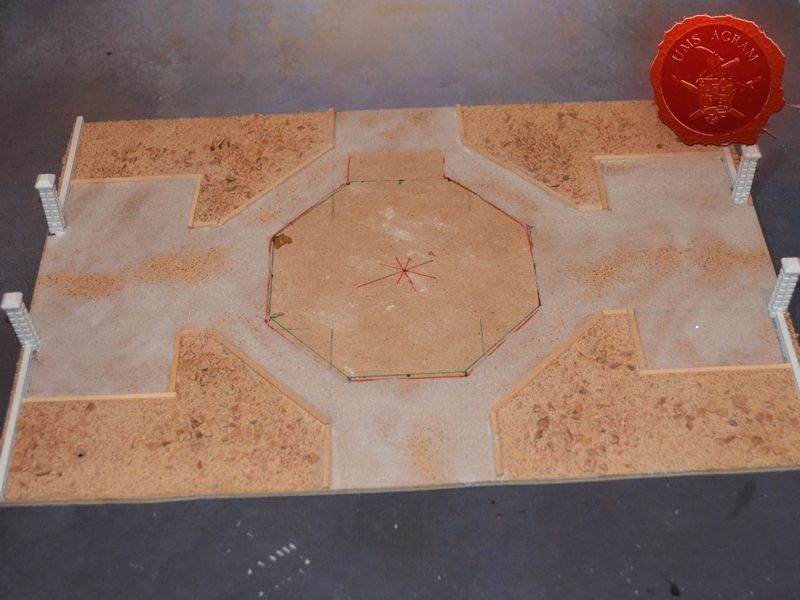
First, I drew the outlines of my park on the base (MDF board, 4 mm thick), then I put all the bits on it to see how it all fits. At this time, it's good to have at least one miniature handy to check how it can be moved through the terrain features. No point in making a nice terrain if your minis can't enter it. Once I was satisfied with the result, I used my jigsaw (although a normal saw would suffice) to cut the base into two A4 sized terrains. If you don't have MDF handy, almost all shops selling photo equipment hold those simple glass frames with MDF background held by a couple of clips. It's cheap and it's handy. Once the base was cut, I glued my plastic fence in place. I bought the fence on Ebay. Just search „HO scale fence“. One meter of the fence is about 10 USD with worldwide shipping and there are several designs.

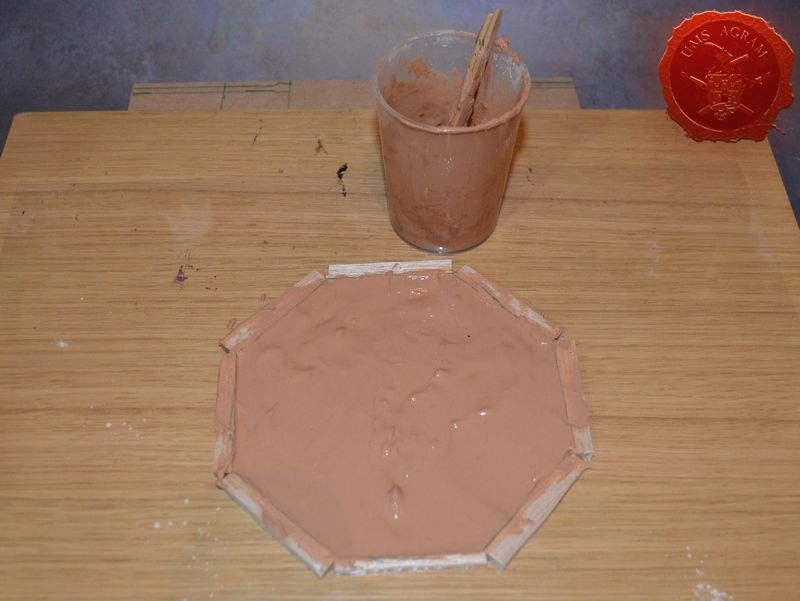
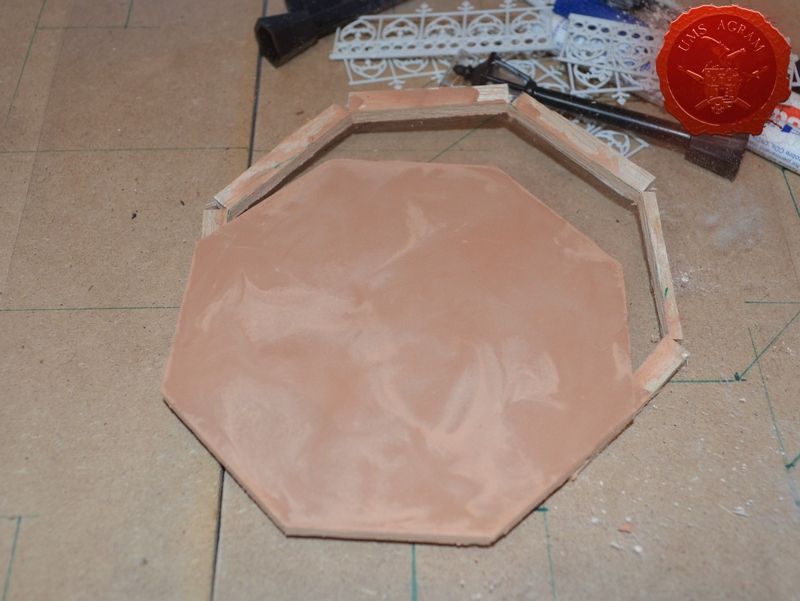
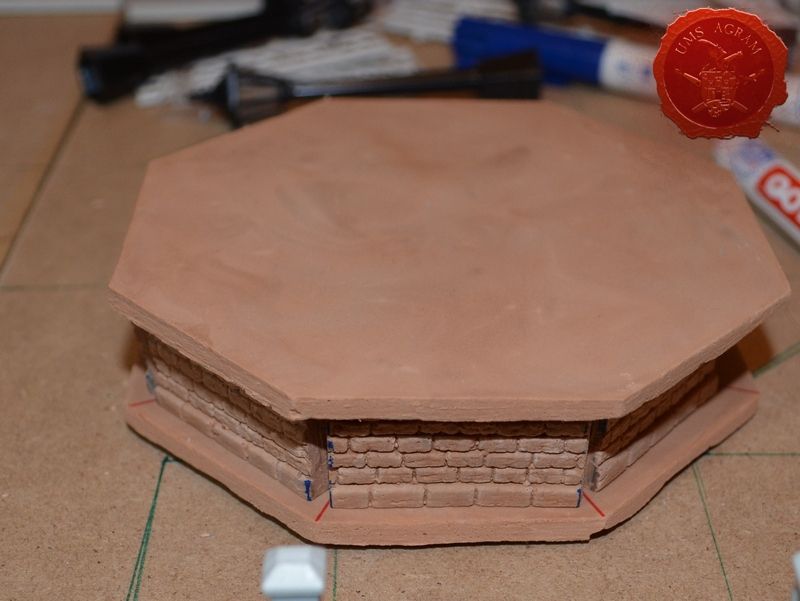
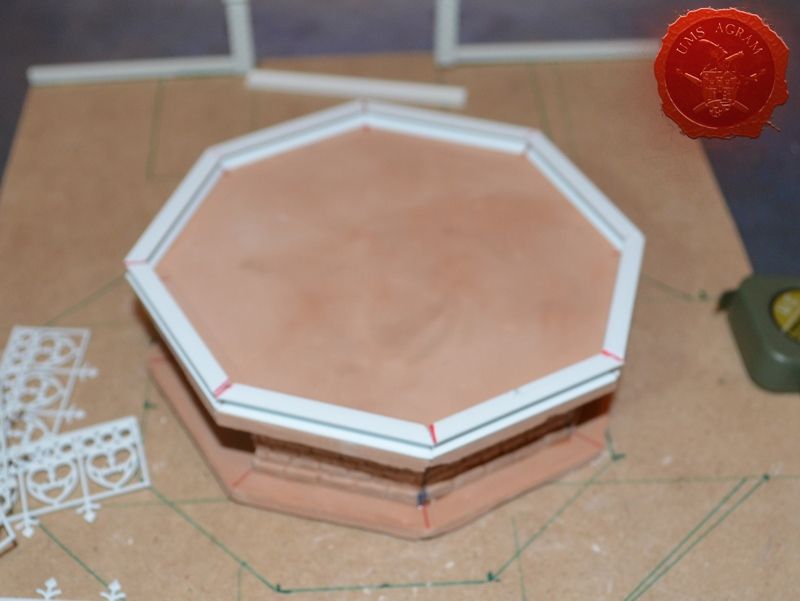
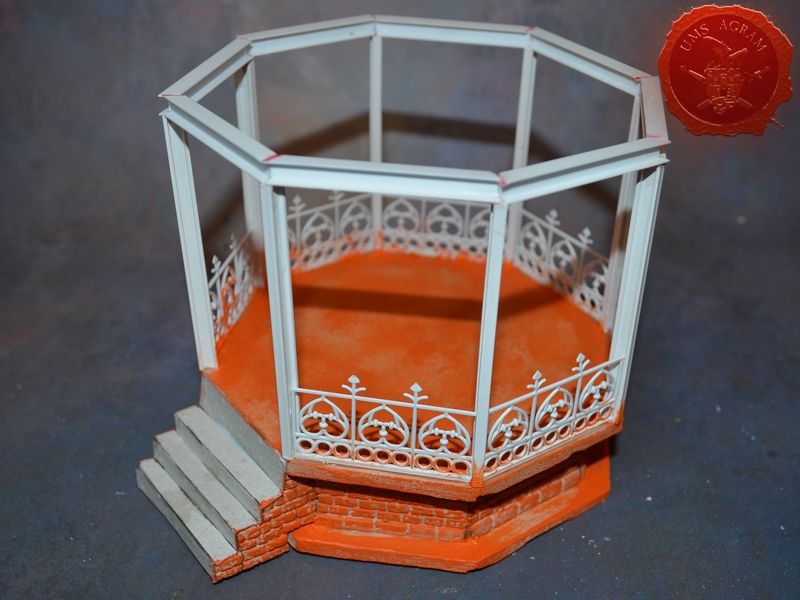
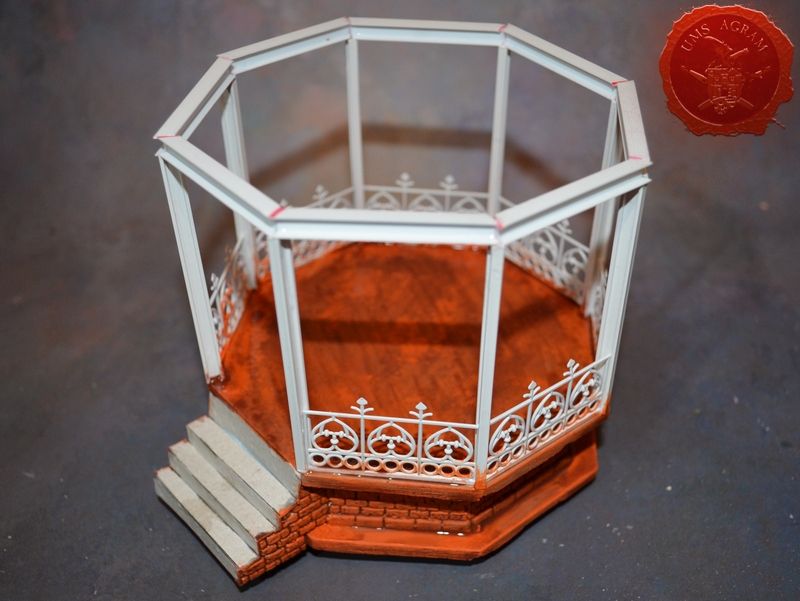
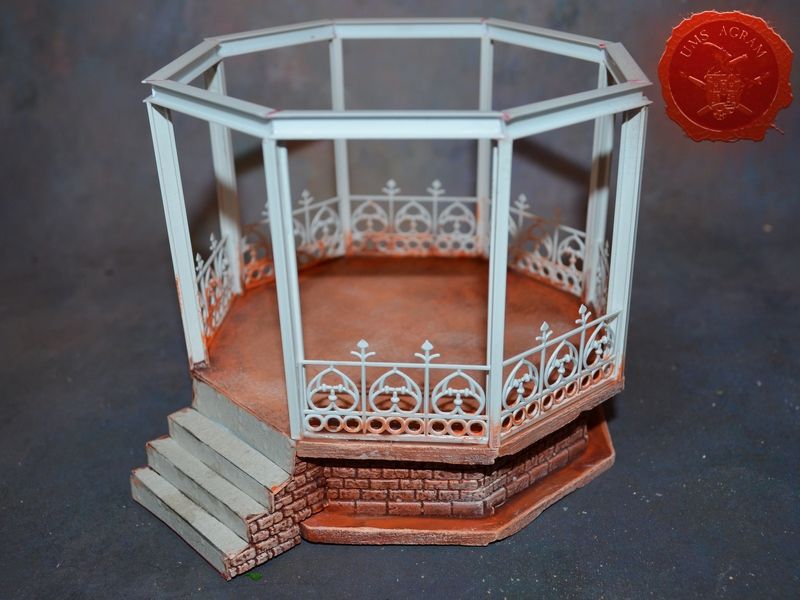
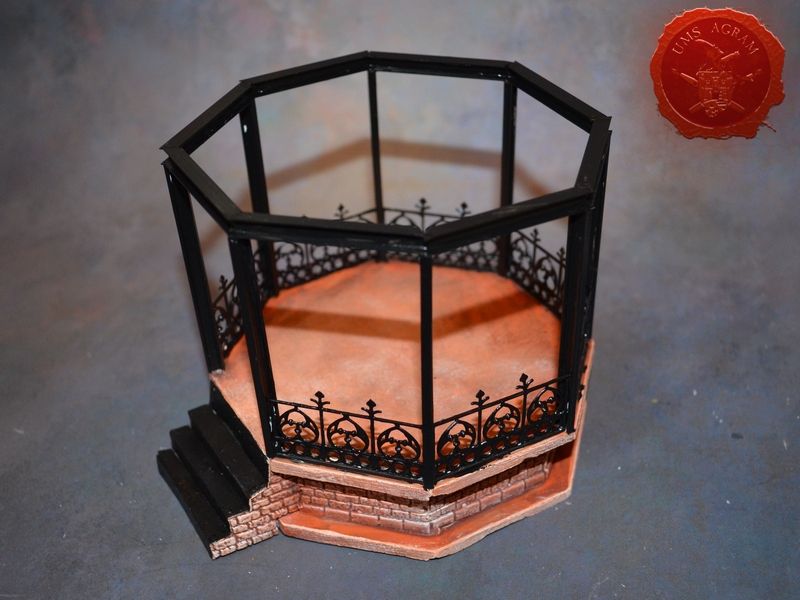
THE PLASTER
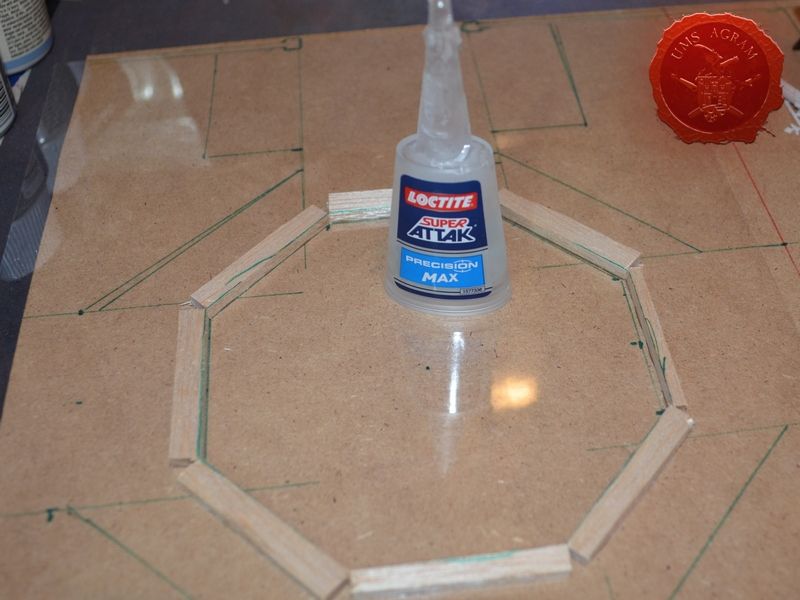
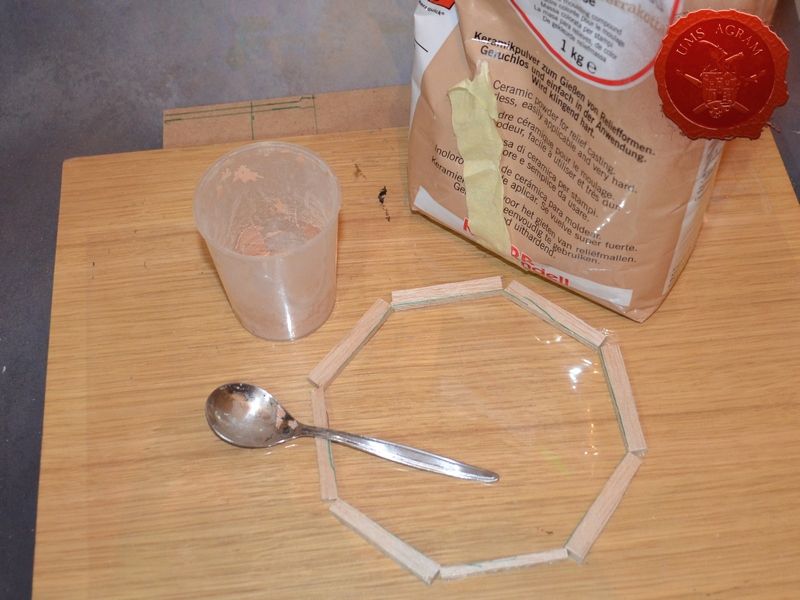
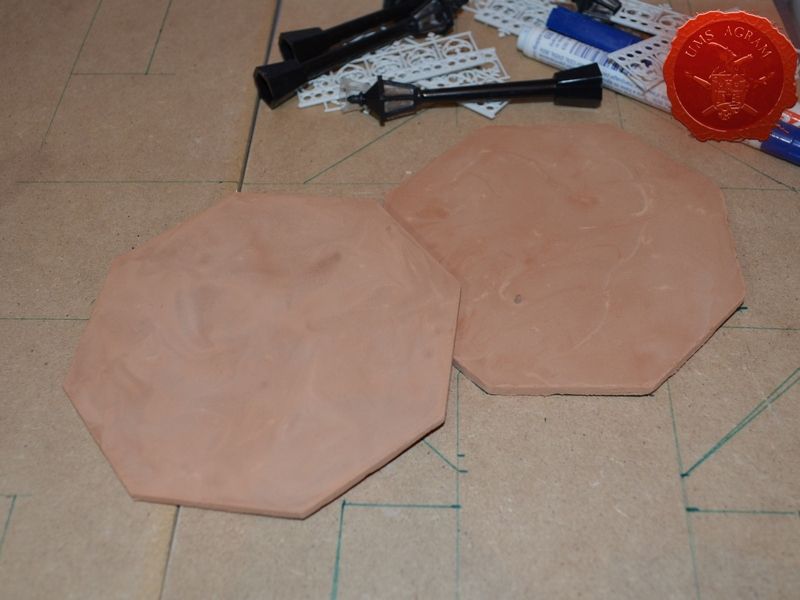
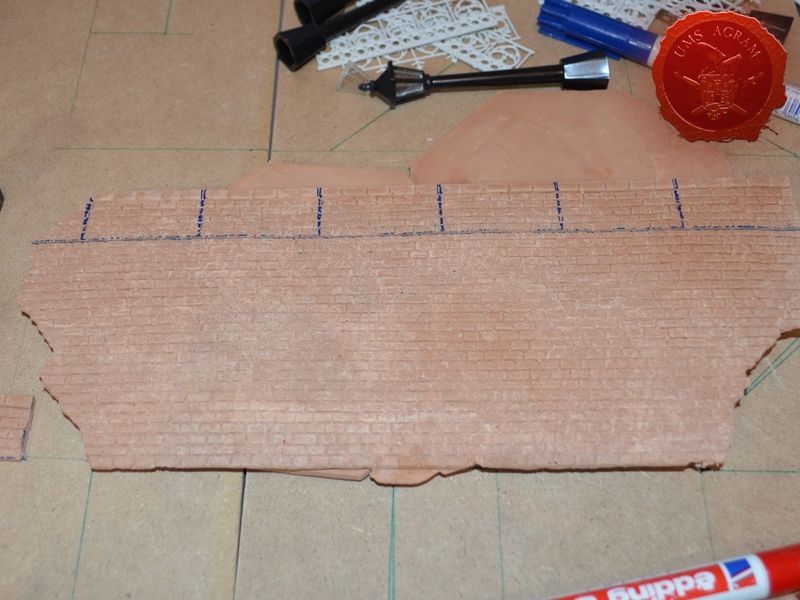
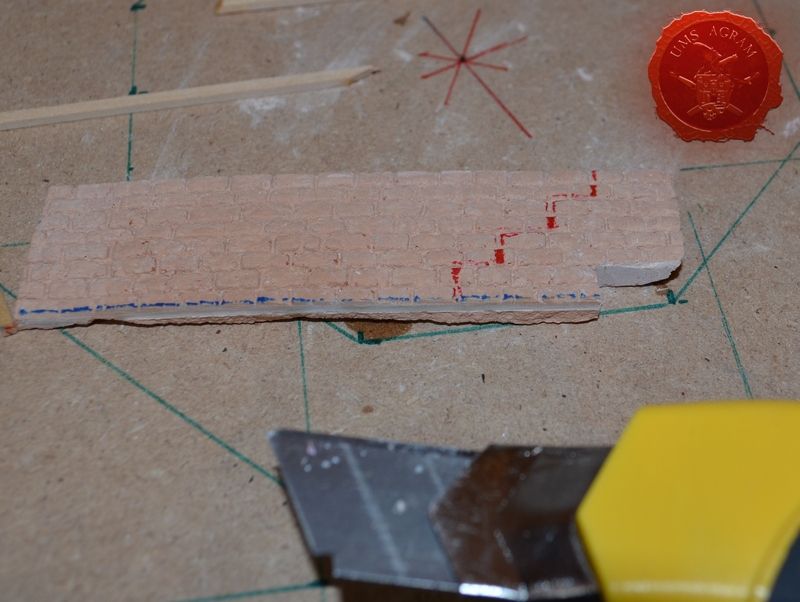
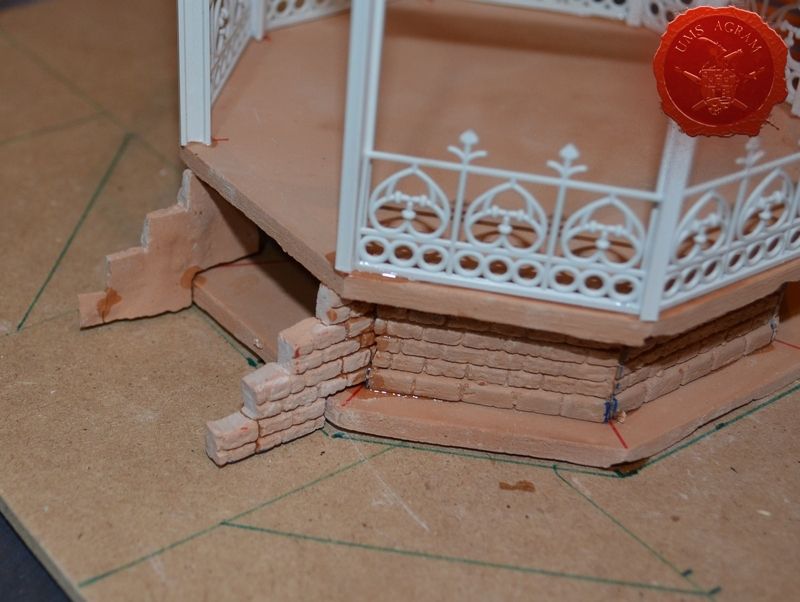
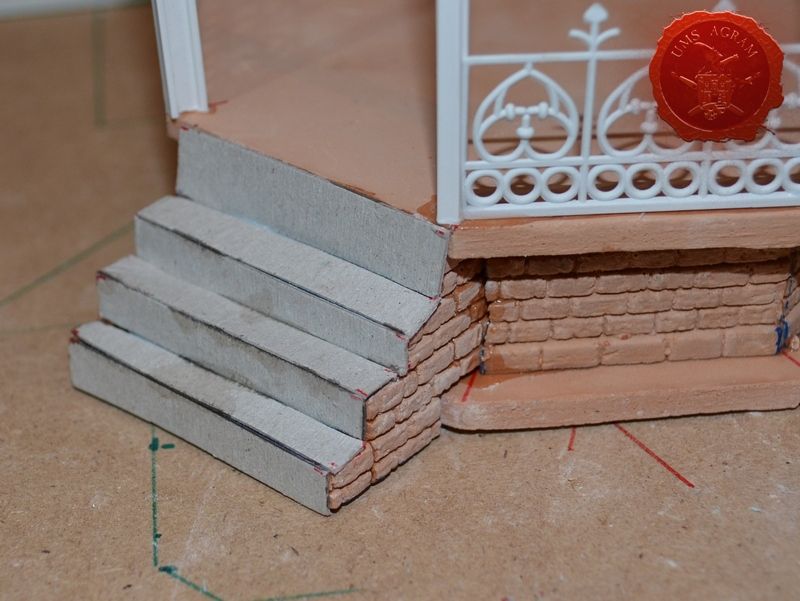
As you can see on the plans, I wanted to make an octogonal gazebo so I needed an octogonal base. The easiest way to make your own walls, bases etc is to cast them in plaster. For that you'll need a mould. I made mine on a seethrough plastic foil as base. I simply put it on the terrain base where I hade previously drawn the outline of the gazebo. I cut several basla wood planks to serve as walls of my mould and glued them using superglue. I mixed the plaster and poured it into my mould. Half an hour later, I had my base. Removing the cast from the mould is easy as it is bendy due to the plastic foil base. A further half an hour later I had the two casts I'd use to make my gazebo. Now I needed to make the walls of the gazebo. I had already made moulds for a brick wall so I simply poured in some plaster and cut the brick walls to size. (However, here I'll also explain how I made my brick walls moulds: A long while ago, I found some railroad model brick walls. Using latex milk, I made the mould by just covering the railroad model brick wall and leaving to cure for about 24 hours.) After sanding the sides of the walls, I glued them to form the octogonal gazebo. One side I intentionally left open. Here I had to make the stairs. Using the same brick wall casts I made the shape of the stairs by carefully cutting the desired shape. The „body“ of the stairs I cut out of HD Styrofoam.

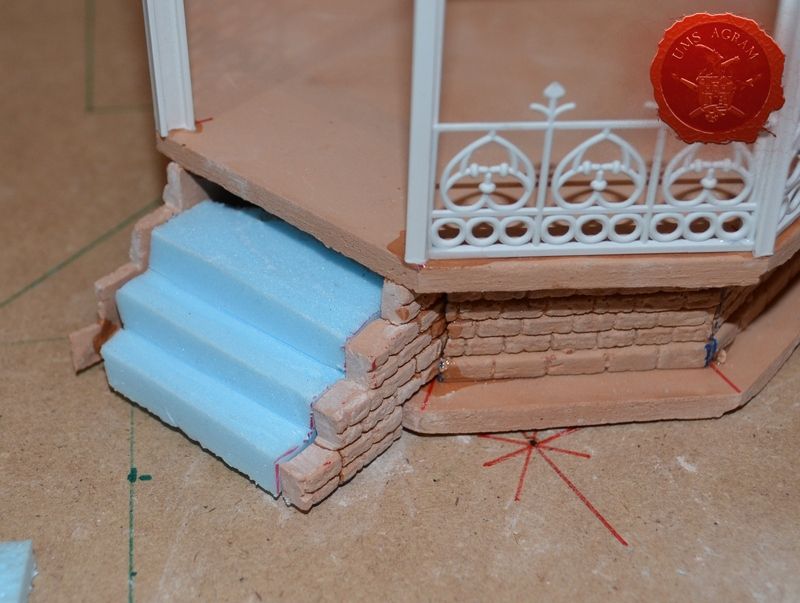
METAL
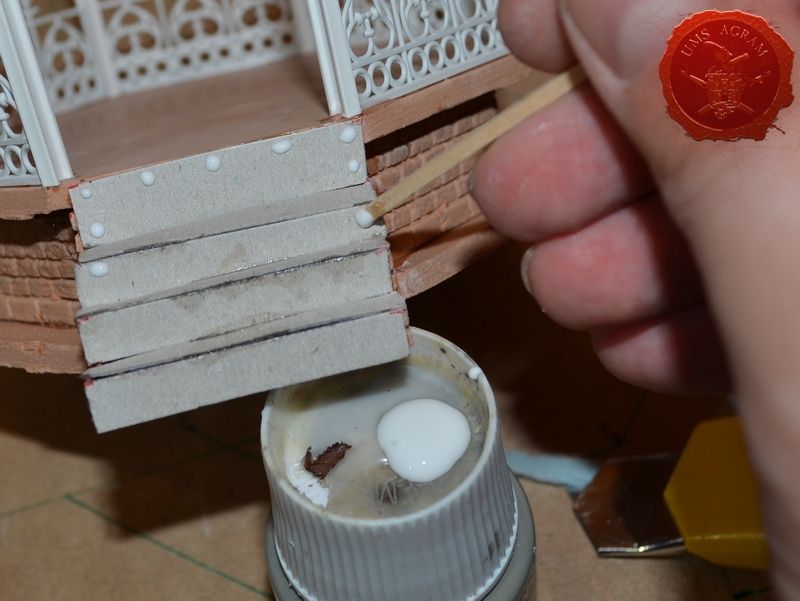
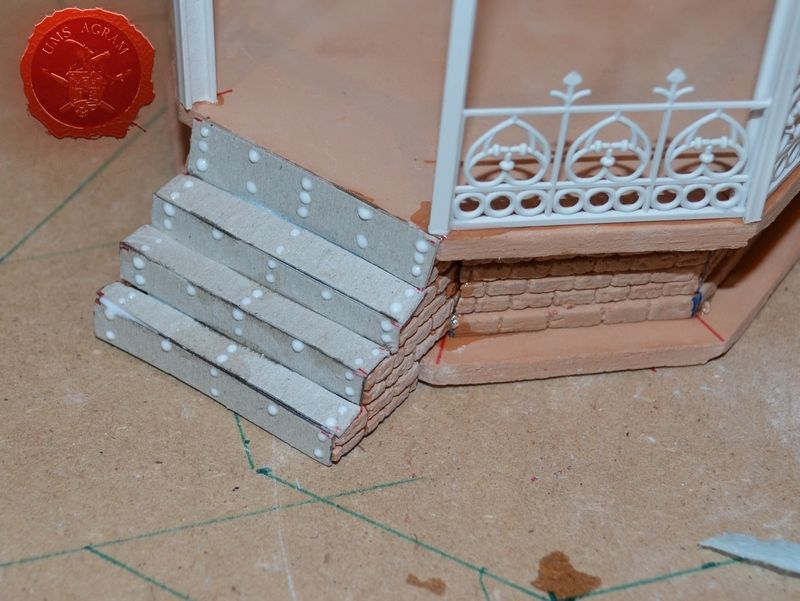
With the shape of the stairs complete, I needed to make the metal sheets that would form the stairs while making my terrain look more steampunky. I used simple card (from a box of instant coffee), cutting it into strips. Rivets I made with PVA glue carefully applying it making sure it forms little blobs that would, once painted, look like rivets.
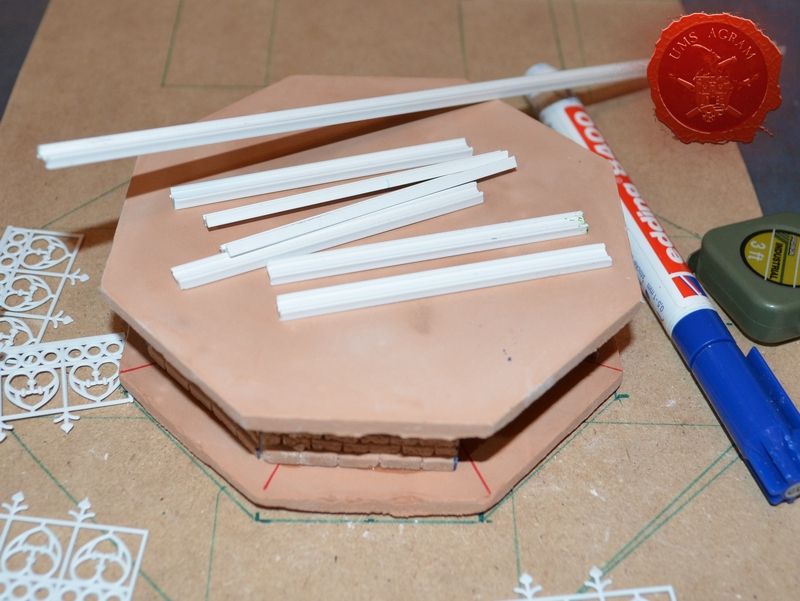
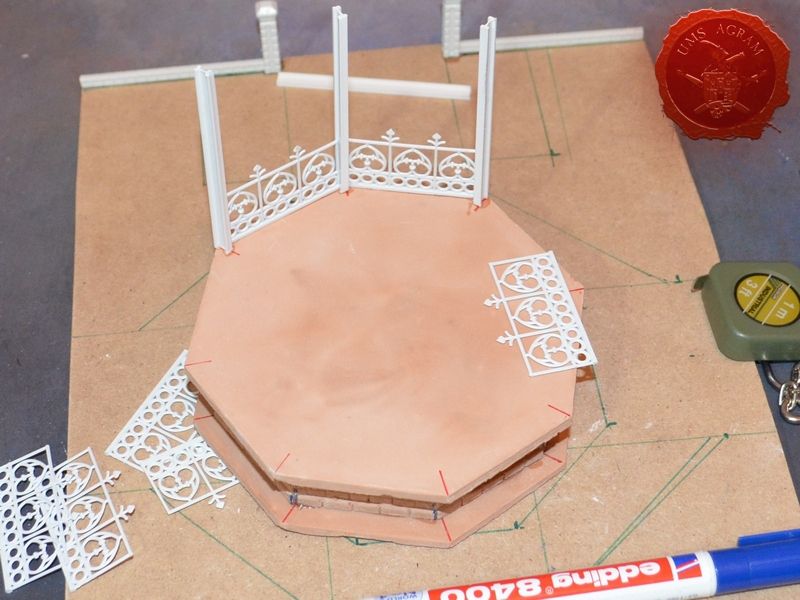
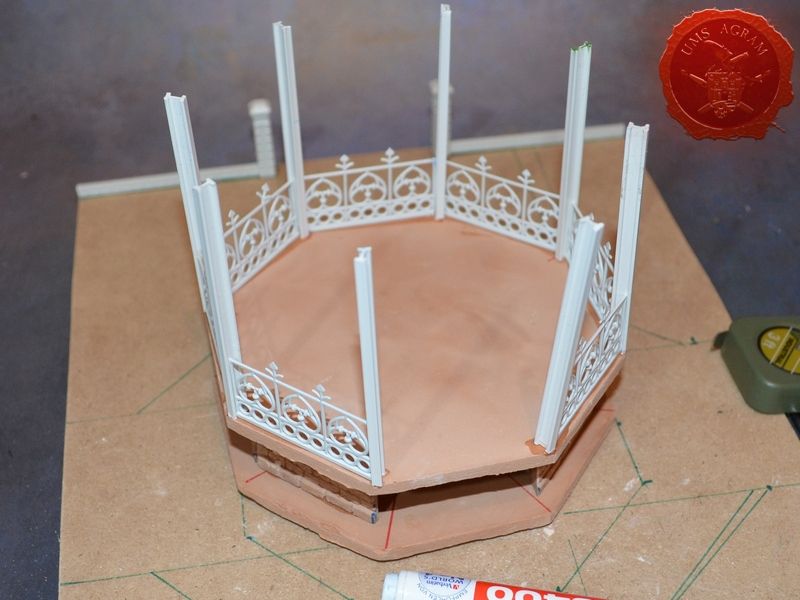
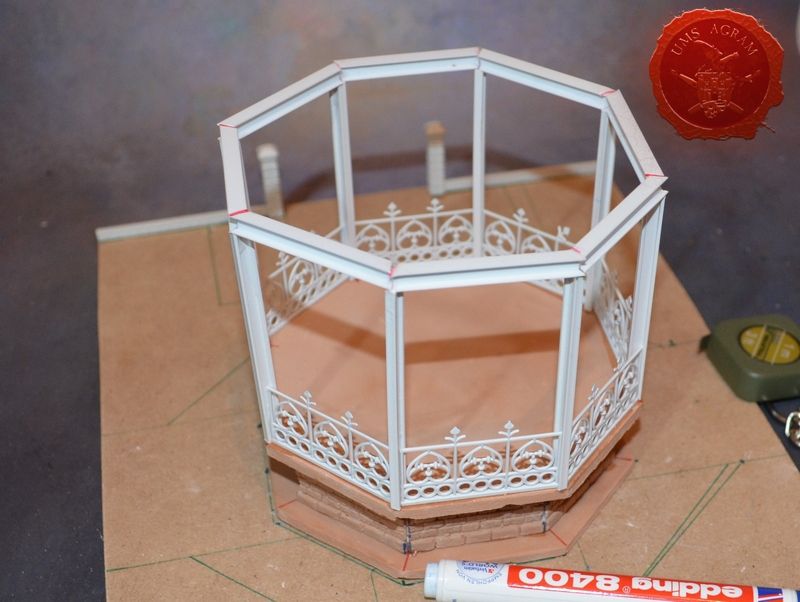
Then it was time to do the metal structure of the gazebo. For this, I used Evergreeen plasticard profiles (I and H beams) and for the fence I used the railings from the HO fence sets I wrote about earlier. The vertical beams I made from the I beams while the horizontal roof holders were done with H beams.

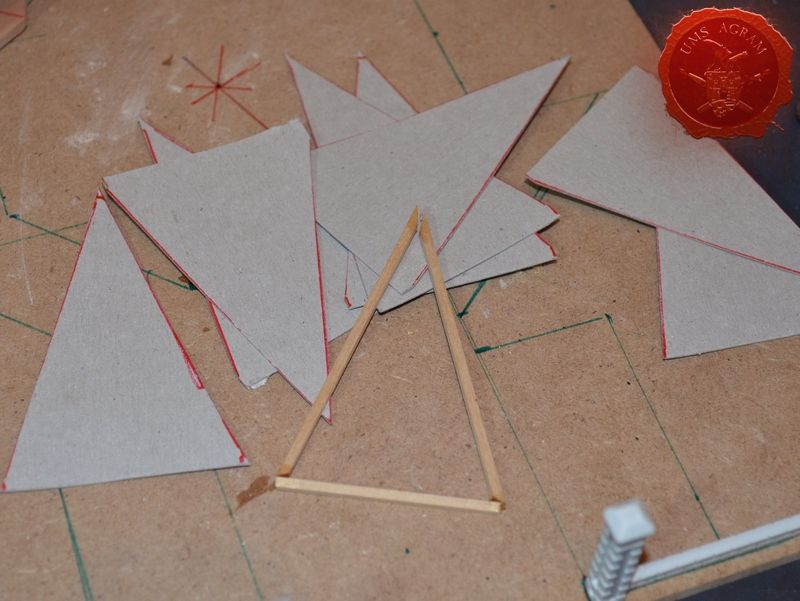
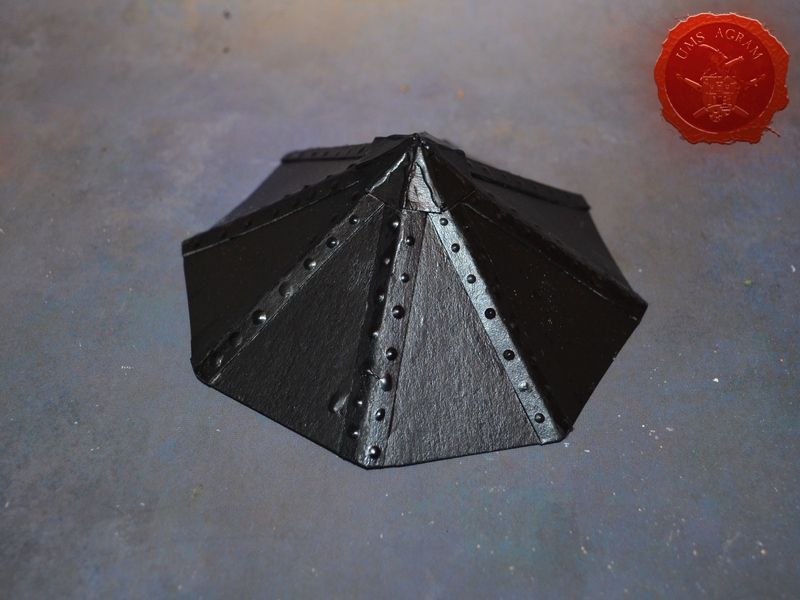
ROOF
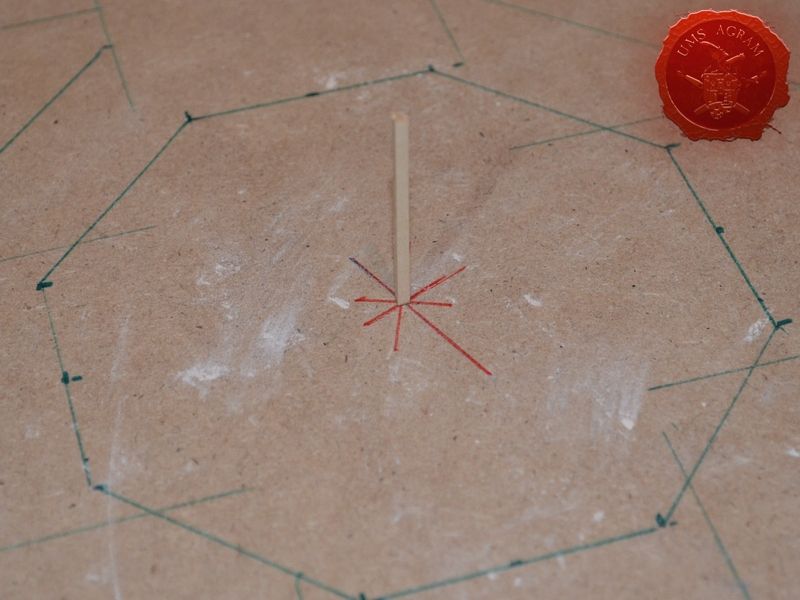
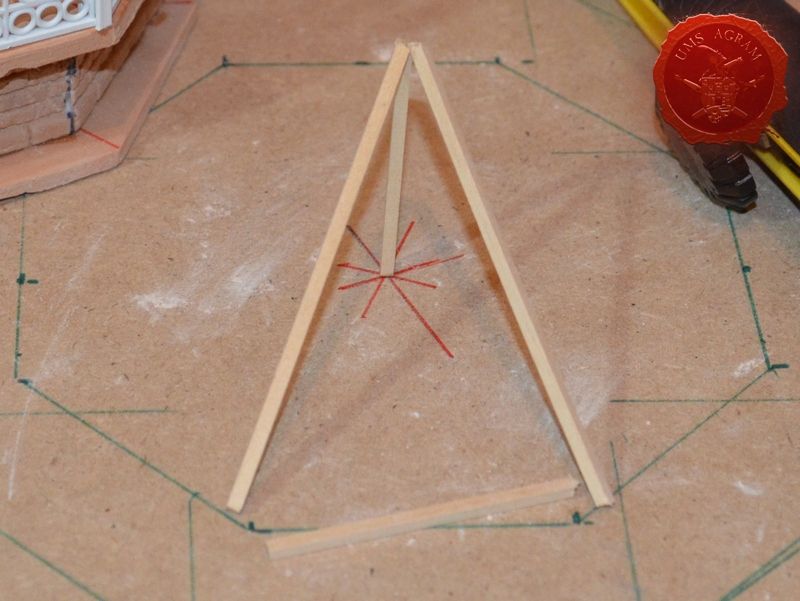
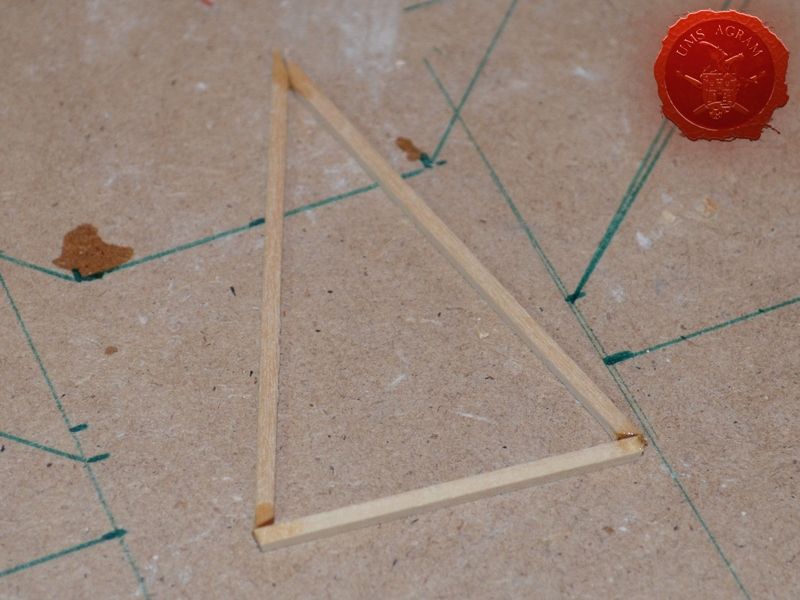
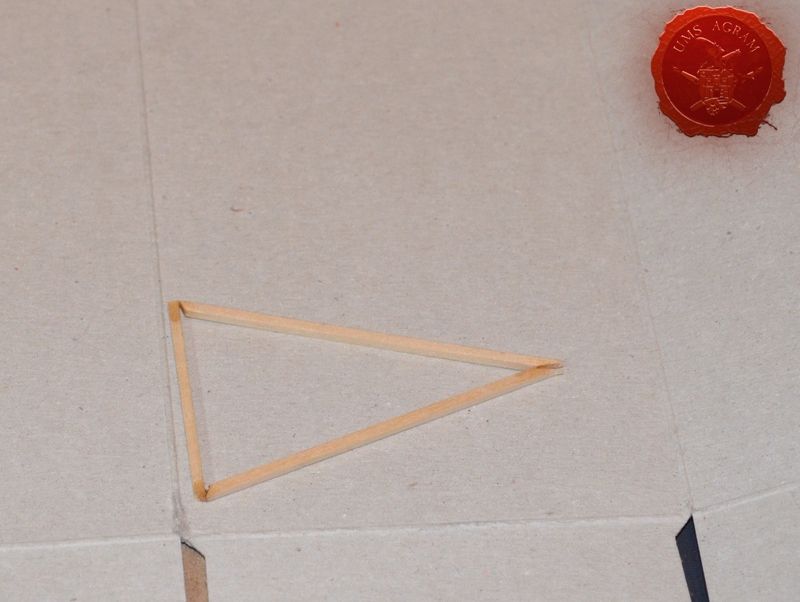
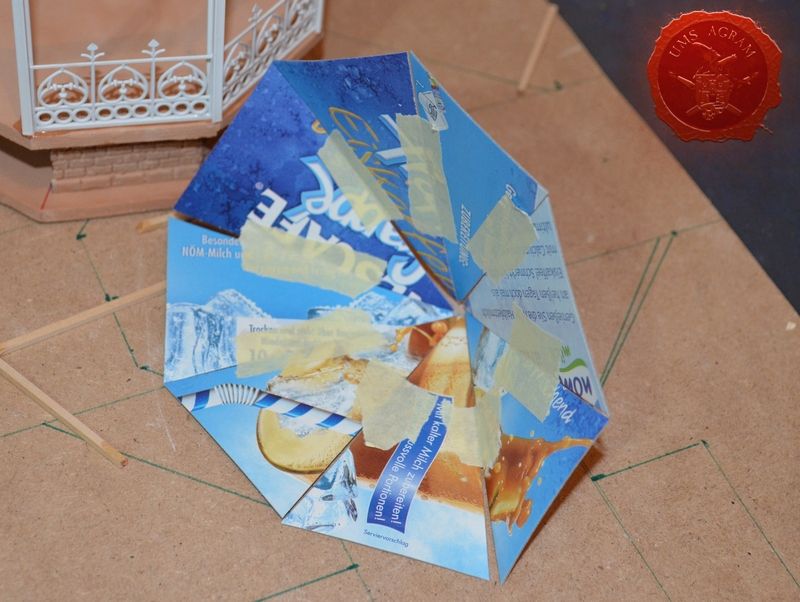
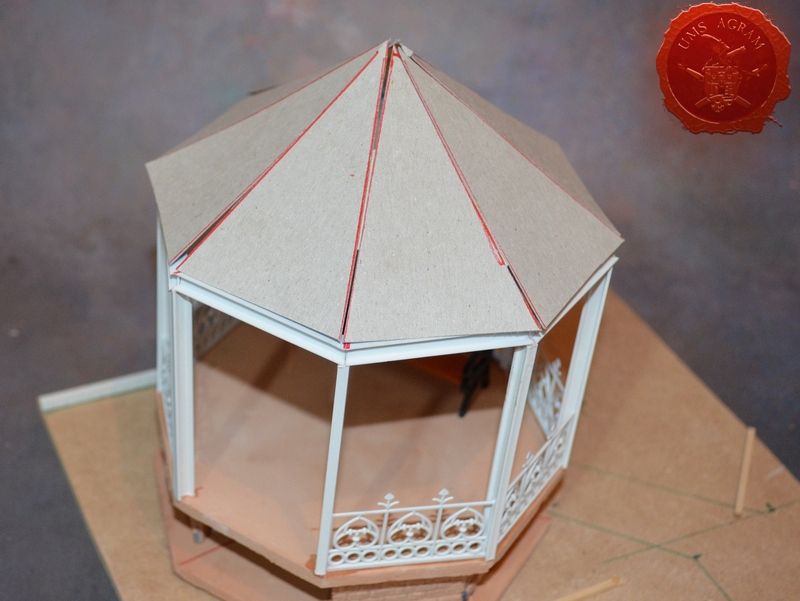
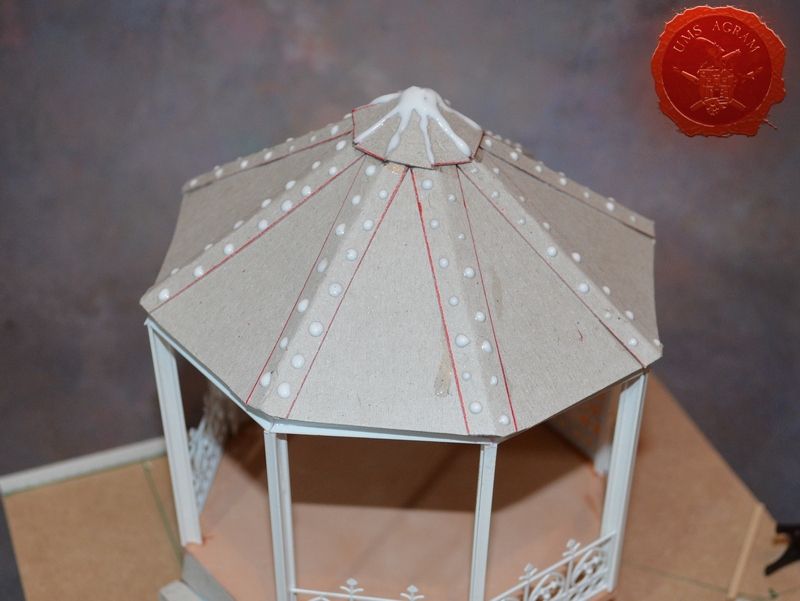
To make the octogonal roof, I first had to make the shape of a single triangle. On the base, where I hade drawn the shape of the gazebo, I gllued one wooden slat 25 mm long vertically. 25 mm would be the height of the roof. Using the glued slat and the drawing of the gazebe, I made my triangle shape gluing three 2x2 mm wooden slats. This would just be my template which I then copied onto the card (from the same box of instant coffee I used earlier) eight times. I cut my triangles with scissors and using some tape I glued them to form the octogonal pyramid that would be my roof. I dryfitted it to the gazebo and it fit well. Using strips of card, I covered the gapse between the triangles and in the end I added rivets and welds using the PVA method I described earlier.

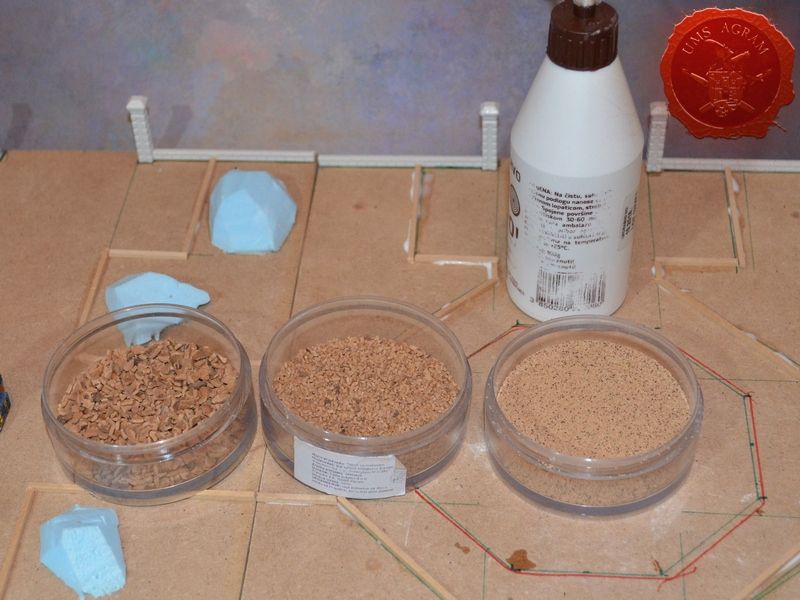
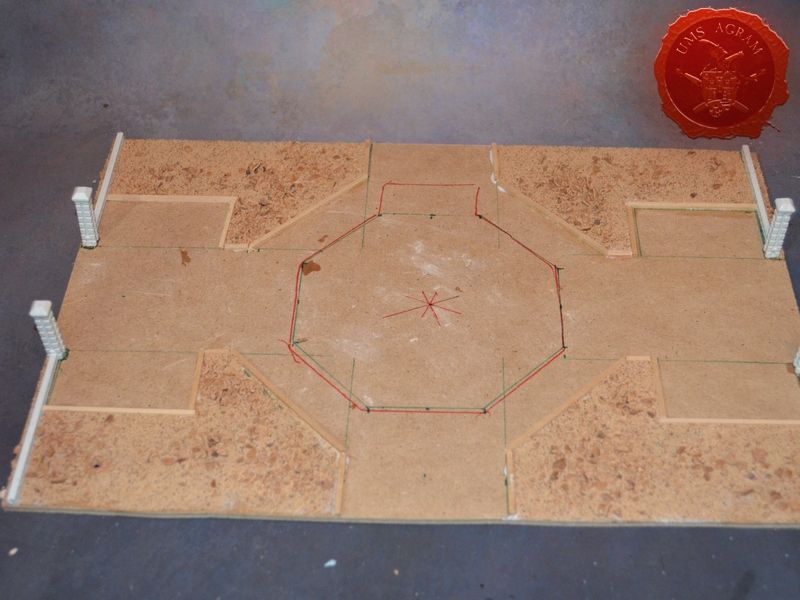
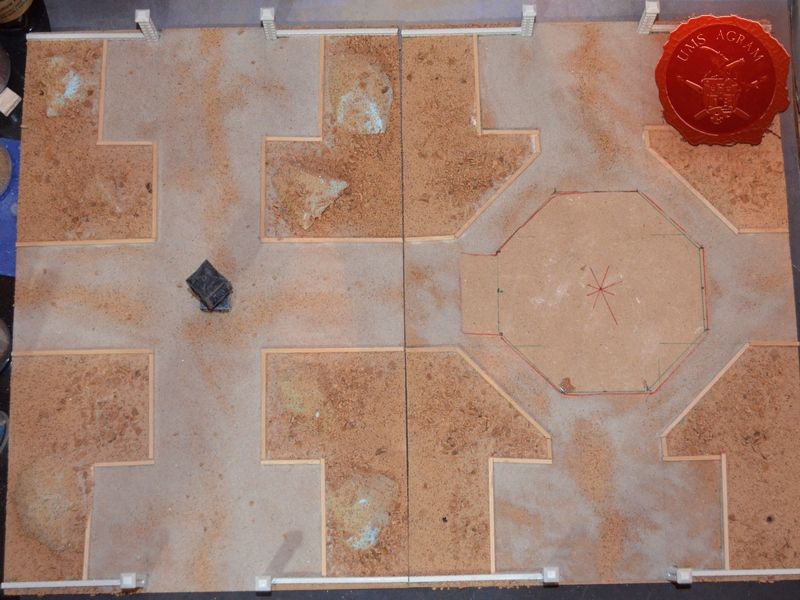
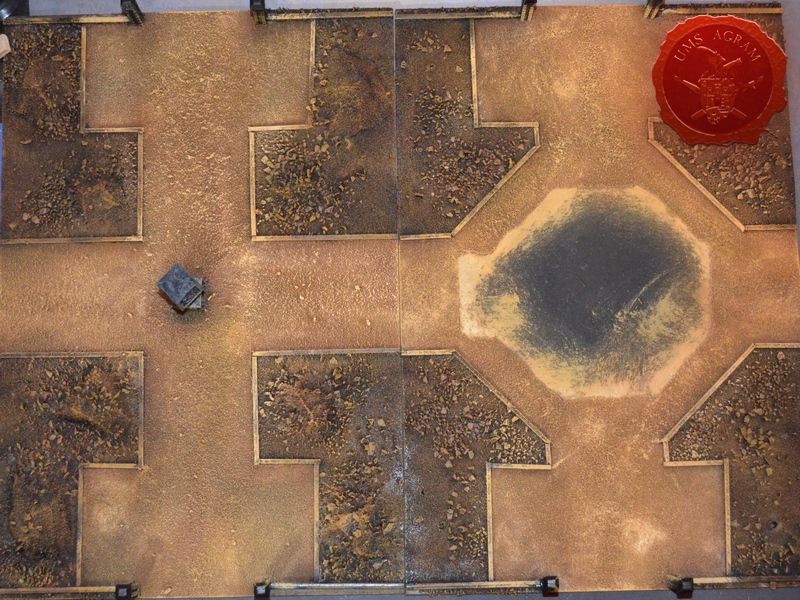
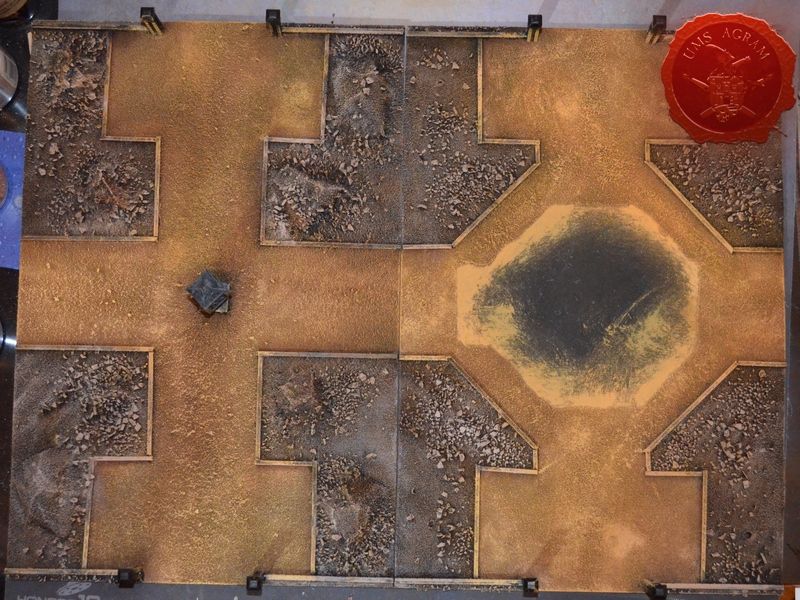
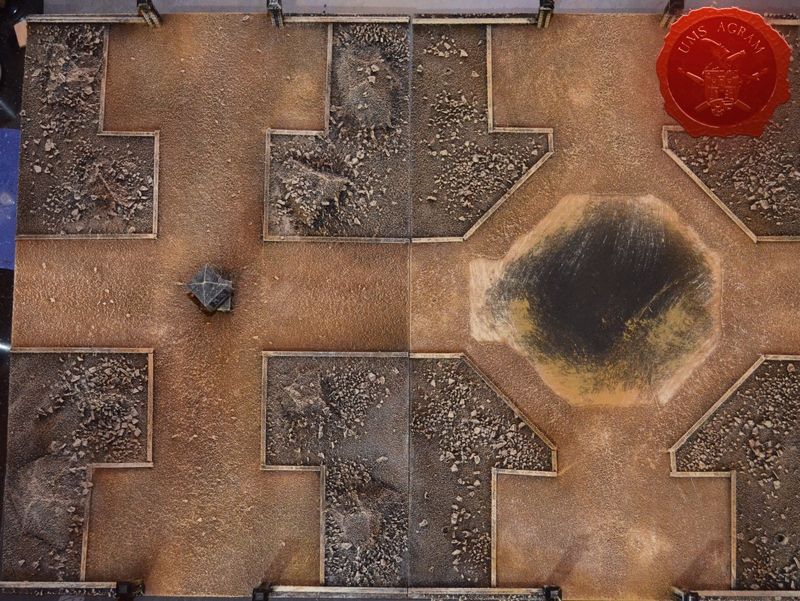
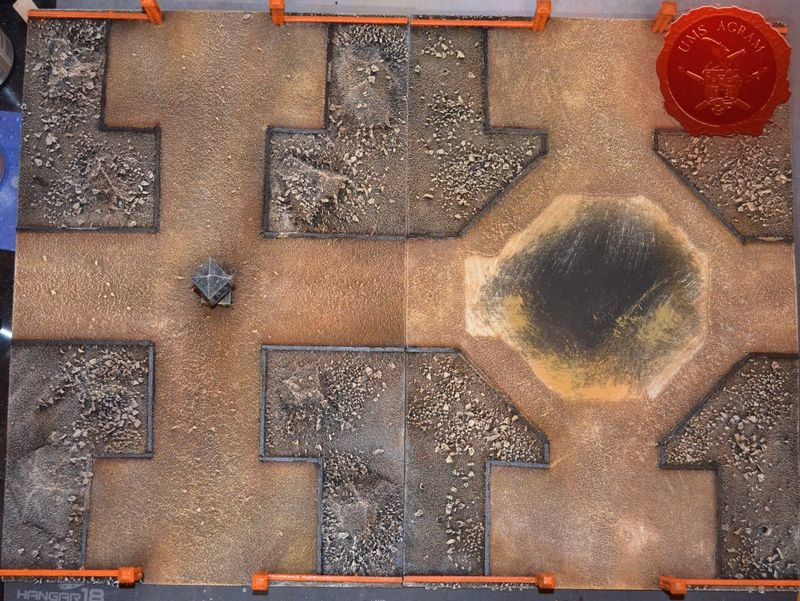
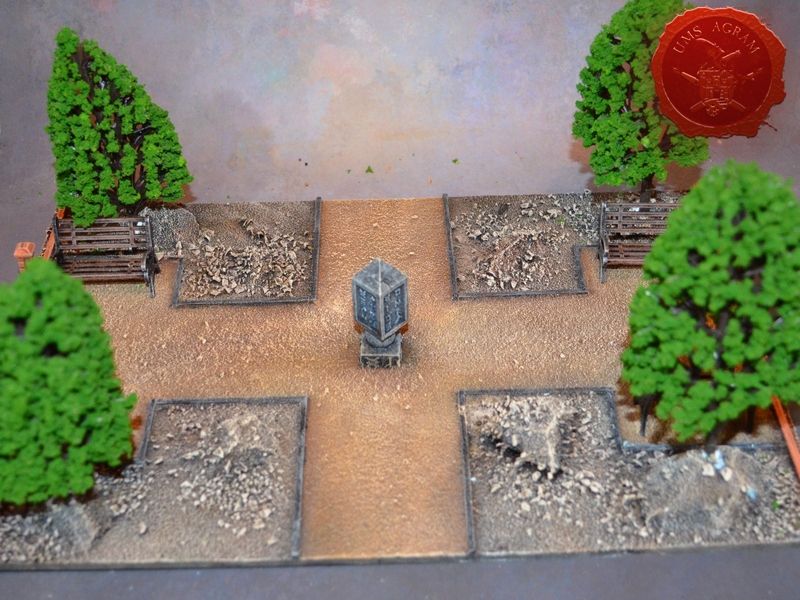
TEXTURE
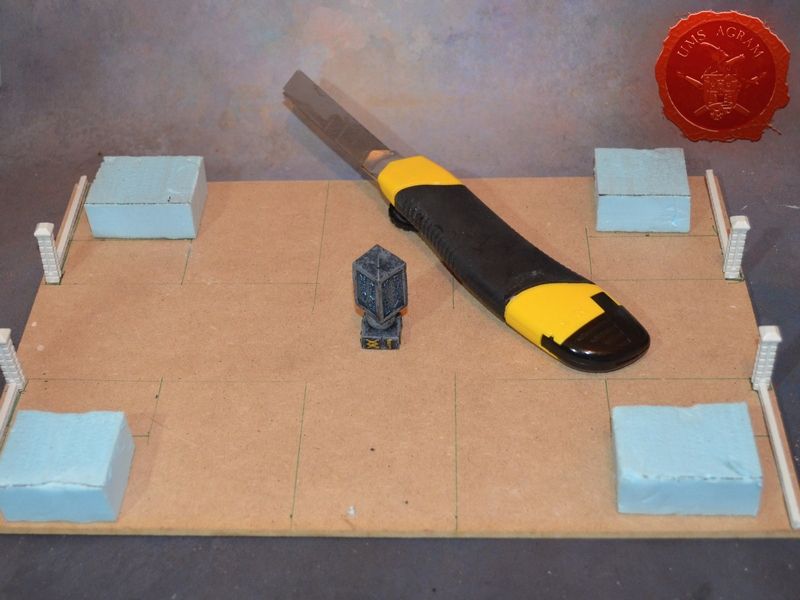
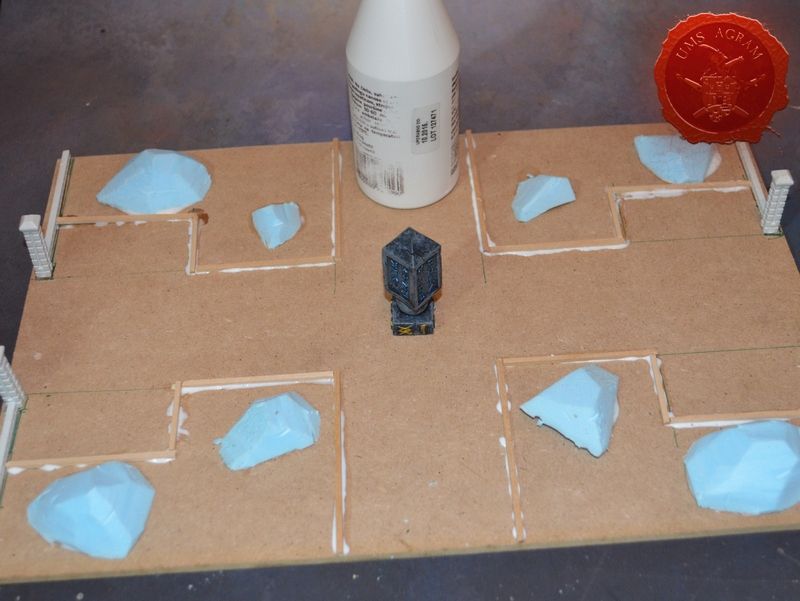
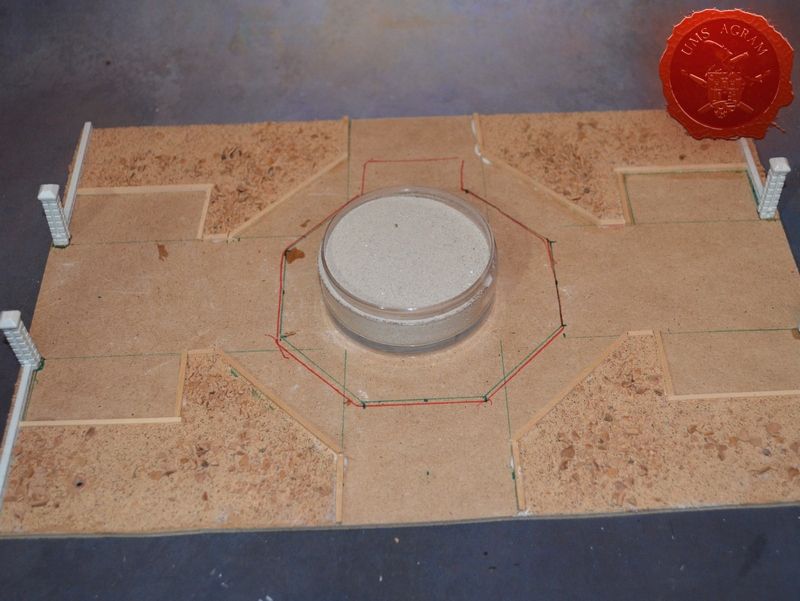
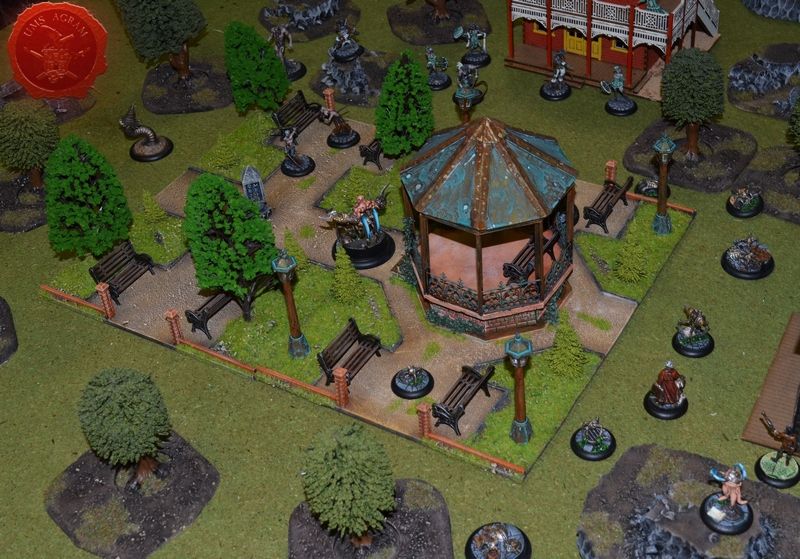
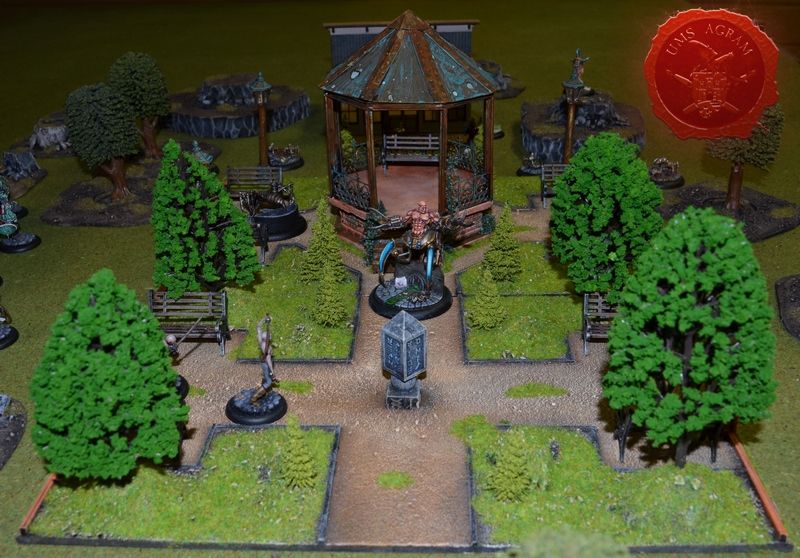
With the gazebo done, it was time to add some texture to the base. I cut the small hills from HD Styrofoam and glued them with PVA. If you look at the original design on one piece of the terrain there was supposed to have been a fountain. After finding this piece of pillar I decided it would suit the purpose better. Especially since it had some runes written that might have been done by the Neverborn. Also, with it's smaller base size, it would save me space and give more playing room while the terrain is in use. I then made the curbs of the terrain with some 2x2 mm wooden slats glued with PVA glue. Once that was done, it was time to add the texture. I normally use three to four different sizes grain to myke my texture. This time was no different as I used GF9 rough, medium and fine grit for the grassy parts. For the paths, I used the smallest grain I had – the sand for chinchillas (that I normally use to make facades of buildings). When doing this, I applied watered down PVA and sprinkled the grit starting with the roughest and finishing with the finest. Always do it this way, otherwise only the finest grain will be glued.

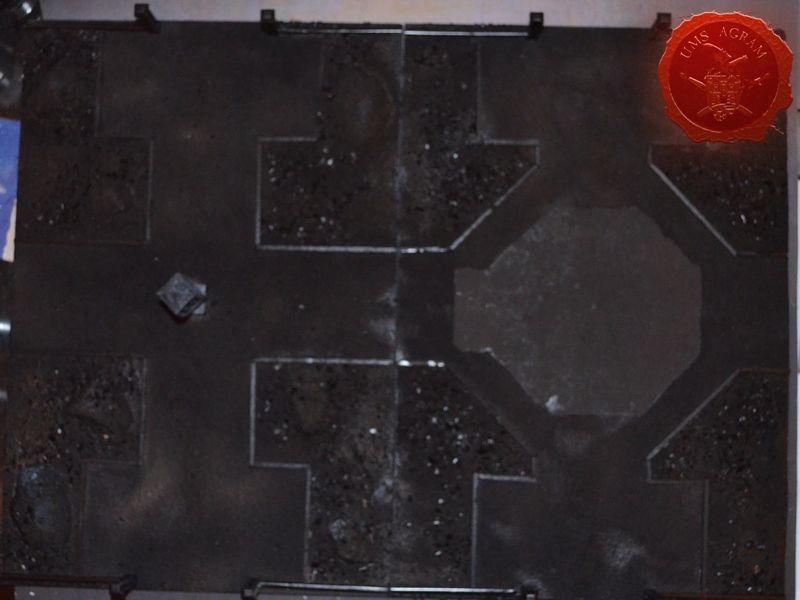
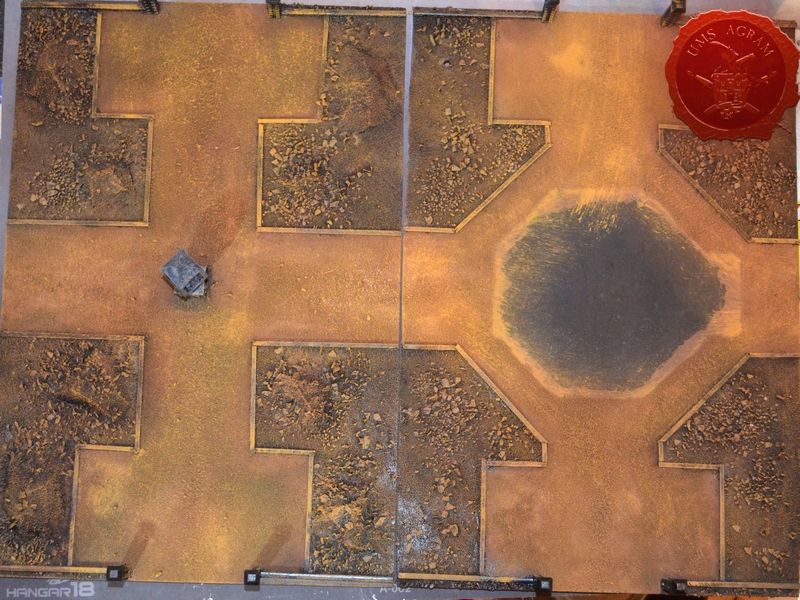
PAINTING THE TEXTURE
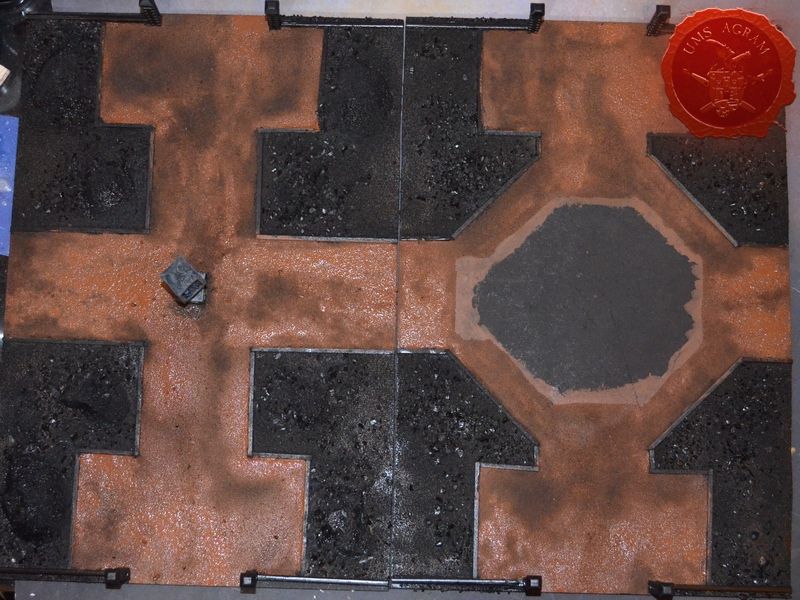
After the PVA set, I started painting. First I udercoated everything black. Then I used a brown colour to (wet)paint all the paths and only drybrushed the grassy parts. Then I used ochre paint to drybrush over all the areas. The next drybrush layer was a mixture of ochre and white. I then added a layer of off white drybrush over the grassy bits and finished with pure white over all areas.
PAINTING BRICKS
I painted the curbs grey and the brick walls orange. Same thing I did on the gazebo. Then I added some redbrownish wash over the brick areas and drybrushed with layers of orange mixed progressively with more white.
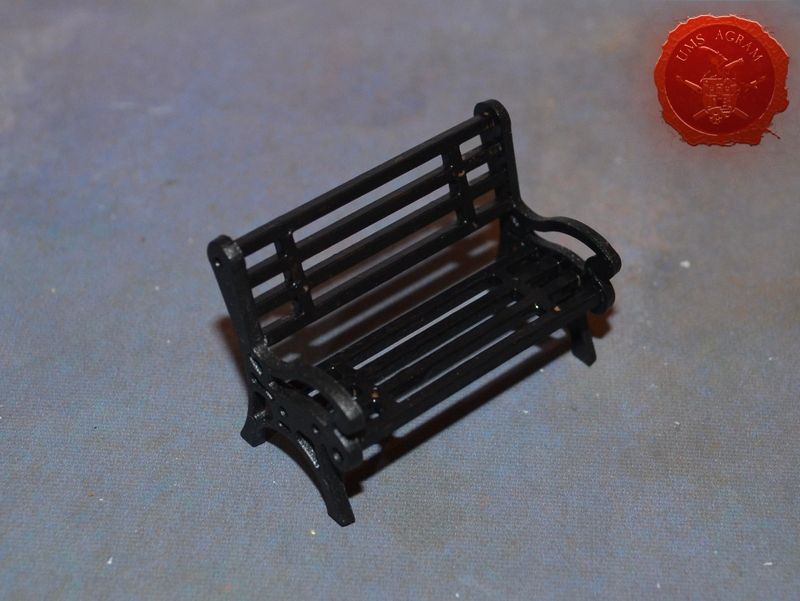
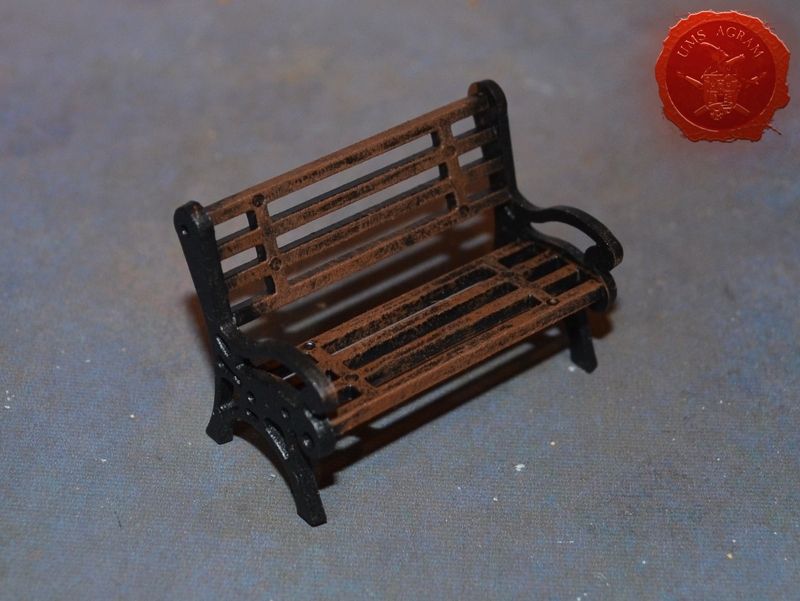
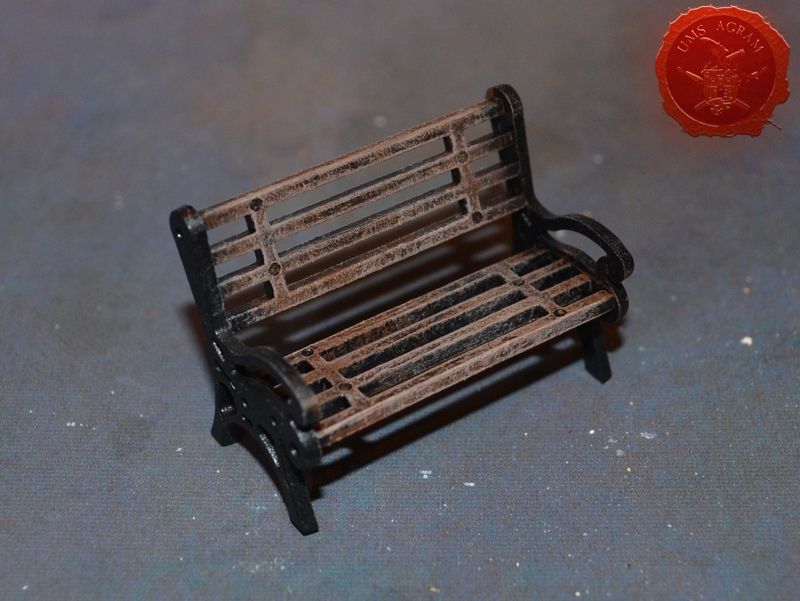
PAINTING BENCHES
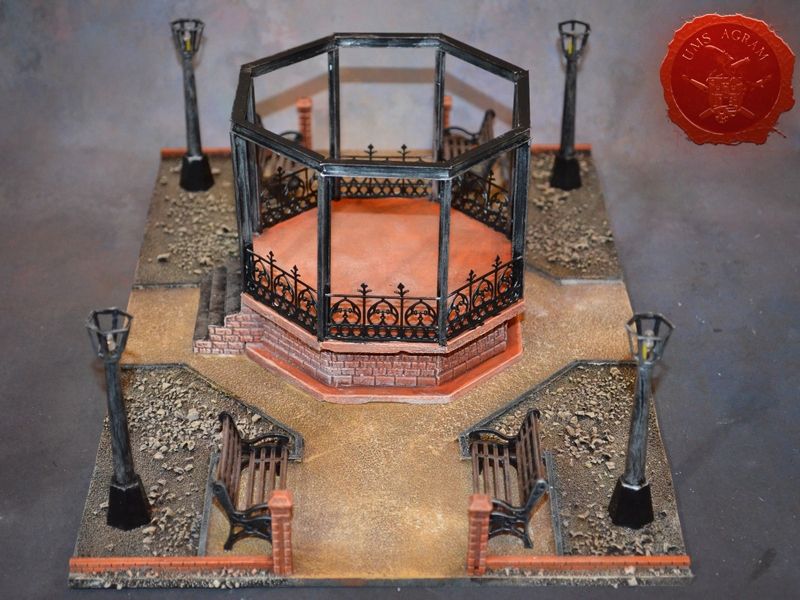
I found the benches on Ebay, also (search: „HO scale bench“). Ten of them were around 5 USD with shipping. The wooden parts were drybrushed brown and off white, while the metal was only drybrushed with silver mixed with black.
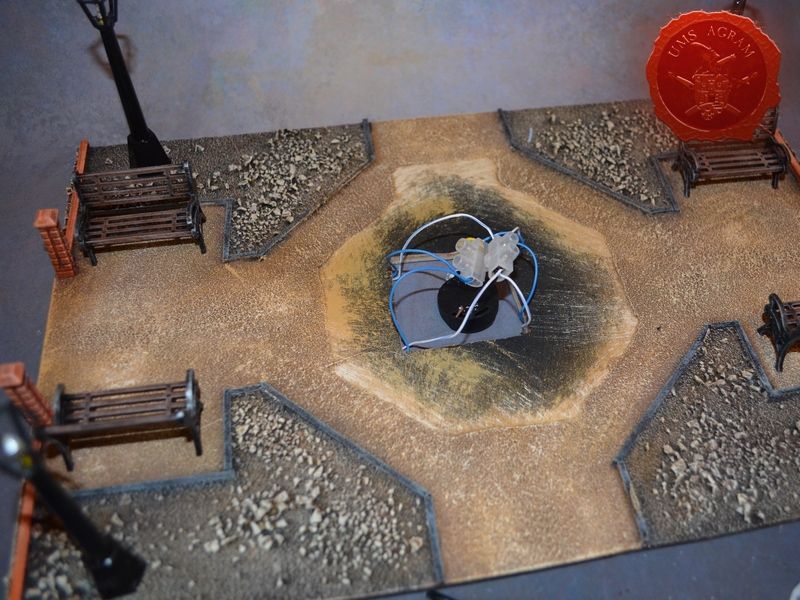
ELECTRONICS
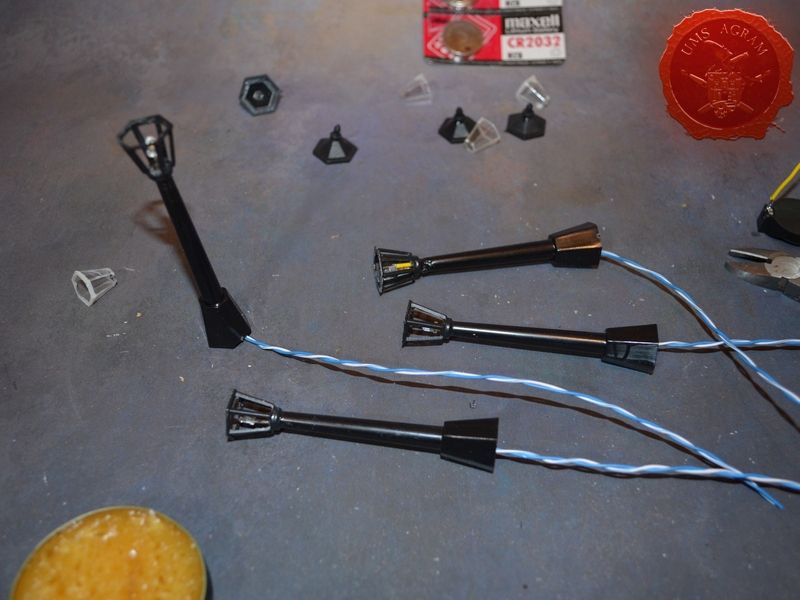
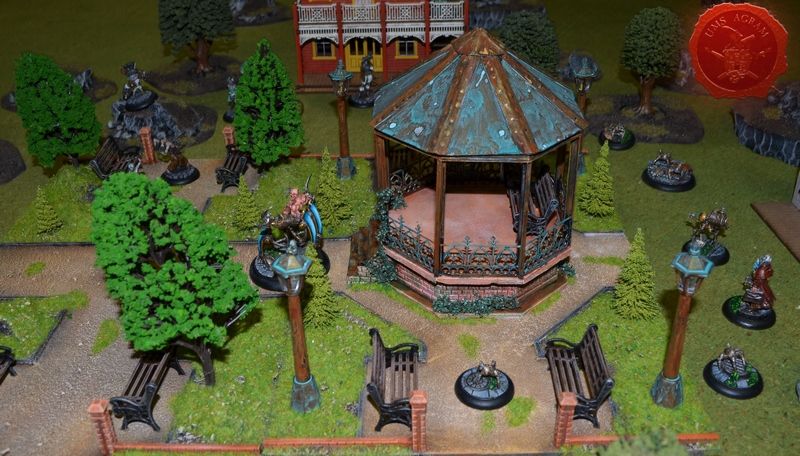
One of my favourite hobby shops in Zagreb has these cool lampposts that can be fitted with LEDs. They are from the Decorabilia range of Stamperia (www.stamperia.com) and cost about 5USD per pack of two. To make this part you'll need:
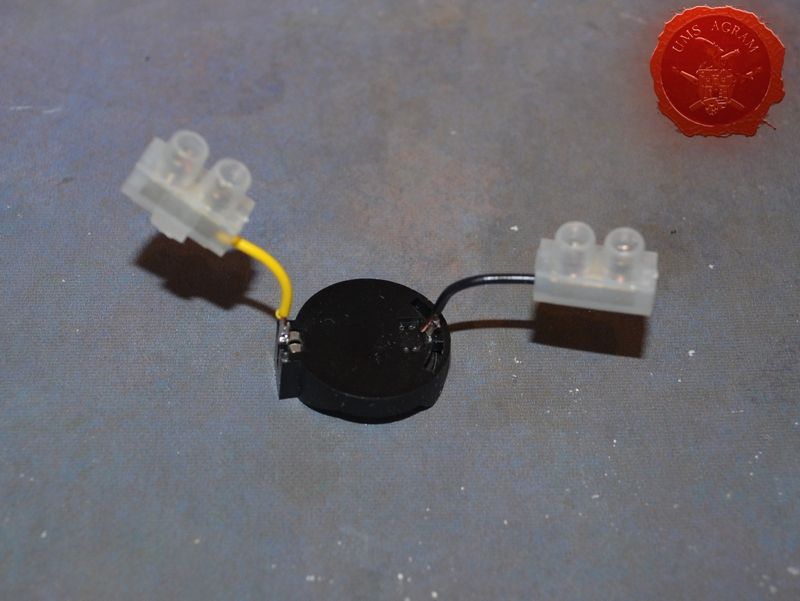
• a single CR 2302 battery
• a single CR 2302 battery housing
• about 5m of wire
• 4 amber LEDs
The CR 2302 battery gives 3V of power. Through each LED runs approximately 20mA of electricity and these high powered LEDs use 2,5 – 3 V of power (normal LEDs use up to 2V). So when these 4 LEDs are connected in parallel (each of them is connected to the battery itself), they need 2,5 – 3 V of power and about 80mA of electricity. The CR 2302 battery should last at least two games with this setup.
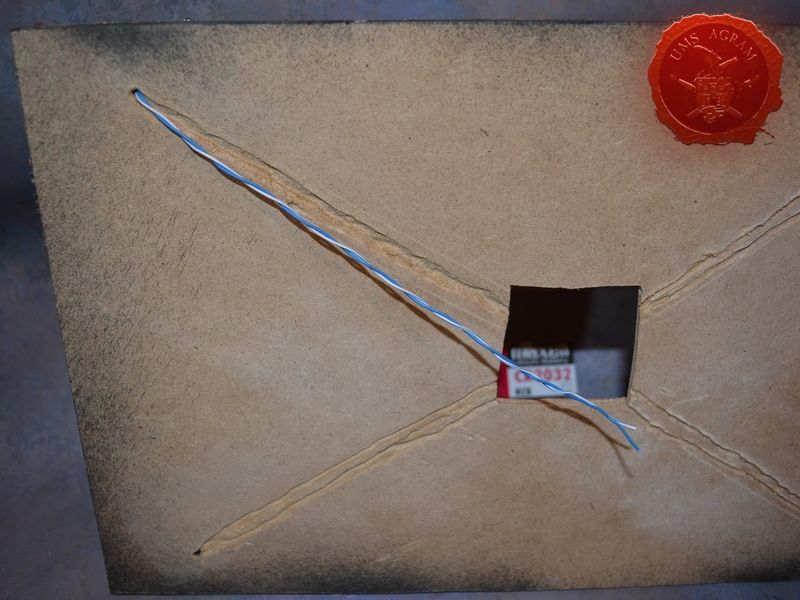
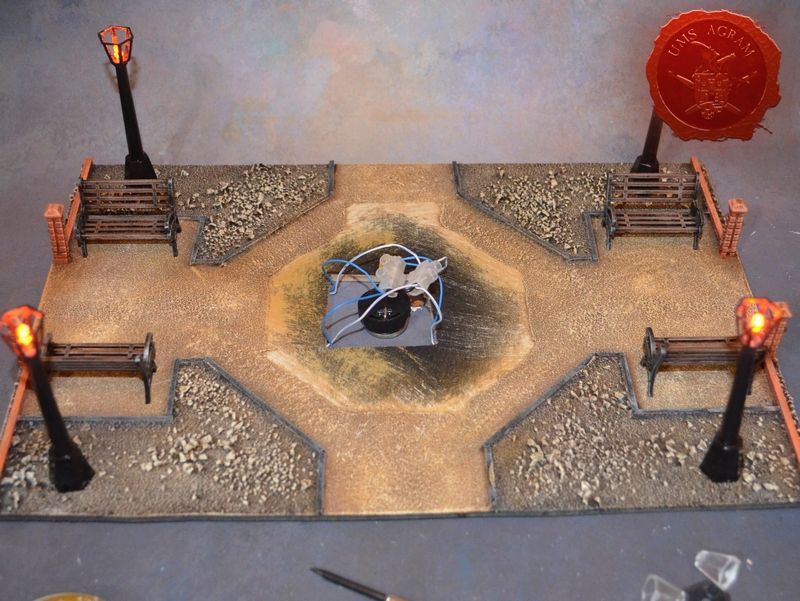
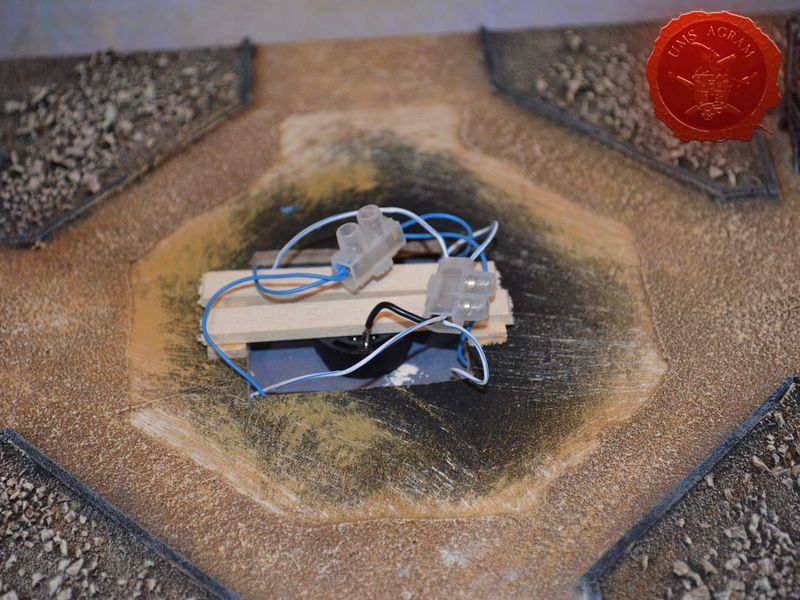
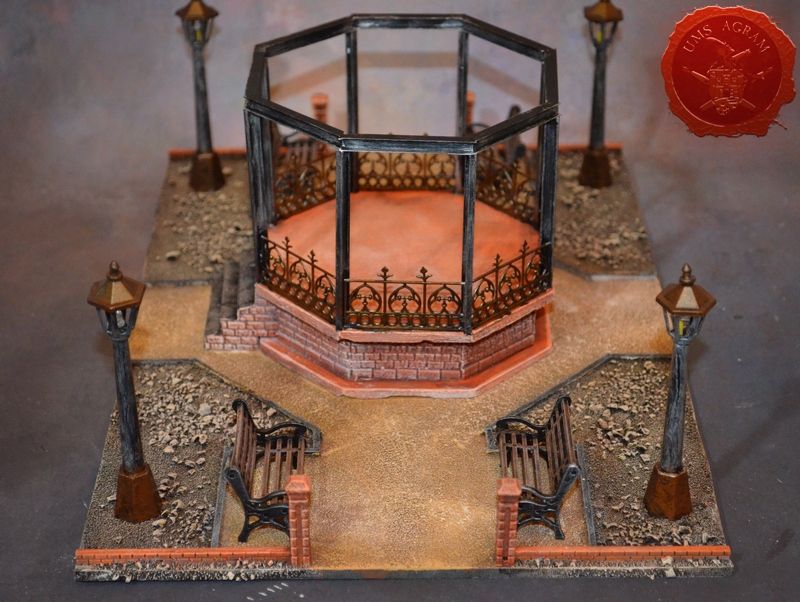
As the wires would go on the bottom of the base, I had to make the grooves. I made them using my drill (hence the wobbliness). I soldered the LEDs to the wires (remember to always use the same colour on longer leg of the LED and another colour on the shorter). It'll make things easier when connecting to the battery. I fed the wires through the body of the lampposts and glued them to the base carefully laying each wire in it's own groove. I then attached the clamps to the battery housing and connected all the wires. Once I placed the battery, all the LEDs lit up. Then I used some wooden planks to safely secure the battery housing to the base.
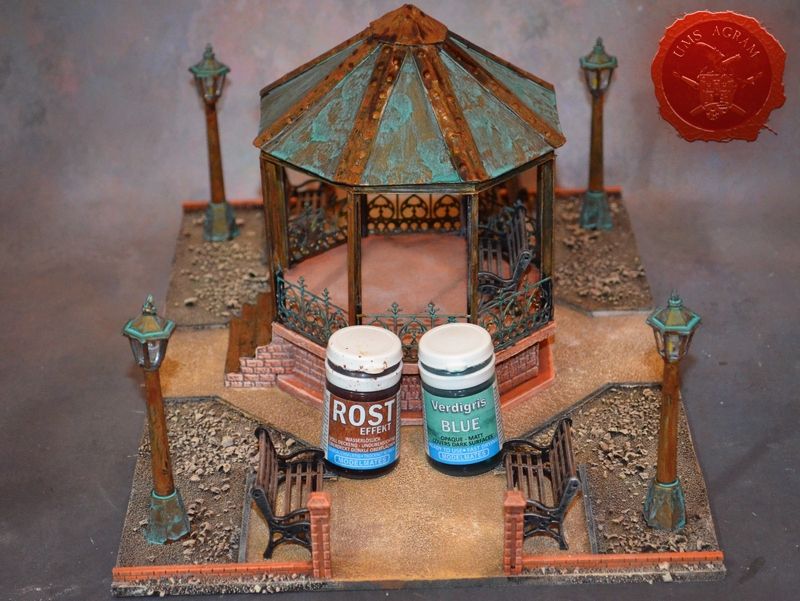
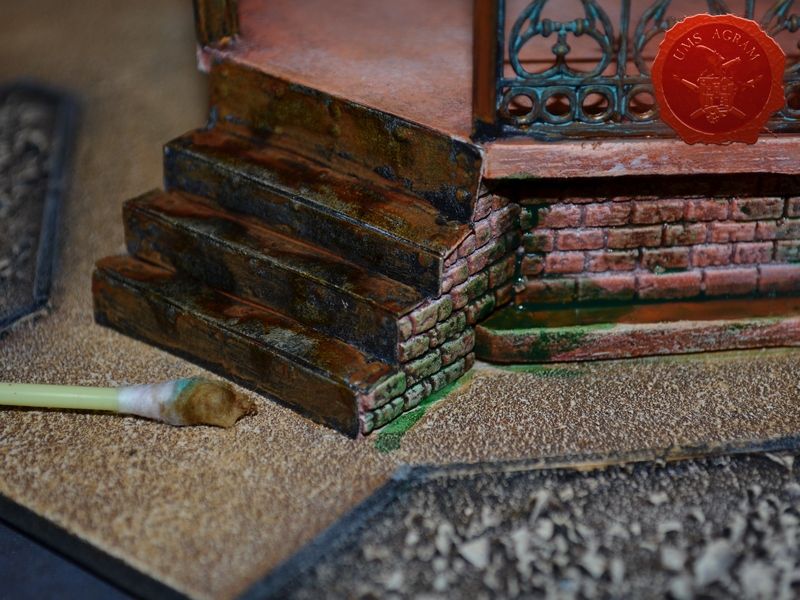
PAINTING METAL
After undercoating the roof and the metal parts of the gazebo (stairs, railigns and roof structure, I drybrushed the silver/black mixture. Then I applied the brass and gold layers to the brass parts (base and top of the lamppost, railings and the roof body of the gazebo). Once the base layers were done, I applied two special effects made by ModelMates: Rust (to silvery bits) and Verdigris (to the brass bits). Just apply these generously and after about ten minutes drying time, I used a slightly damp earcleaning tips to remove excess effects and add direction to the effects (rust usually runs down a slope). In the end using green washes and glazes I added the moss effect to the brick walls of the gazebo.
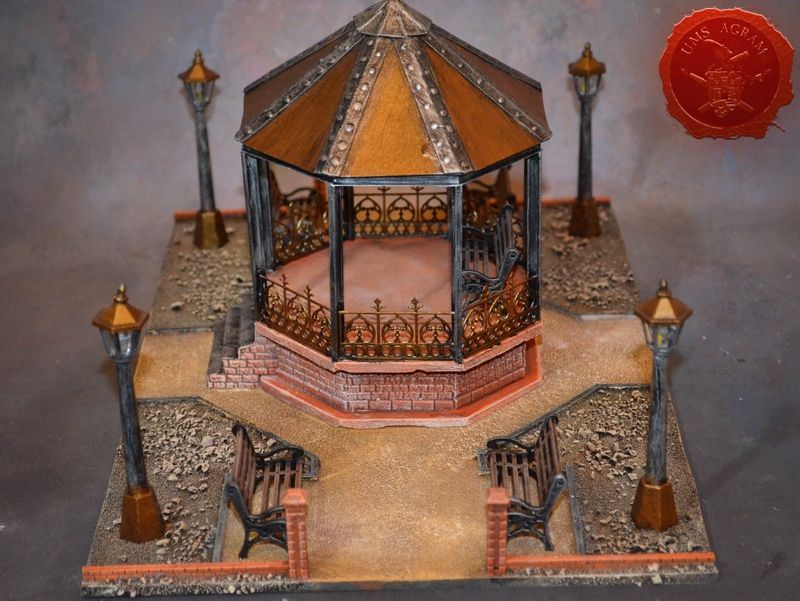
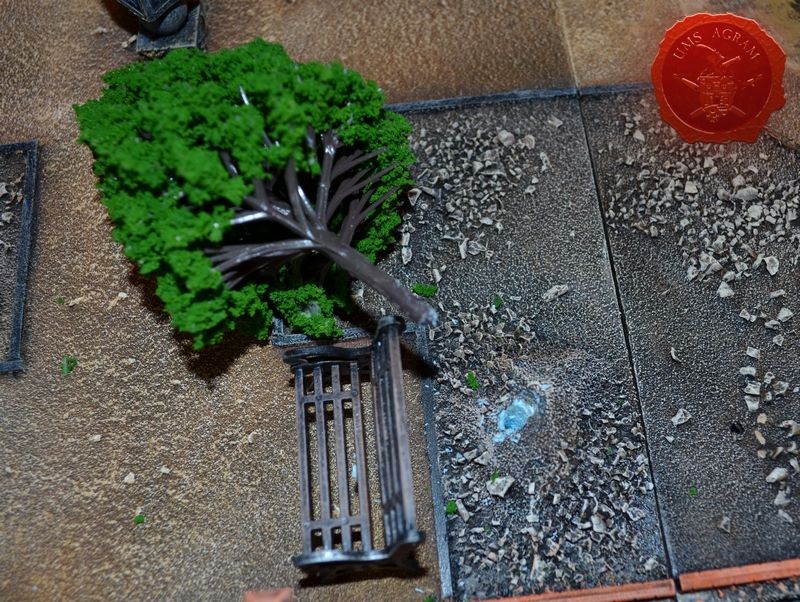
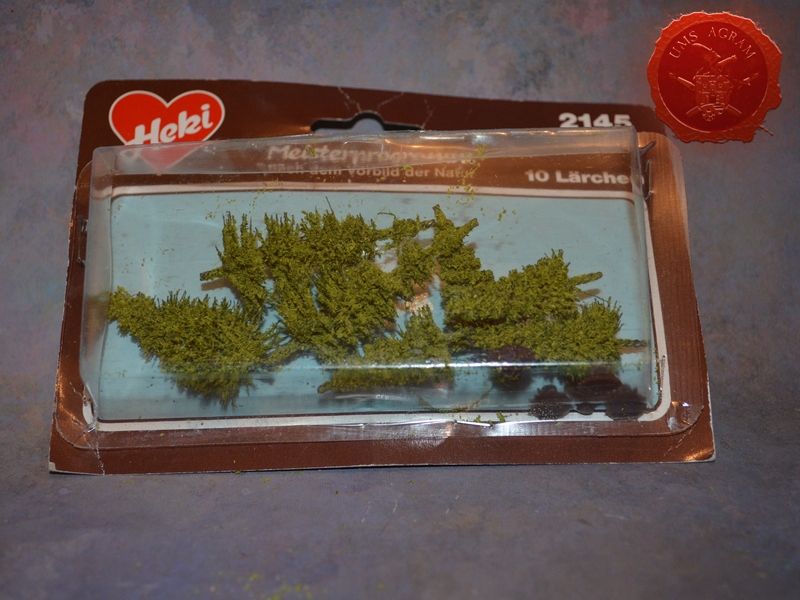
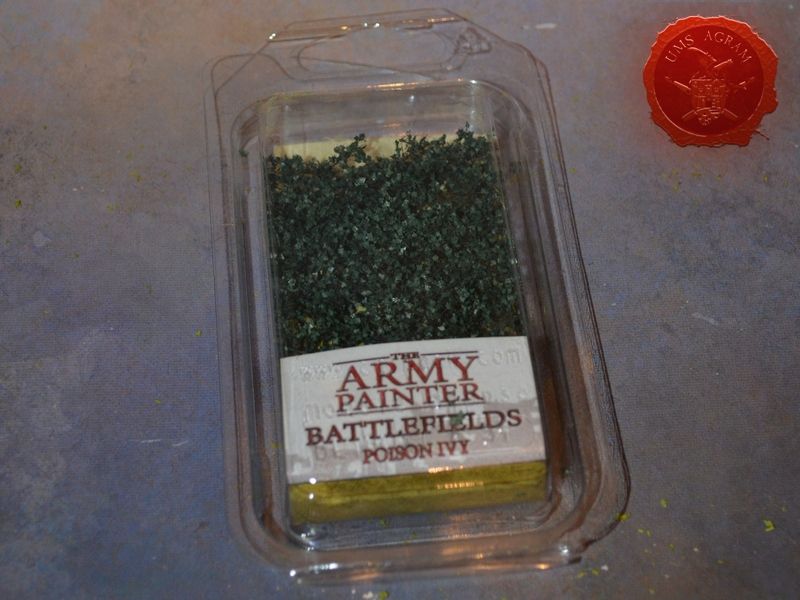
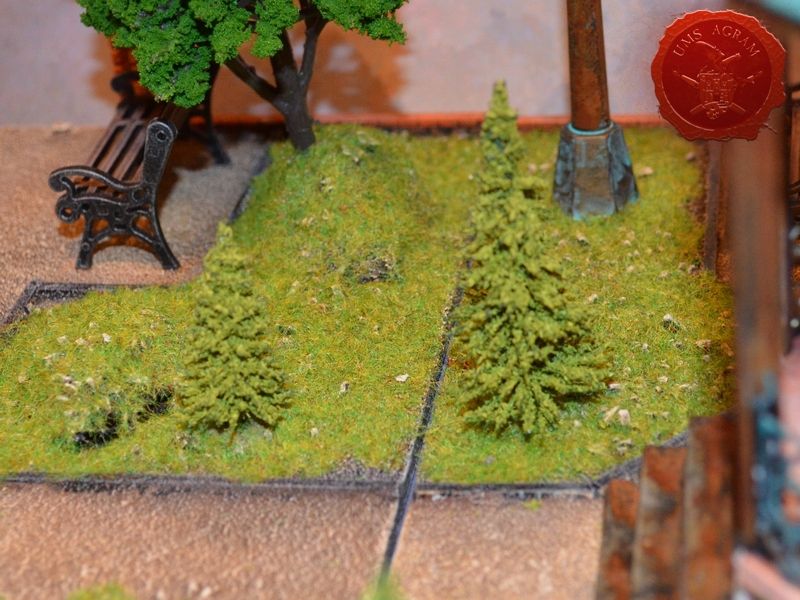
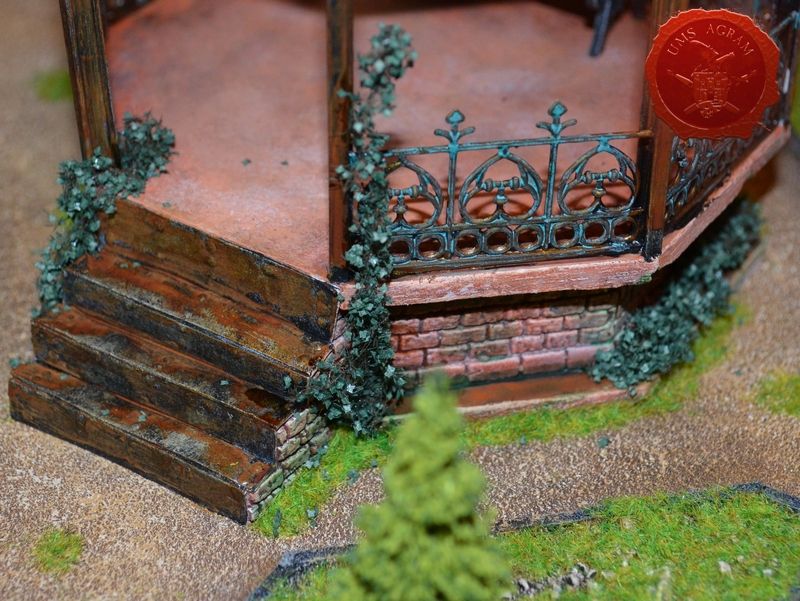
VEGETATION
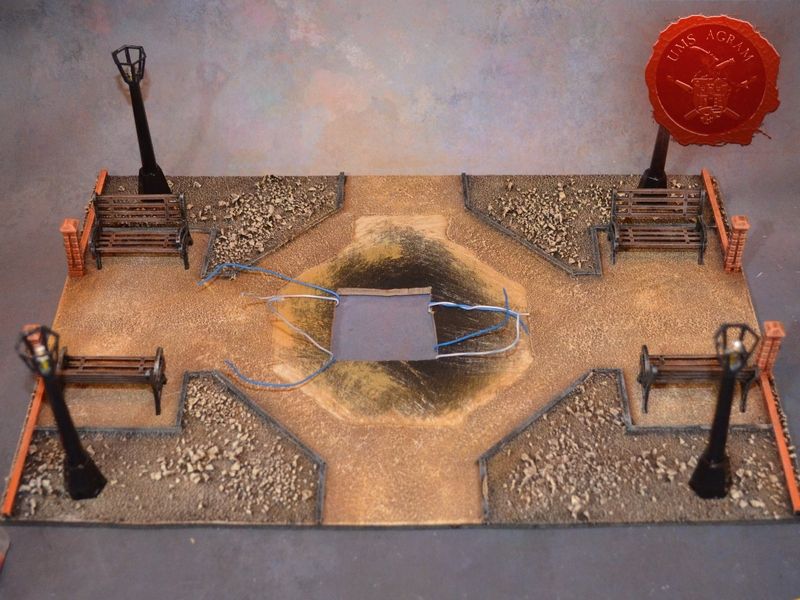
Once the paint dried it was time for flocking. I first pinned the trees to the base and added static grass gluing it with PVA glue. I also used some fir trees that were also pinned and I added some poison ivy to the gazebo.
All that was left was to take pics and enjoy a game on my new terrain!

Latest articles
- Making of MUMMY dioramas Sebastian Søgård, 17th June 2026
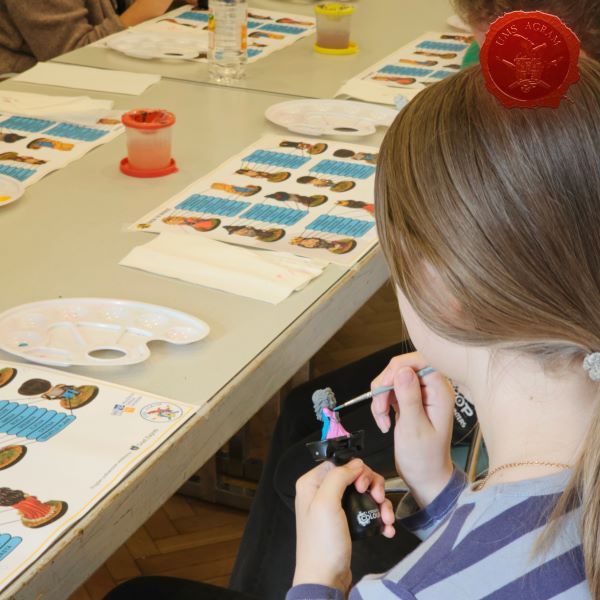
- Miniature Painting Workshop - 75mm Dwarf Ivan Knezović, 26th May 2026
- We visited: Festival Svet v Malem 2026, Pivka, Slovenia Krunoslav Belinić, 26th May 2026
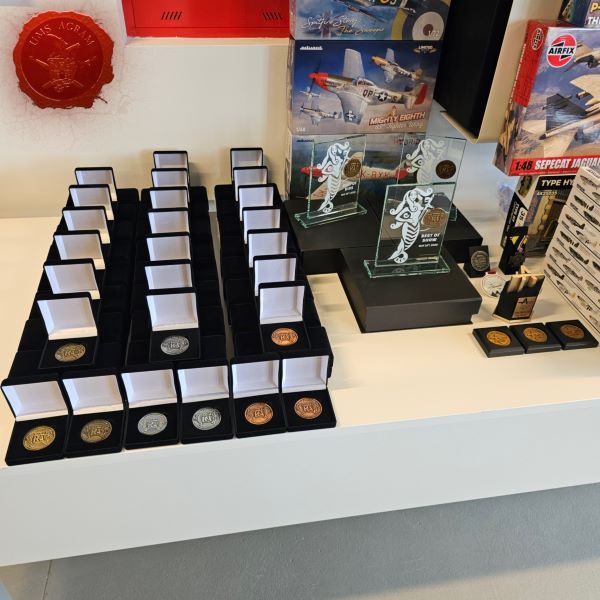
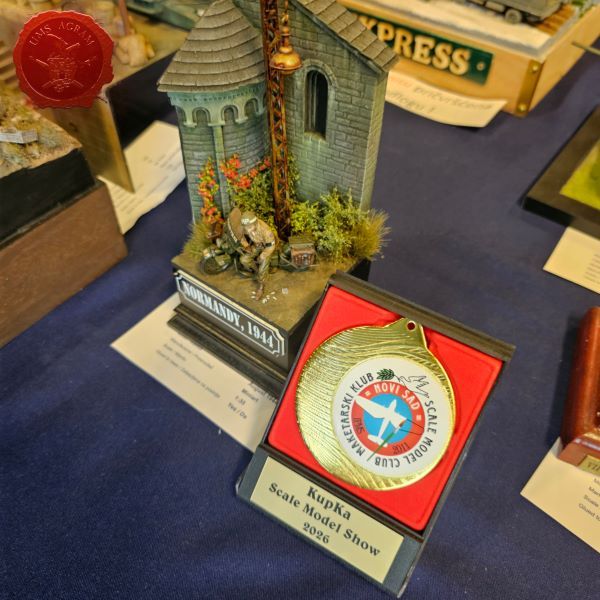
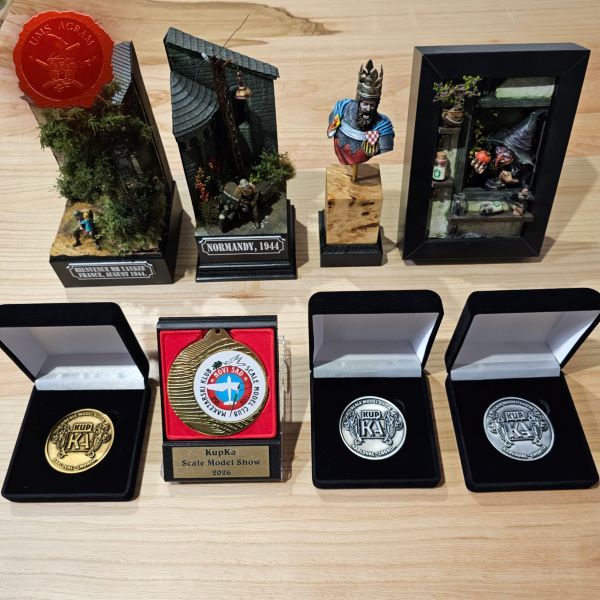
- We visited: KupKA 2026 Marko Paunović, 26th May 2026
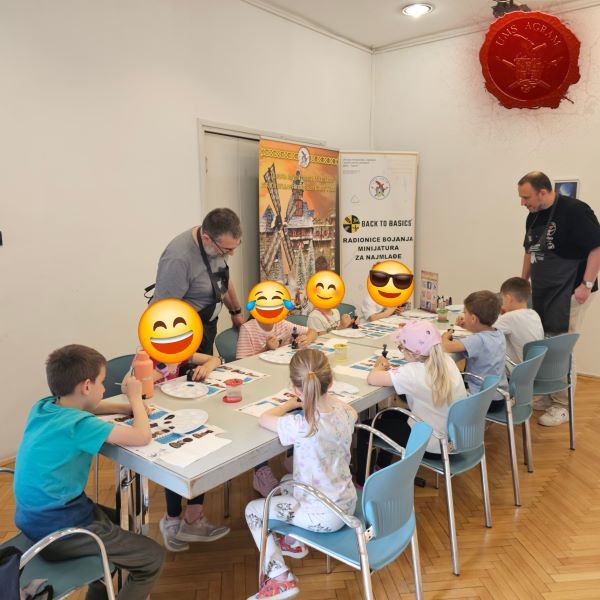
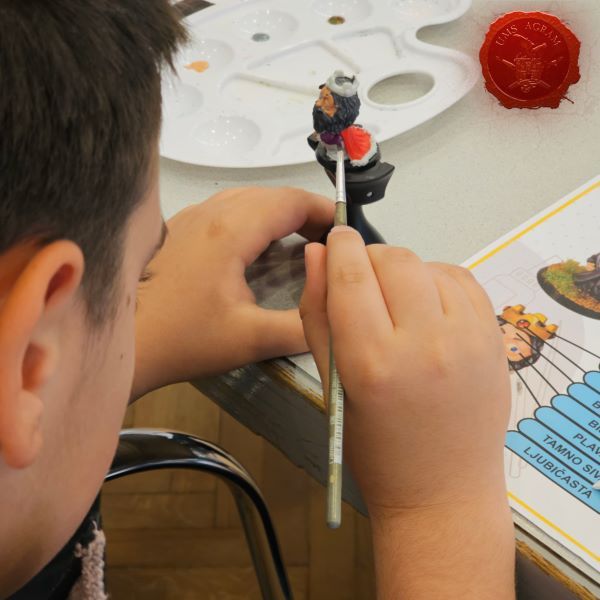
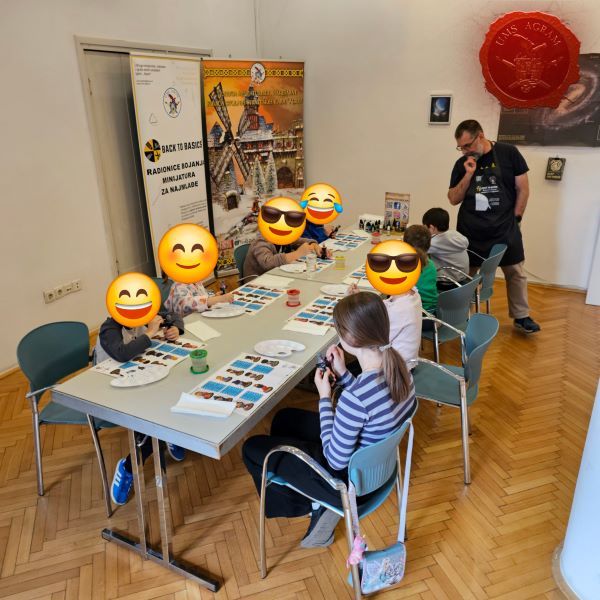
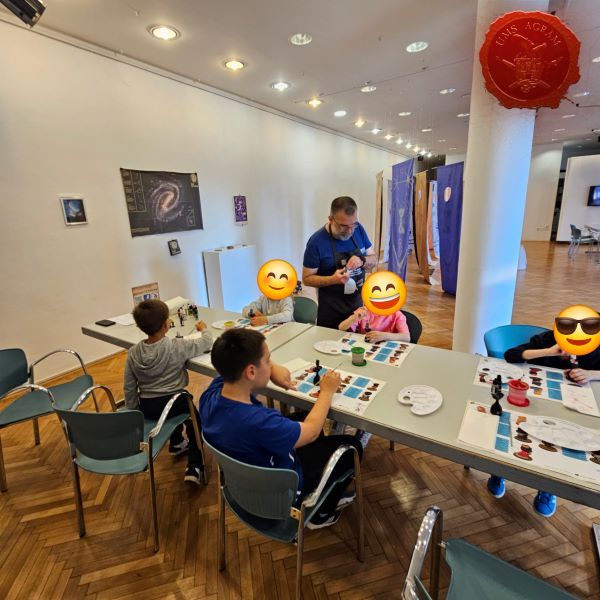
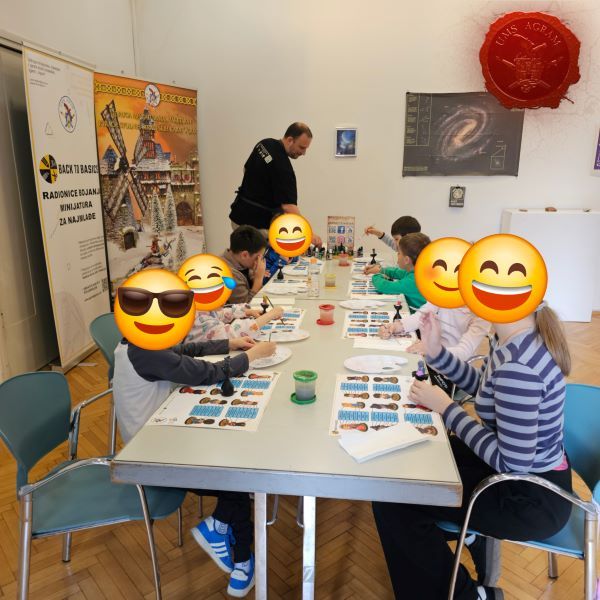
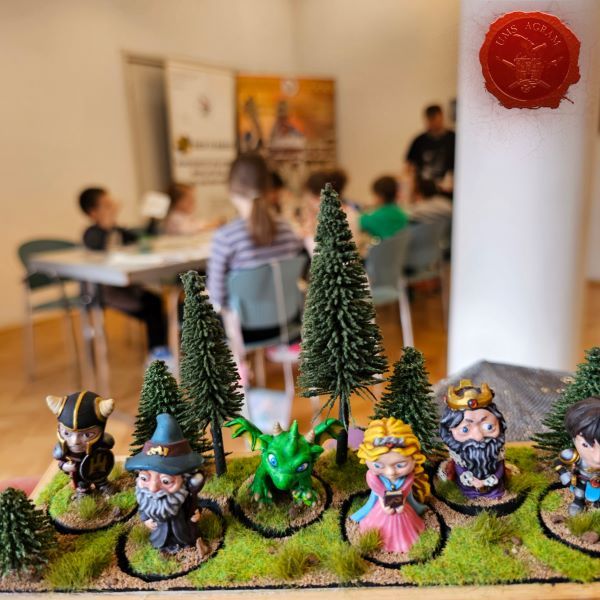
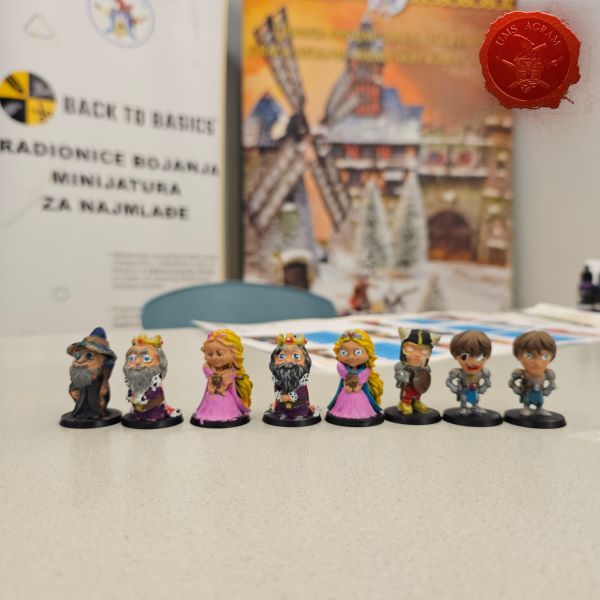
- Back to Basics Workshops in Gallery VN Krunoslav Belinić, 26th May 2026


Latest battle-reports
- Kill Team - Blooded vs. Vespid Stingwings 28th February 2025, GW - Warhammer 40.000, and Antoni Pastuović (Imperial Guard)
- 22nd April 2022, GW - Warhammer 40.000, Borna Pleše (Space Marines) and Kristijan Kliska (Tau Empire)
- 17th November 2021, GW - Warhammer 40.000, and Nino Marasović (Space Marines)