Exhibition of Miniatures and Tabletop Scenery 2023

Marko Paunović, 13th March 2023

Click for enlarged picture

Our annual Exhibition of Miniatures and Tabletop Scenery Agram 2023 took place this year from 23.02.-12.03.2023. The setup was done on Wednesday 22.02.2023. in the afternoon. Many club members as well as some friends of the club and members of the local FB group Miniature Painters Croatia came by to help, provided their miniatures and helped with the setting up of the whole event.

Click for enlarged picture

Click for enlarged picture

Click for enlarged picture

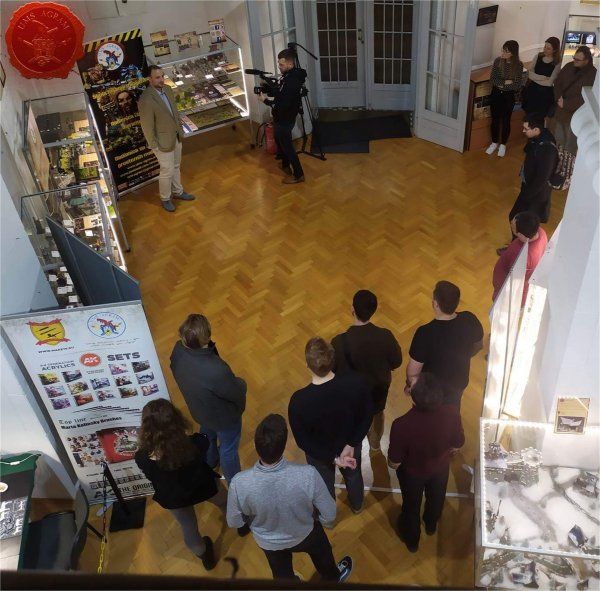
We held the grand opening on Thursday, 23.2.2023 starting at 18:00. The Exhibition was organised for our 20th birthday.

Click for enlarged picture

Click for enlarged picture

Click for enlarged picture

Click for enlarged picture

Click for enlarged picture

Click for enlarged picture

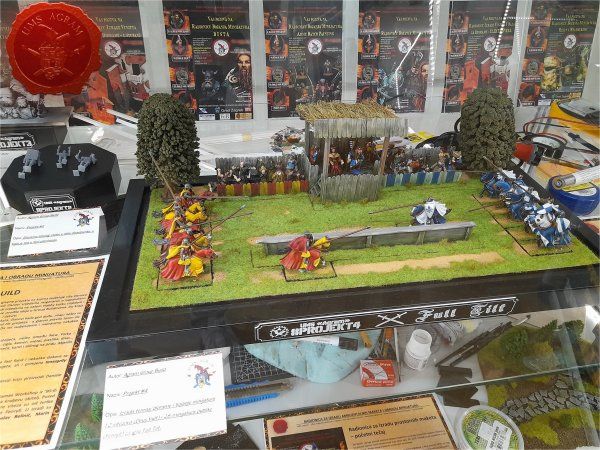
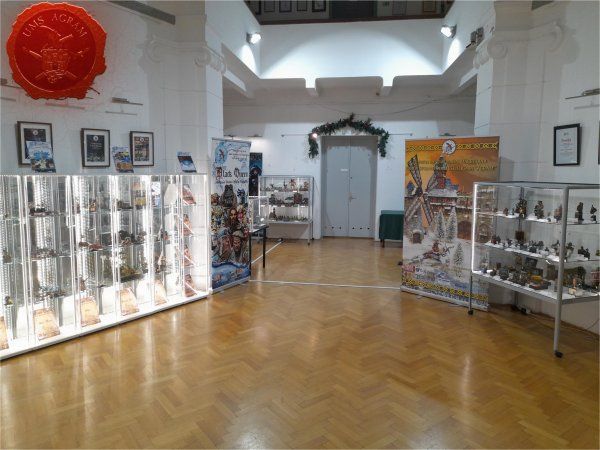
As always, the exhibition showed a cross-section of the work of the Association, its members, participants in its courses and workshops and members of the FB group Miniature Painters Croatia. In a large number of showcases, there were numerous miniatures for tabletop wargames, board games, and an entire showcase was dedicated to award-winning exhibits from previous miniaturist competitions. Several showcases were dedicated to the projects that the Association has been implementing for 19 years, such as the Library of UMS "Agram", the Terrain Workshop and the Miniature Painting Workshop.
Click for enlarged picture

Click for enlarged picture

Click for enlarged picture

Click for enlarged picture

Click for enlarged picture

Click for enlarged picture

Click for enlarged picture

Click for enlarged picture

Click for enlarged picture

Click for enlarged picture

Click for enlarged picture

Click for enlarged picture

Click for enlarged picture

Click for enlarged picture

Click for enlarged picture

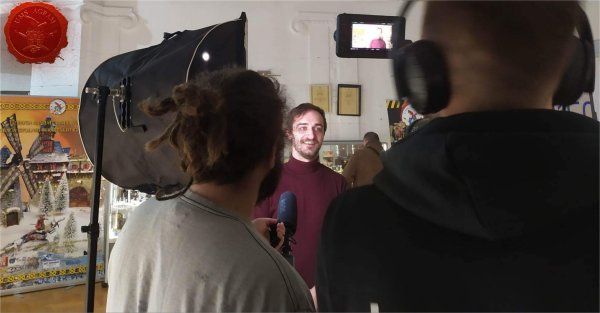
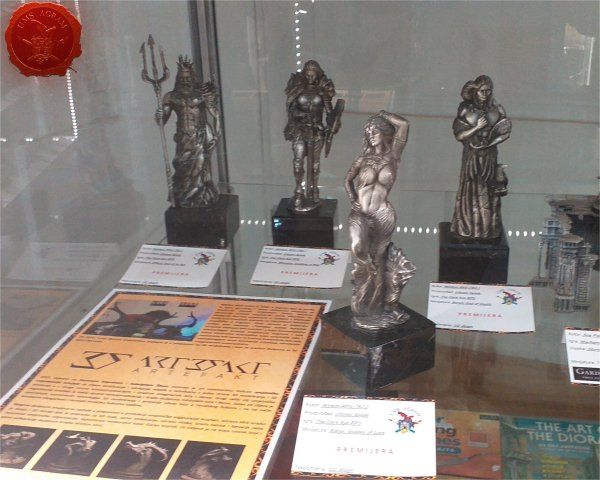
This year we've had two guest exhibitors. The first one was Winton Afrić with his project Artefact. Four of his digital sculpts were premiered at out Exhibition that were a part of a commission for The Dark Eye RPG by Ulisses Spiele.
Click for enlarged picture

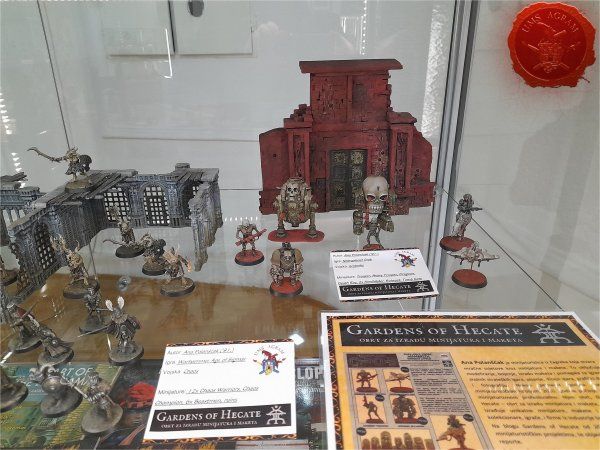
The other guest was Gardens of Hecate. A Zagreb-based craft run by Ana Polanšćak that specialises in making and painting custom miniatures, terrain as well as developing rules sets.
Click for enlarged picture

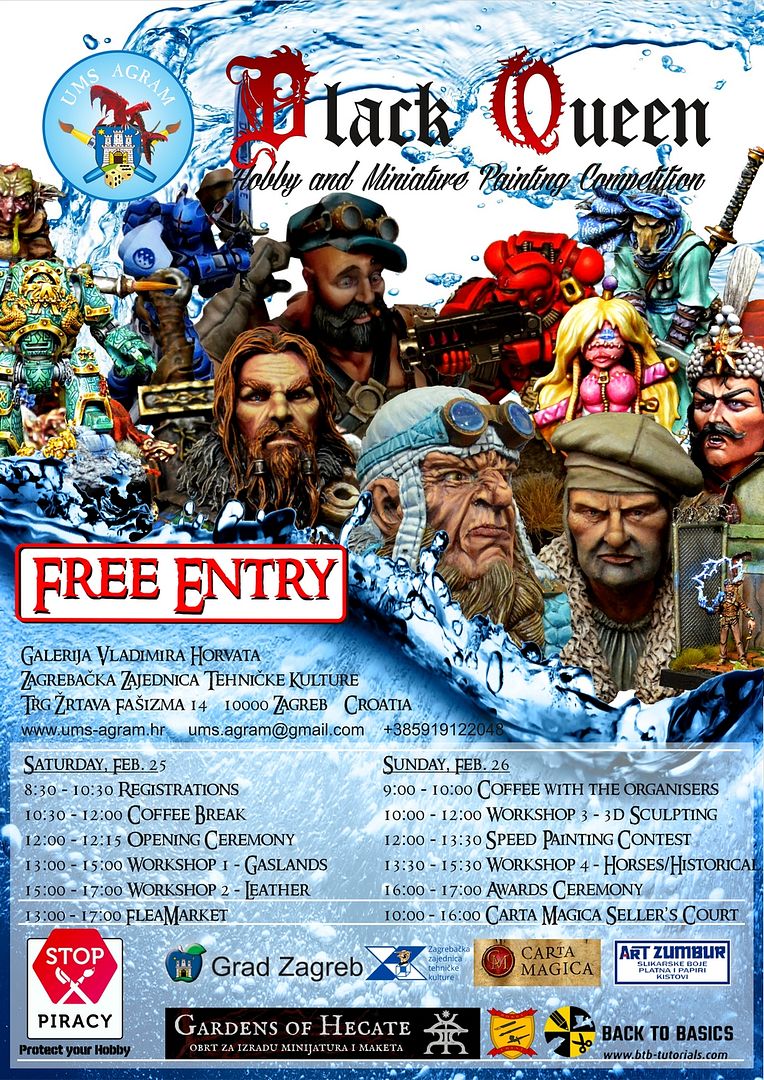
During the weekend of 25.-26.02. as a part of the Exhibition, we held our 16th annual Black Queen Hobby and Miniature Painting Competition!
Click for enlarged picture

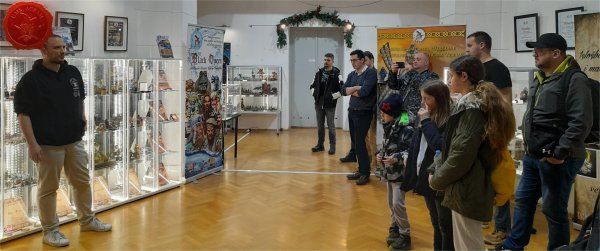
As our competitors registered at the venue, our diligent staff photographed all the entries before dividing them into categories and placing them in their respective glass cabinets .

Click for enlarged picture

Click for enlarged picture

Here is a quick run down through categories at this year's event:

1. Single Miniature (any 28-35mm single miniature)

2. Mounted and Large Miniature (mounted or large miniatures in 28-35mm scale)

3. Unit / Squad (unit of 5+ minis (28-35mm), or exceptionally 3+ minis (trolls, ogres etc))

4. Masterclass (our most prestigious category, anything goes as long as it's a single entry.)

5. Diorama / Duel (self explanatory, two or more minis locked in combat or in any other interaction on a single base (no limit to the size of the base, if you can bring it, we'll display it!))

6. Open (anything that isn't covered in the categories above – primarily reserved for dragons, monsters, warmachines, but also scenery etc)

7. Bust (busts of any size can go in here)

8. Junior (under 18. The Junior entries will be assigned in the categories above as applicable and will compete with the rest of the entries. However, best three Junior entries in the whole competition will be awarded in Junior category.)

9. BEST OF SHOW (this is a new category which will be sponsored by UMS „Agram“. All of the entries will be judged and the best entry will be awarded a special prize!

Click for enlarged picture

Click for enlarged picture

Click for enlarged picture

Click for enlarged picture

Click for enlarged picture

Click for enlarged picture

Click for enlarged picture

Click for enlarged picture

At noon, all the cabinets were filled and the competition could officially begin!
Click for enlarged picture

Click for enlarged picture

Click for enlarged picture

Click for enlarged picture

Click for enlarged picture

Click for enlarged picture

Painting Workshops

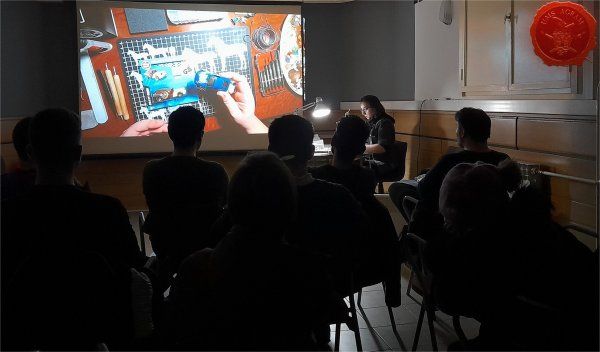
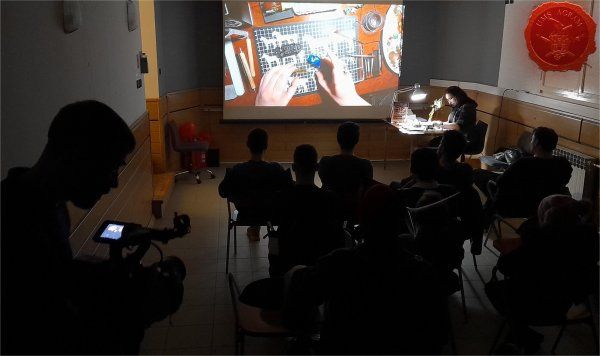
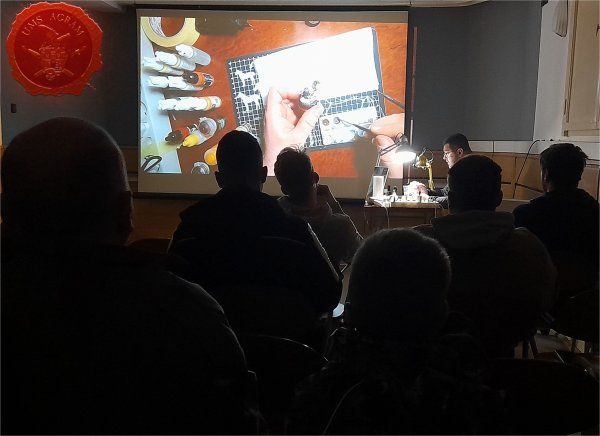
The layout of the venue at the Vladimir Horvat Gallery makes it possible to hold several workshops throughout the weekend. Therefore, there were two two-hour workshops on Saturday after the official opening of the competition and two on Sunday before the awards ceremony. This year, the workshops were held in the cinema hall in the basement of the venue. The tutor's work was filmed with a camera and projected on the projection screen in the hall.

GASLANDS KITBASH WORKSHOP

Date and time: Saturday 25. February 2023, 13:00-15:00

TUTOR:Ana Polanšćak
Click for enlarged picture

CONTENT:

The workshop demonstrated the conversion of diecast cars into figures for Gaslands - a tabletop game of vehicle racing and combat on a post-apocalyptic Earth. It included disassembly, surface preparation, and adding weapons, armor, damage, and other details.
Click for enlarged picture

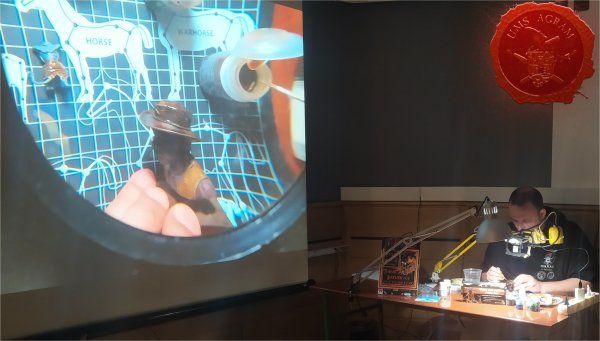
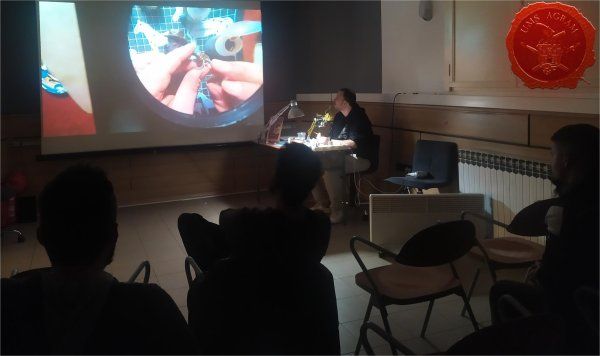
LEATHER 101 WORKSHOP

Date and time: Saturday 25. February 2023, 15:00-17:00

TUTOR: Marko Paunović
Click for enlarged picture

CONTENT:

The workshop covered different methods of painting leather surfaces, ranging from basic for tabletop and/or beginners up to advanced methods for painting busts and other display miniatures. The tutor has chosen several various miniatures/busts to show his creative process.
Click for enlarged picture

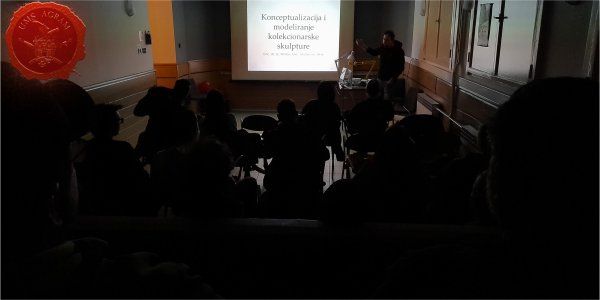
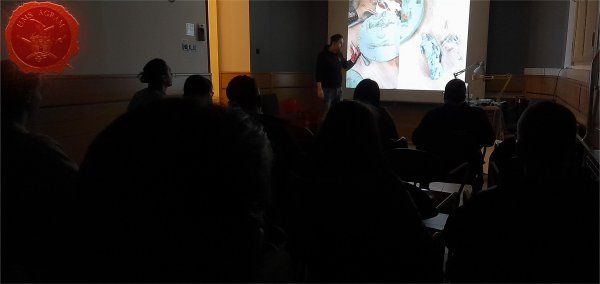
3D SCULPTING 101 WORKSHOP

Date and time: Sunday 26. February 2023, 10:00-12:00

TUTOR: Winton Afrić
Click for enlarged picture

CONTENT:

The workshop covered the process of 3D digital sculpting, from the idea to realisation and preparation for casting.
Click for enlarged picture

HORSES / HISTORICAL WORKSHOP

Date and time: Sunday 26. February 2023, 13:30-15:30

TUTOR: Dalibor Čavić
Click for enlarged picture

CONTENT:


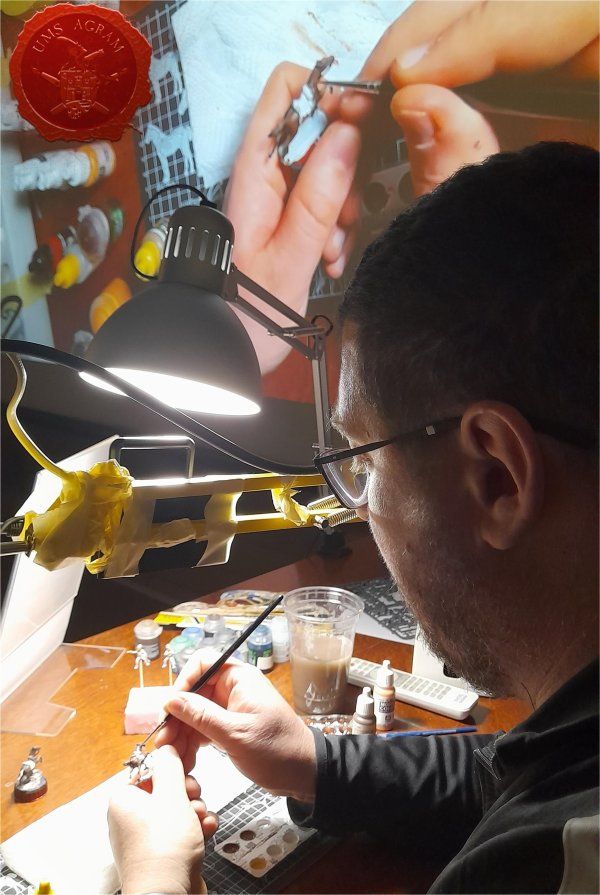
This workshop covered the process of painting 28mm cavalry historical miniatures. The tutor has chosen suitable Black Husars of Frederic the Great by Zvezda to explain the theory as well as practical application using various techniques like basecoating, washing, highlighting and detailing with acrylic paints.
Click for enlarged picture

Speed Painting Contests


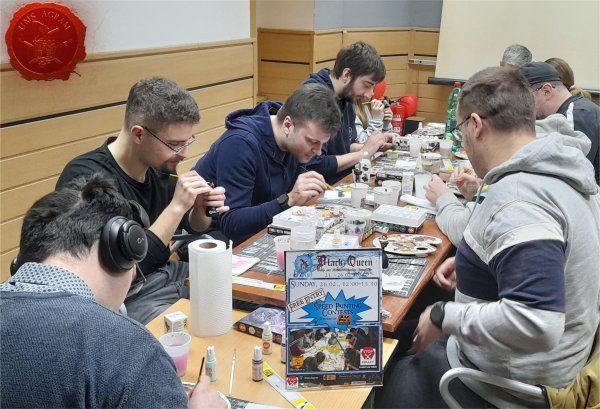
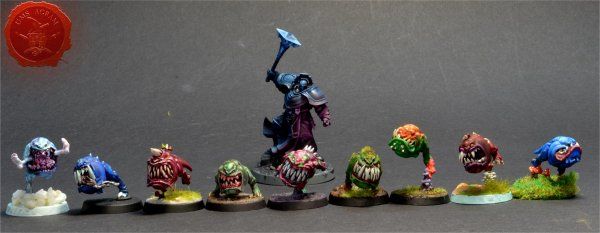
There was a speed painting contest organised on Sunday. Participants had an hour to paint a single miniature. Thanks to our sponsor Hobby Chest who secured a huge donation of painting materials by AK Interactive, we were able to hold a Speed Painting Contest with the following rules: - contestants had an hour to paint a miniature - all contestants painted the same (type of) miniature - we provided the paints by AK Interactive - we provided the brushes by AK Interactive
Click for enlarged picture

Click for enlarged picture

That brought this wonderful weekend to a close and all that was left to do was to award the winning painters.

Click for enlarged picture

Click for enlarged picture

Click for enlarged picture

During the following two weeks on workdays from 16:00 until 20:00 we organised Warhammer 40.000 demo games. Next to the wargaming table we set up a painting booth where our visitors could paint the miniatures we provided (or they brought with themselves) using our painting material. This interactive part of the workshop was a nice new feature to our standard exhibition setup.

Click for enlarged picture

Click for enlarged picture

Click for enlarged picture

Click for enlarged picture

Click for enlarged picture

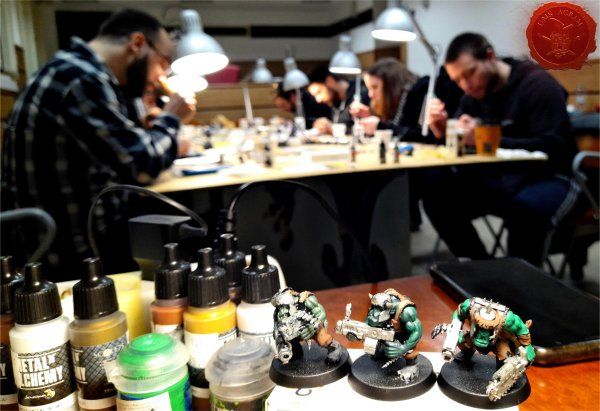
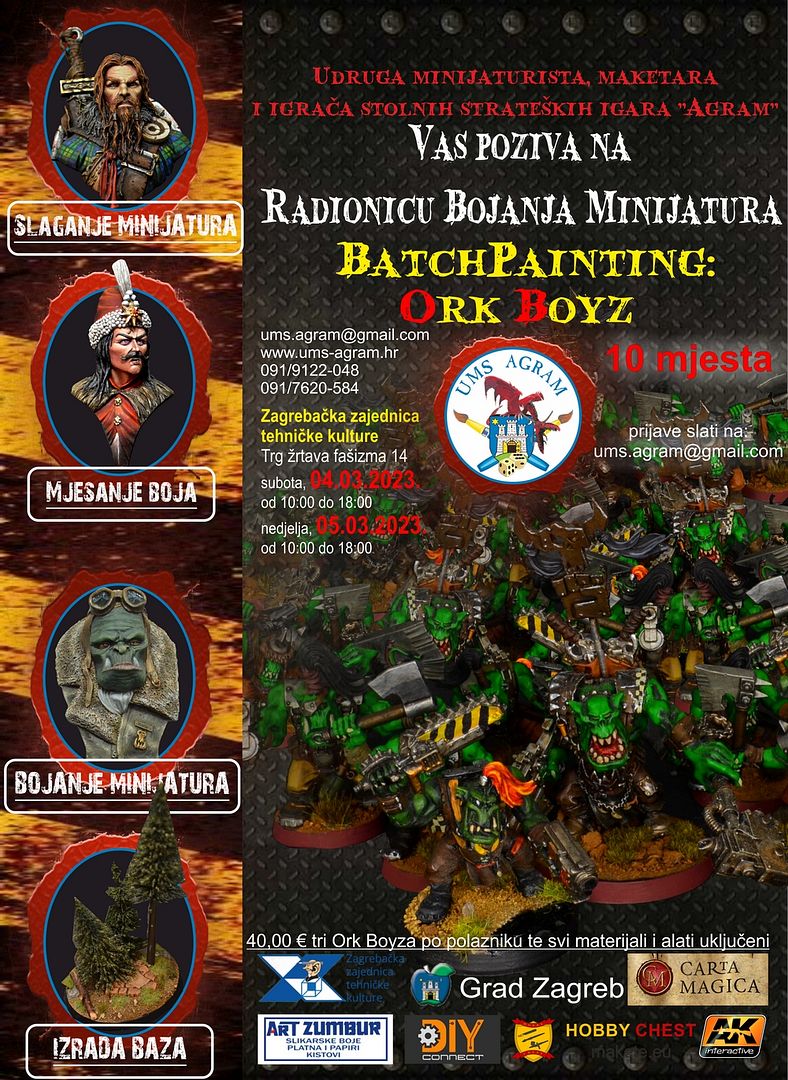
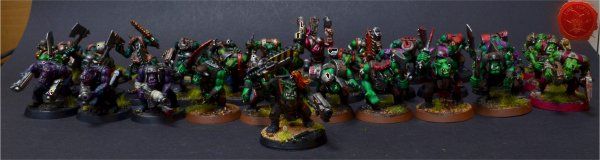
During the second weekend of the Exhibition, on 04.-05.03., we organised a MINIATURE PAINTING WORKSHOP – Batchpainting Ork Boyz.
 

Click for enlarged picture

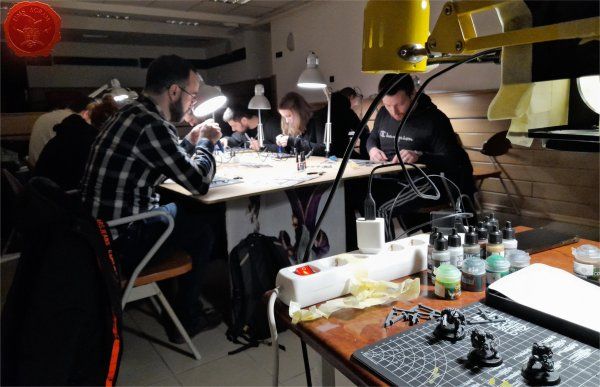
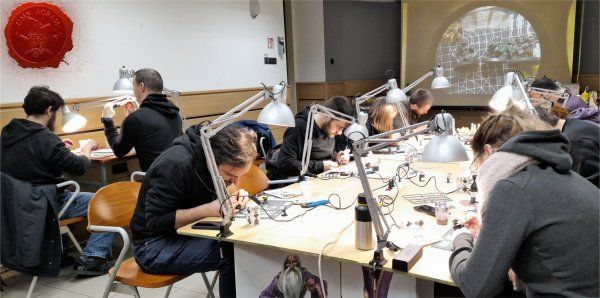
During the weekend workshop the attendees painted the Ork Boyz figures for Warhammer 40,000 board strategy games. The focus of these lectures was painting several miniatures at once, but the knowledge from the workshop is equally applicable to coloring armies for boardgames and a collection of figures for pen&paper rpgs. The workshop presented paints and accessories, preparation of figures, several techniques for coloring miniatures from basic to more advanced, and techniques and tricks for quickly and efficiently coloring large quantities of figures at once. As part of the workshop, water-based acrylic paints were used. The lectures were adapted so that the presenters will devote equal time to all participants and will be able to adapt to all categories of miniaturists (from beginners to slightly advanced).
Click for enlarged picture

Click for enlarged picture

Click for enlarged picture

First, the lecturer sits at his desk and explains and demonstrates each step in painting a miniature/mockup on his specimen. His work is shown on a screen through a camera and projector, which the participants listen to, look at, and ask questions about. Afterwards, the participants sit at their desks and apply the acquired knowledge. Leaders circulate between participants and check how each participant is doing. In this way, they can be adapted to each student individually. The workshop included the following thematic units

1. Planning and preparation and assembly of miniatures 2. Processing of miniatures before painting 3. Basic colors 4. Shading and highlighting techniques 5. Batch Painting 6. Subsequent elevation of the finished paintjob to a higher level 7. Basing the miniatures

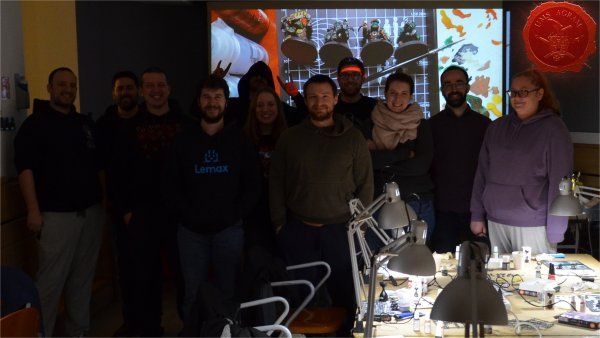
The club provided all with the necessary equipment, paints, tools, brushes, lighting, glue as well as a set of paints.
Click for enlarged picture

Click for enlarged picture

On Wednesday 08.03.2023. we held our annual General Assembly and ellected new leadership for the next two years.

Click for enlarged picture

Click for enlarged picture

Click for enlarged picture

Click for enlarged picture

On Sunday 12.03.2023. the Exhibition ended and all our exhibits were safely stored away and the Gallery was cleaned.

Click for enlarged picture

Click for enlarged picture

Latest articles

  • Back to Basics Workshops for kids in Medveščak Library - Autumn 2026
              array(2) {
      ["Article"]=>
      array(10) {
        ["id"]=>
        string(3) "534"
        ["member_id"]=>
        string(2) "64"
        ["title_eng"]=>
        string(70) "Back to Basics Workshops for kids in Medveščak Library - Autumn 2026"
        ["title_hrv"]=>
        string(81) "Back to Basics radionice bojanja minijatura u Knjižnici Medveščak - jesen 2026"
        ["mask_eng"]=>
        string(68) "back_to_basics_workshops_for_kids_in_medvescak_library_-_autumn_2026"
        ["mask_hrv"]=>
        string(78) "back_to_basics_radionice_bojanja_minijatura_u_knjiznici_medvescak_-_jesen_2026"
        ["content_eng"]=>
        string(5920) "

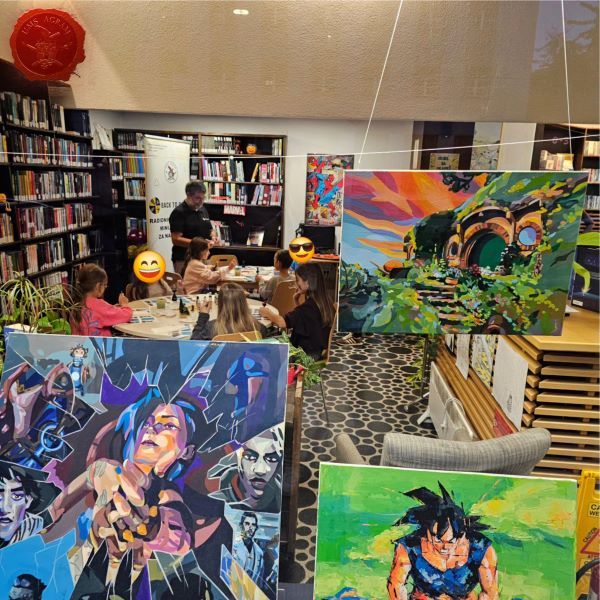
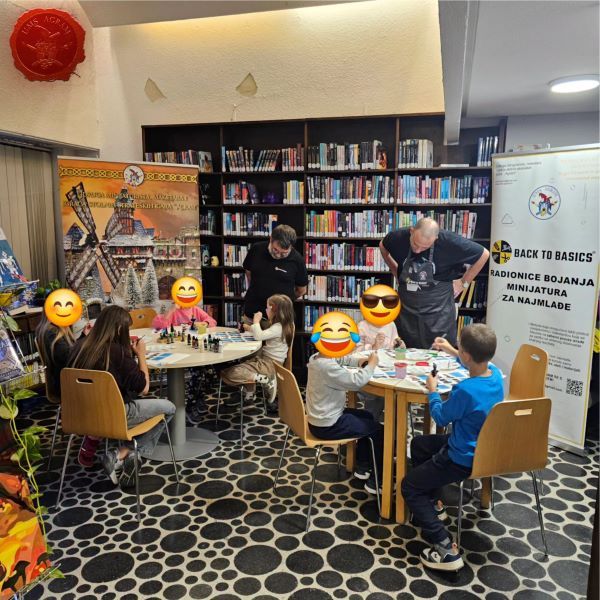
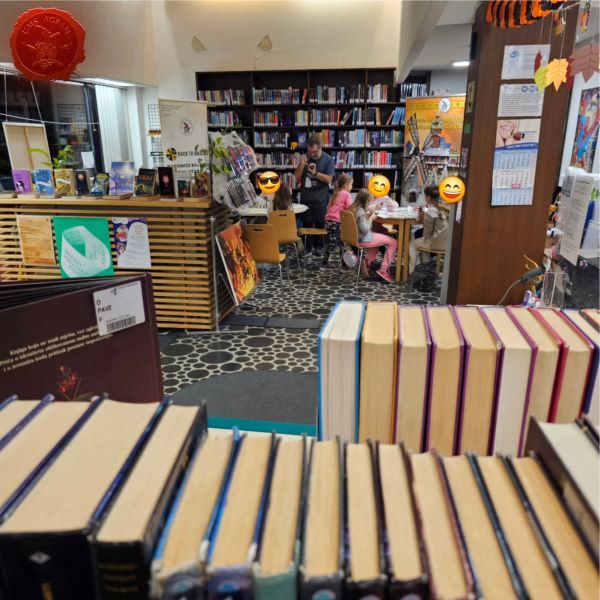
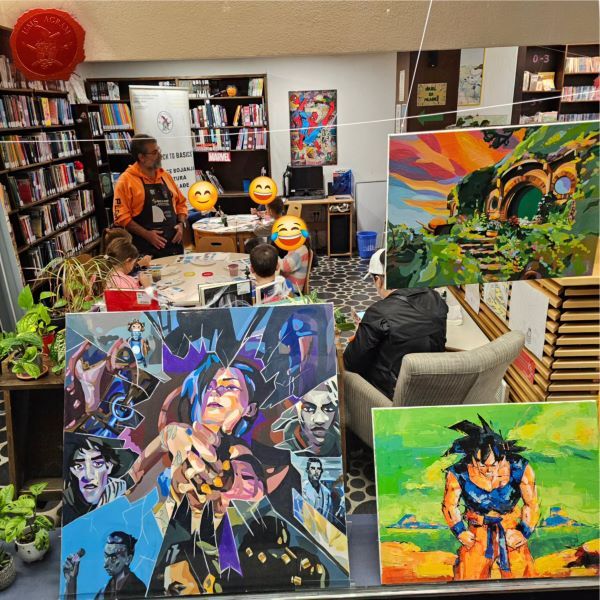
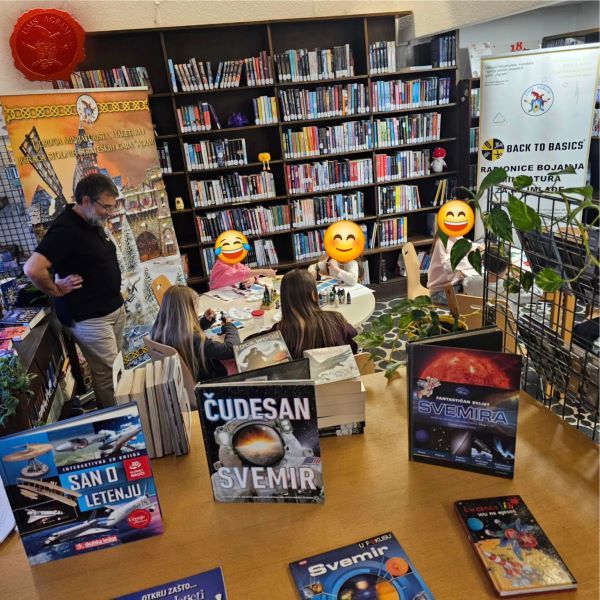
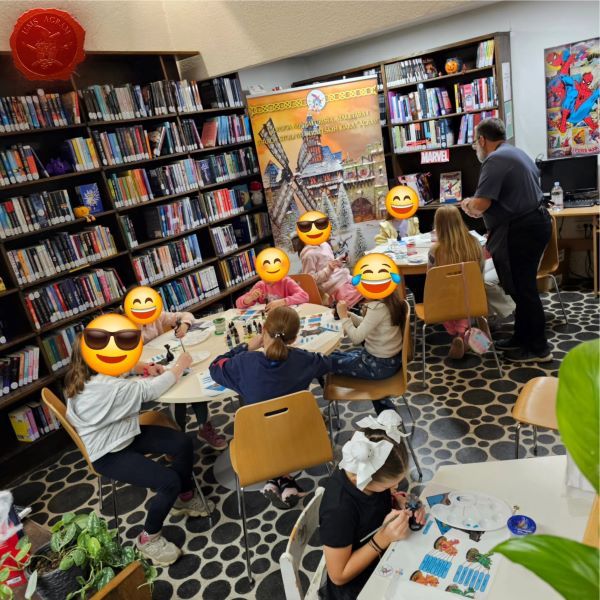
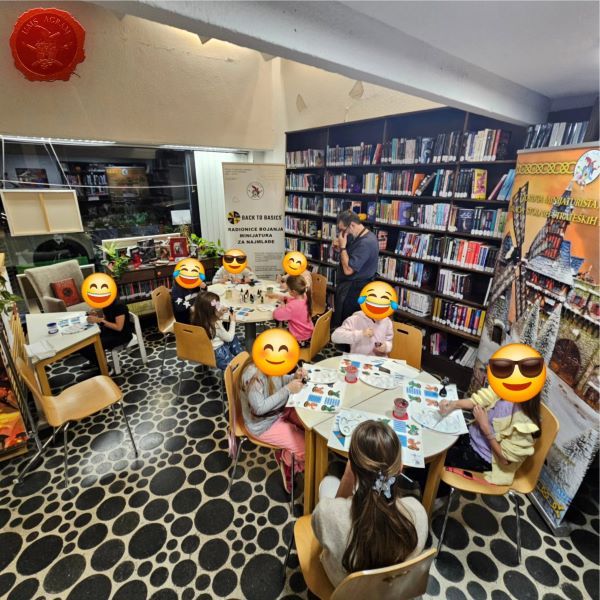
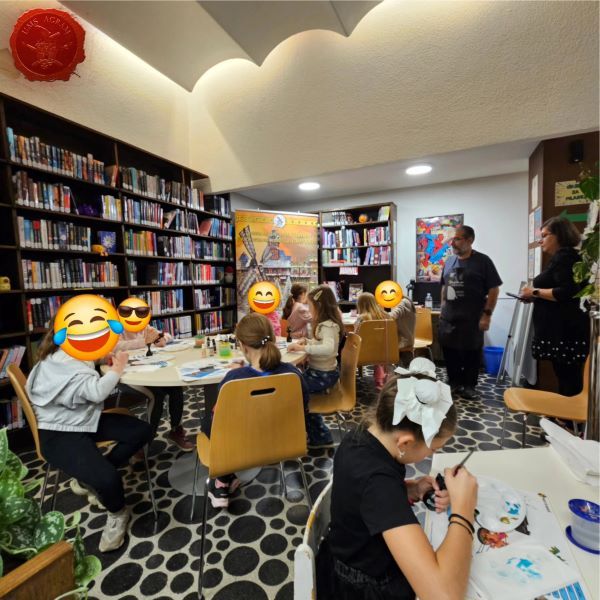
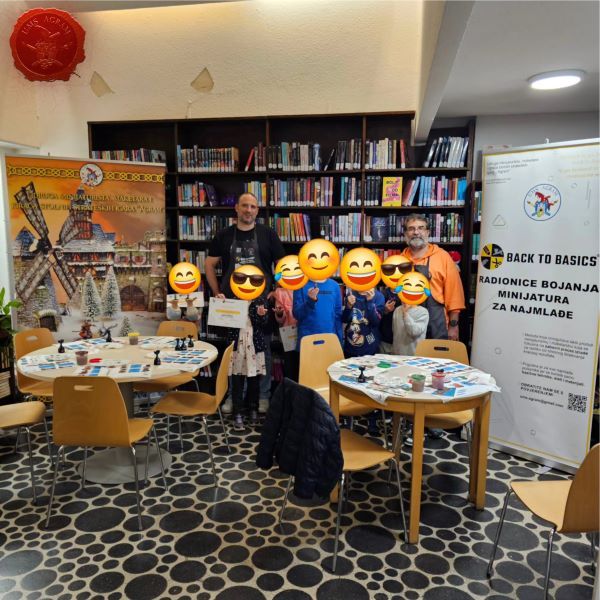
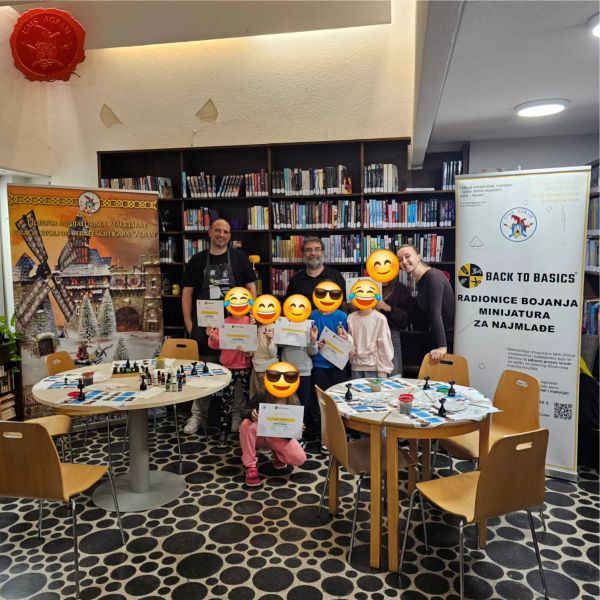
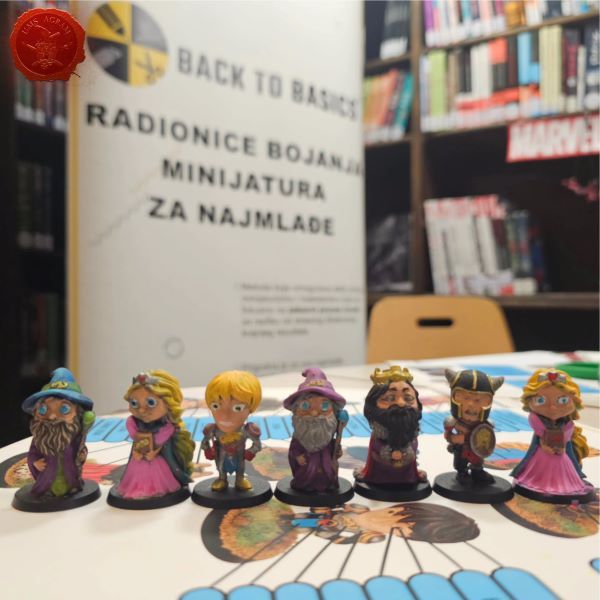
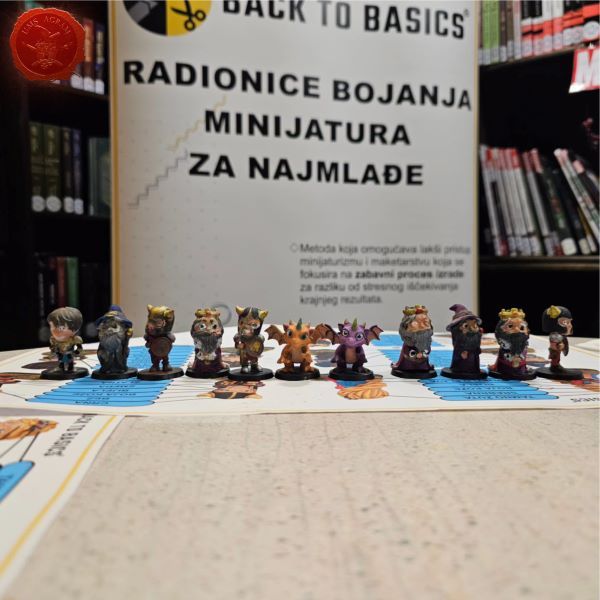
    This autumn, we once again held our "Back to Basics" miniature painting workshops for children at the Medveščak Library.

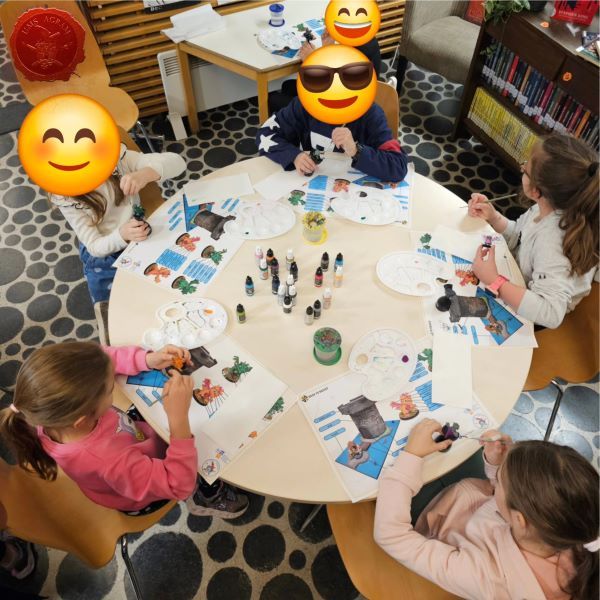
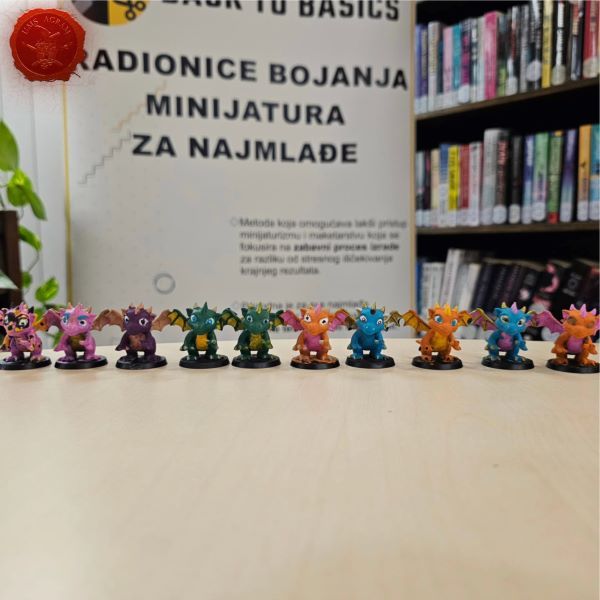
    Over the course of three weeks, our youngest participants painted our "Agramers" and learned the ropes of miniature painting.

    A big thank you to the parents for their trust, and to the Children and Youth Department of the Medveščak Library for their support!

    See you next spring!

    Click for enlarged picture

    Click for enlarged picture

    Click for enlarged picture

    Click for enlarged picture

    Click for enlarged picture

    Click for enlarged picture

    Click for enlarged picture

    Click for enlarged picture

    Click for enlarged picture

    Click for enlarged picture

    Click for enlarged picture

    Click for enlarged picture

    Click for enlarged picture

    Click for enlarged picture

    Click for enlarged picture

    Click for enlarged picture

    You can find more photos on our social networks!

    " ["content_hrv"]=> string(5773) "

    I ove jeseni održali smo Back to Basics radionice bojenja minijatura za najmlađe u Knjižnica Medveščak.

    Kroz tri tjedna naši najmlađi polaznici su bojali naše Agramere i upoznali se sa bojanjem minijatura.

    Veliko hvala roditeljima na povjerenju i Odjelu za djecu i mlade Knjižnice Medveščak na podršci !

    Vidimo se sljedeće godine na proljeće

    Click for enlarged picture

    Click for enlarged picture

    Click for enlarged picture

    Click for enlarged picture

    Click for enlarged picture

    Click for enlarged picture

    Click for enlarged picture

    Click for enlarged picture

    Click for enlarged picture

    Click for enlarged picture

    Click for enlarged picture

    Click for enlarged picture

    Click for enlarged picture

    Click for enlarged picture

    Click for enlarged picture

    Click for enlarged picture

    Više fotografija možete pronaći na našim društvenim mrežama!

    " ["created"]=> string(19) "2026-10-30 09:12:21" ["modified"]=> string(19) "2026-10-30 09:12:21" } ["Member"]=> array(10) { ["id"]=> string(2) "64" ["group_id"]=> string(1) "1" ["first_name"]=> string(9) "Krunoslav" ["last_name"]=> string(8) "Belinić" ["first_name_mask"]=> string(9) "krunoslav" ["last_name_mask"]=> string(7) "belinic" ["username"]=> string(5) "Kruno" ["password"]=> string(40) "eb3fda45fbec0258e90d809803b10491c548b22f" ["born"]=> string(19) "2015-01-18 09:19:00" ["created"]=> string(19) "2015-01-18 09:20:39" } }
    Krunoslav Belinić, 30th October 2026
  • Agram Group Build #7 – Amon Hen, pt.7
              array(2) {
      ["Article"]=>
      array(10) {
        ["id"]=>
        string(3) "533"
        ["member_id"]=>
        string(2) "64"
        ["title_eng"]=>
        string(39) "Agram Group Build #7 – Amon Hen, pt.7"
        ["title_hrv"]=>
        string(40) "Agram Group Build #7 – Amon Hen, dio 7"
        ["mask_eng"]=>
        string(32) "agram_group_build_7_amon_hen_pt7"
        ["mask_hrv"]=>
        string(34) "agram_group_build_7_amon_hen_dio_7"
        ["content_eng"]=>
        string(6275) "

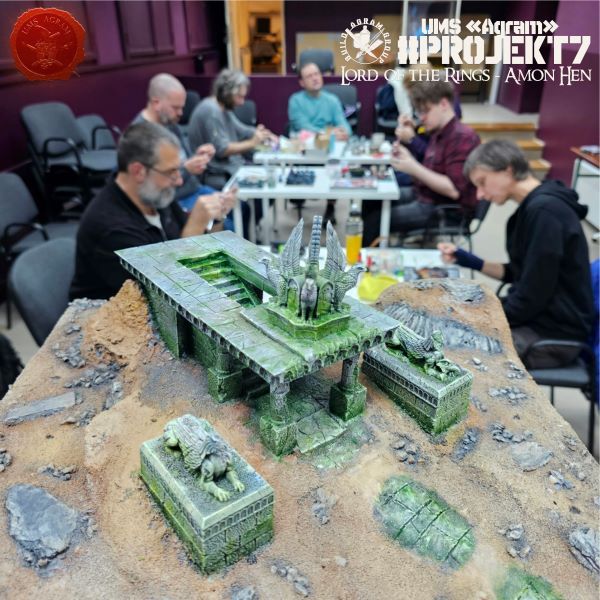
    Agram Group Build is back. For this seventh installment, the team decided to create a gaming board/diorama for Amon Hen. To that end, we fulfilled a childhood dream and acquired the original Forge World Amon Hen terrain (released around 2000) along with the accompanying set of miniatures. This series of articles will document the entire project—from crafting the terrain to assembling and painting the miniatures.

    Click for enlarged picture

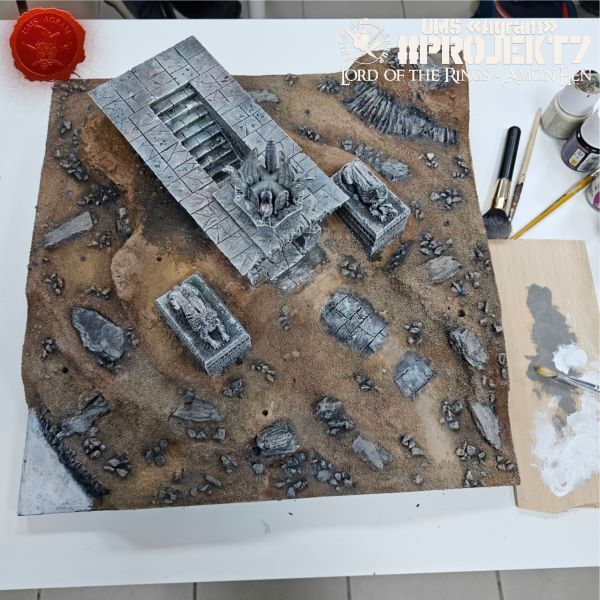
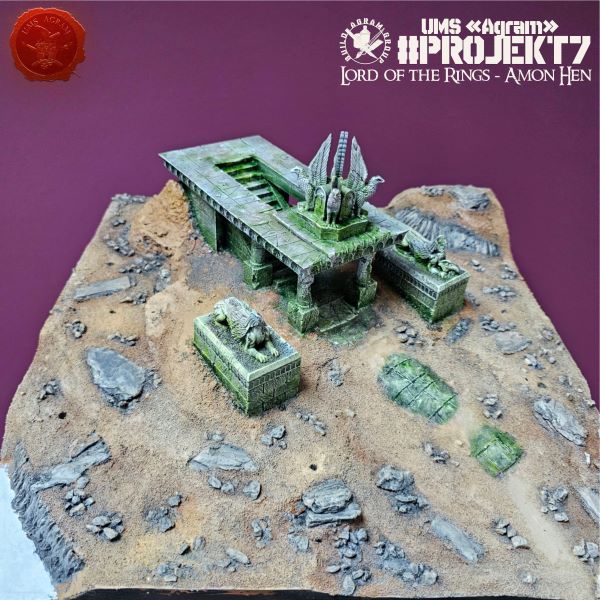
    The first thing we did this week was finish painting the terrain. All that remained were the stone statues and the temple. A light drybrush of grey and white paint was all that was needed, following the layers of washes we had applied the week before.

    Click for enlarged picture

    Click for enlarged picture

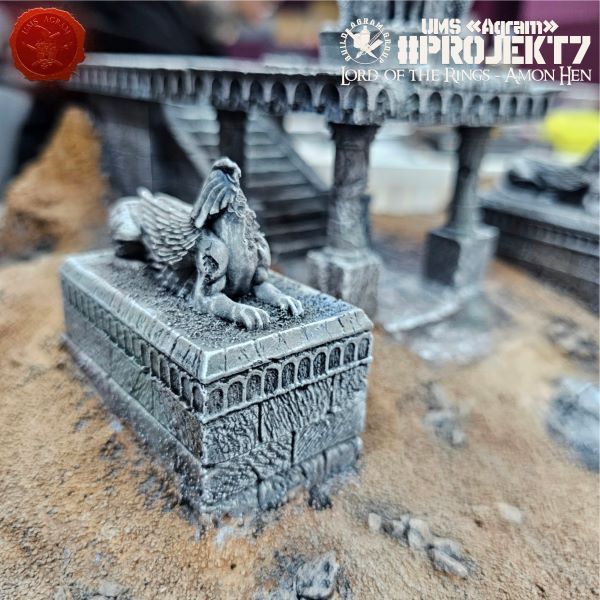
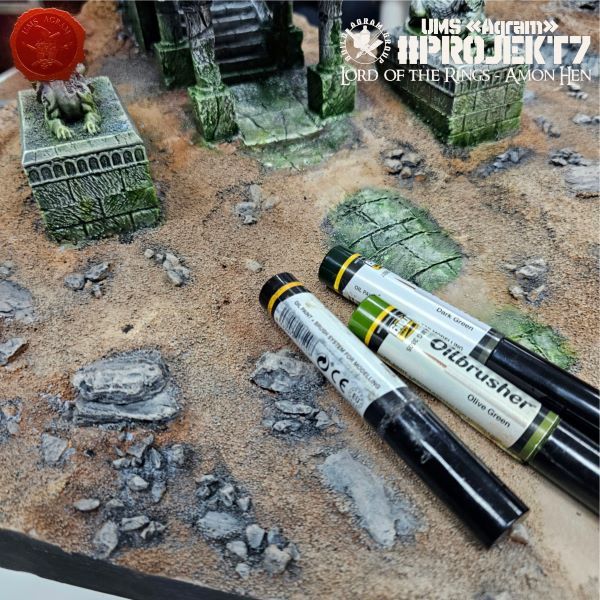
    Next came the aging process using oil paints. We used several shades of green, as well as black and a beige/white tone. First, we coated the surfaces with Odourless Thinner, then applied a few small dots of each shade, and finally used a dry brush to blend them and remove any excess pigment.

    Click for enlarged picture

    Click for enlarged picture

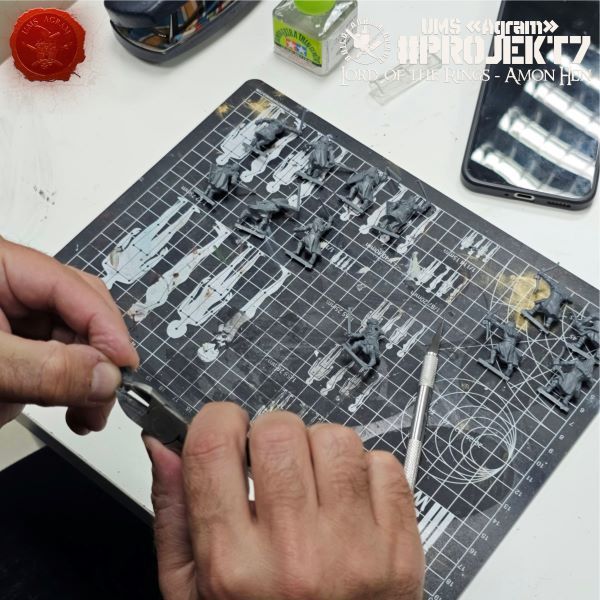
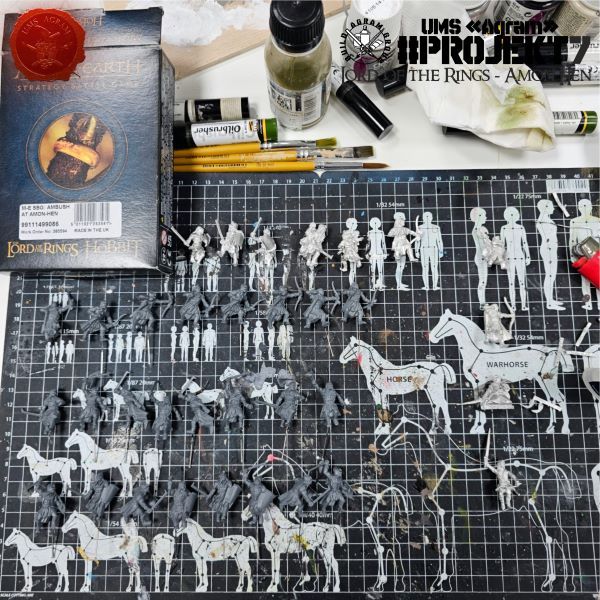
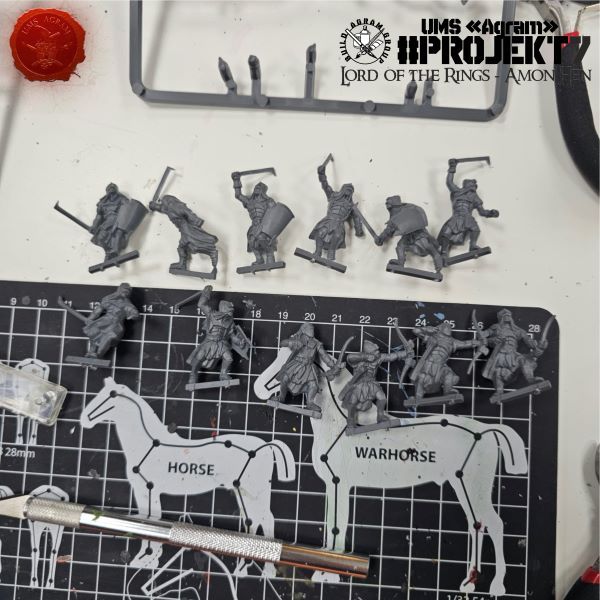
    Meanwhile, the other part of the team continued the work of cleaning the plastic Uruk-hai.

    Click for enlarged picture

    Click for enlarged picture

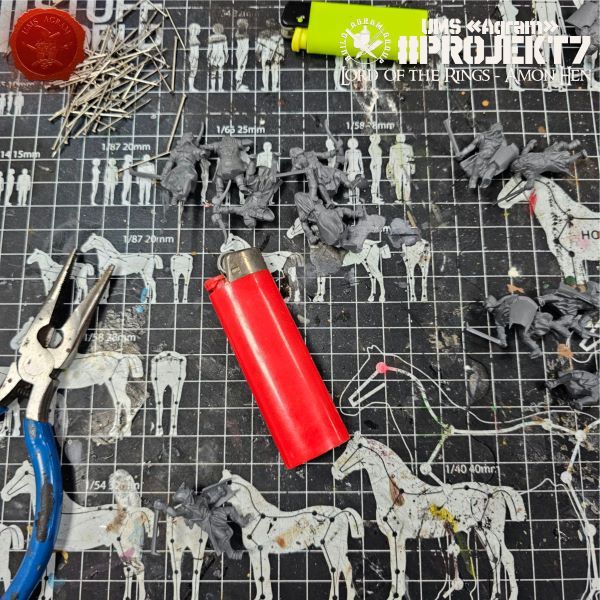
    Next came the pinning of the plastic miniatures. For the quickest results, you will need: pliers, sewing pins, and a lighter.

    Click for enlarged picture

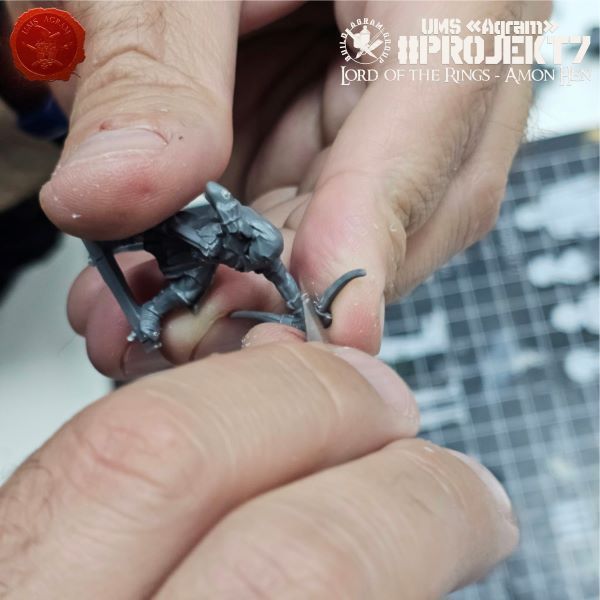
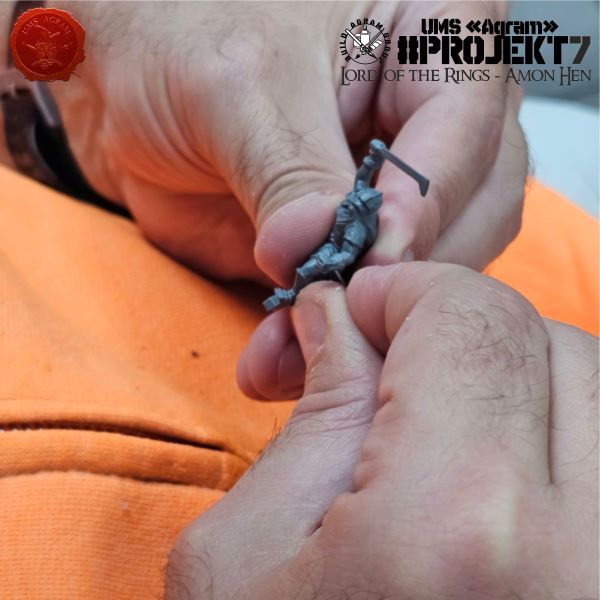
    First, use a lighter to heat a sewing pin until it is red-hot, then press it into the Uruk-hai's leg. As the metal enters the plastic, the heat causes the plastic to expand, allowing the pin to slide in easily. However, as it enters, it also cools down; the plastic then contracts, holding the pin firmly in place. You do not need any glue. Once you have inserted the pins, use pliers to snip off the ends—the parts with the heads.

    Click for enlarged picture

    Click for enlarged picture

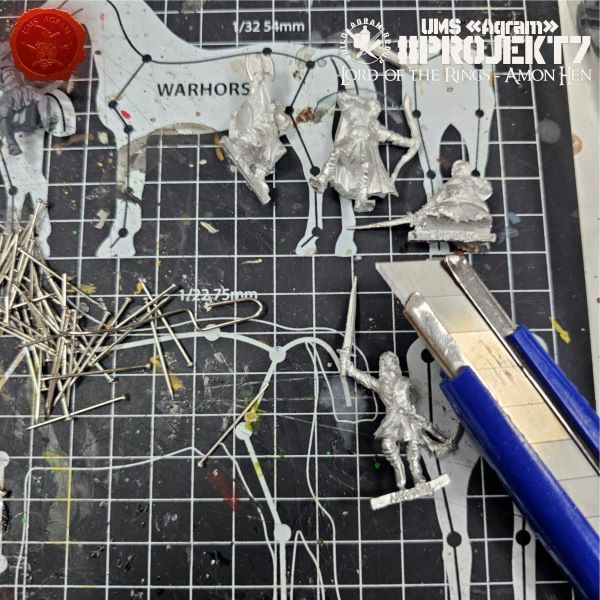
    The final task for this week was to remove the tabs from the metal figures and prepare them for pinning. Unfortunately, the previous method cannot be applied to metal figures, so we will have to use an electric drill—but more on that next time.

    Click for enlarged picture

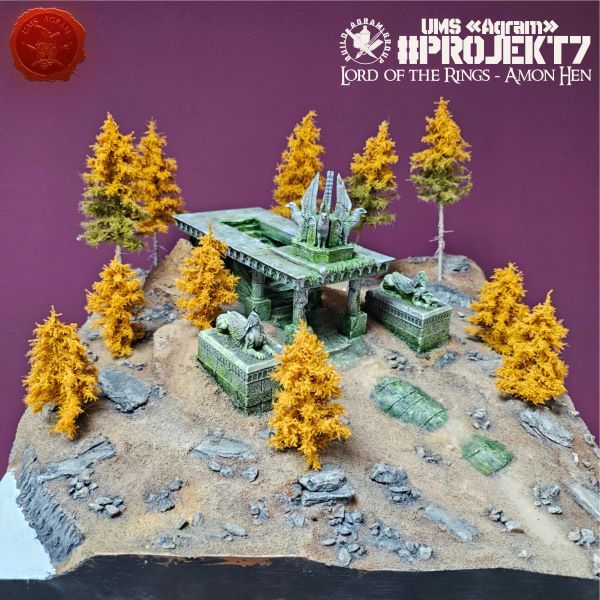
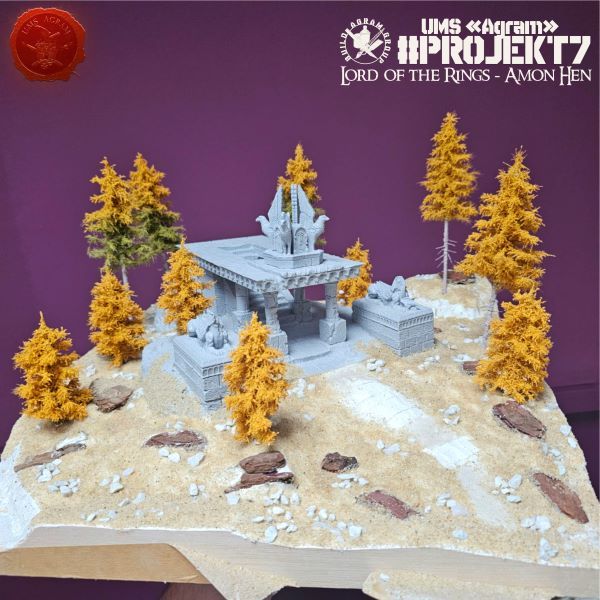
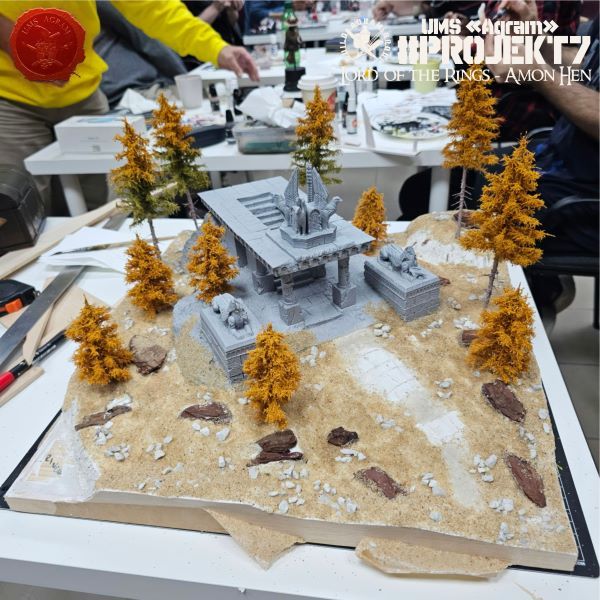
    In the end, we arranged the trees on the painted base so we could admire them a bit.

    Click for enlarged picture

    Click for enlarged picture

    " ["content_hrv"]=> string(6205) "

    Agram Group Build se vraća. U svojoj sedmoj instalaciji, ekipa je odlučila izraditi igraću tablu / dioramu za Amon Hen. Za tu potrebu, ispunili smo si dječačke sne i nabavili originalni Forge World teren Amon Hena (izašao negdje cca 2000.) sa setom pripadajućih figura. Ova serija članaka pratit će izradu cijelog projekta – kako izrade terena, tako i sastavljanja i bojanja figura.

    Click for enlarged picture

    Prvu stvar koju smo ovaj tjedan napravili je dovršavanje bojanja terena. Ono što je ostalo jest kameni kipovi i hram. Lagani drybrush sive i bijele boje je bilo sve što je bilo potrebno nakon slojeva washeva koje smo odradili tjedan ranije.

    Click for enlarged picture

    Click for enlarged picture

    Zatim je uslijedilo dodavanje starenja uljnim bojama. Koristili smo nekoliko zelenih, crnu i bež/bijelu nijansu. Prvo smo površine prekrili Odourless Thinnerom, zatim nanijeli po nekoliko točkica svih nijansi, i onda suhim kistom pomiješali i maknuli višak pigmenta.

    Click for enlarged picture

    Click for enlarged picture

    Za to vrijeme, drugi dio ekipe je nastavio posao na čišćenju plastičnih Uruk Haia.

    Click for enlarged picture

    Click for enlarged picture

    Zatim je uslijedilo piniranje plastičnih minijatura. Za najbrže rezultate potrebni su vam: kliješta, špenadle i upaljač.

    Click for enlarged picture

    Prvo upaljačem zagrijete špenadlu do usijanja, zatim ju utisnete Uruk Haiju u nogu. Kako metal ulazi u plastiku, toplina širi plastiku tako da pin može lagano ući. Međutim, kako ulazi tako se i hladi pa se plastika skuplja i drži pin na mjestu. Nikakvo ljepilo vam nije potrebno. Kad ste utisnuli špenadle, vrhove s glavom odrežite kliještima.

    Click for enlarged picture

    Click for enlarged picture

    Zadnji zadatak za ovaj tjedan bio je maknuti tabove sa metalnih figura i pripremiti ih za piniranje. Prethodna metoda na žalost nije primjenjiva na metalnim figurama pa ćemo morati koristiti električnu bušilicu, ali o tome više sljedeći put.

    Click for enlarged picture

    Na kraju smo posložili drveće na obojanu bazu da se malo divimo.

    Click for enlarged picture

    Click for enlarged picture

    " ["created"]=> string(19) "2026-10-30 08:03:11" ["modified"]=> string(19) "2026-10-30 08:55:41" } ["Member"]=> array(10) { ["id"]=> string(2) "64" ["group_id"]=> string(1) "1" ["first_name"]=> string(9) "Krunoslav" ["last_name"]=> string(8) "Belinić" ["first_name_mask"]=> string(9) "krunoslav" ["last_name_mask"]=> string(7) "belinic" ["username"]=> string(5) "Kruno" ["password"]=> string(40) "eb3fda45fbec0258e90d809803b10491c548b22f" ["born"]=> string(19) "2015-01-18 09:19:00" ["created"]=> string(19) "2015-01-18 09:20:39" } }
    Krunoslav Belinić, 30th October 2026
  • Agram Group Build #7 – Amon Hen, pt.6
              array(2) {
      ["Article"]=>
      array(10) {
        ["id"]=>
        string(3) "532"
        ["member_id"]=>
        string(2) "35"
        ["title_eng"]=>
        string(39) "Agram Group Build #7 – Amon Hen, pt.6"
        ["title_hrv"]=>
        string(40) "Agram Group Build #7 – Amon Hen, dio 6"
        ["mask_eng"]=>
        string(32) "agram_group_build_7_amon_hen_pt6"
        ["mask_hrv"]=>
        string(34) "agram_group_build_7_amon_hen_dio_6"
        ["content_eng"]=>
        string(7024) "

    Agram Group Build is back. For this seventh installment, the team decided to create a gaming board/diorama for Amon Hen. To that end, we fulfilled a childhood dream and acquired the original Forge World Amon Hen terrain (released around 2000) along with the accompanying set of miniatures. This series of articles will document the entire project—from crafting the terrain to assembling and painting the miniatures.

    Click for enlarged picture

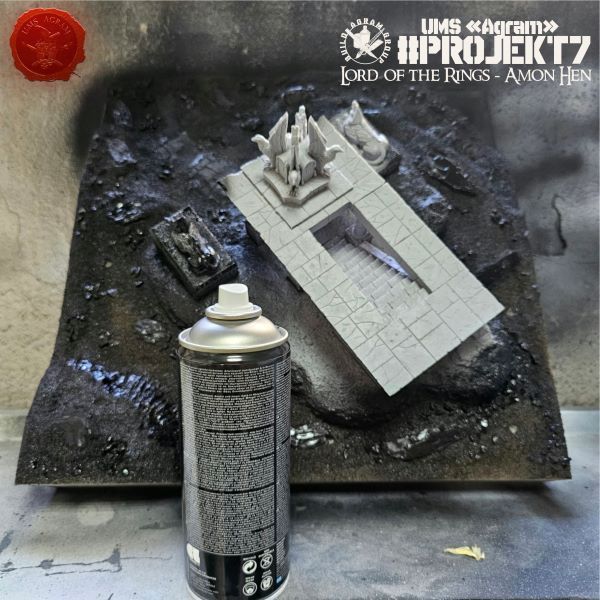
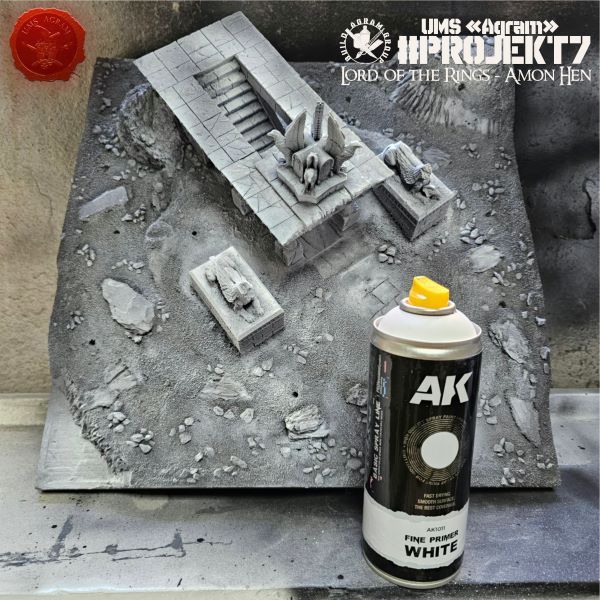
    As we announced, this time we are starting with the painting process. The first step was applying a black primer (via spray), followed by white to highlight the details.

    Click for enlarged picture

    Click for enlarged picture

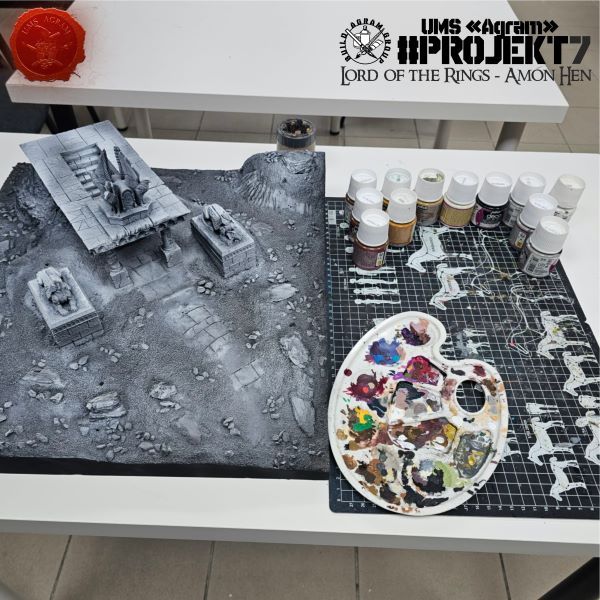
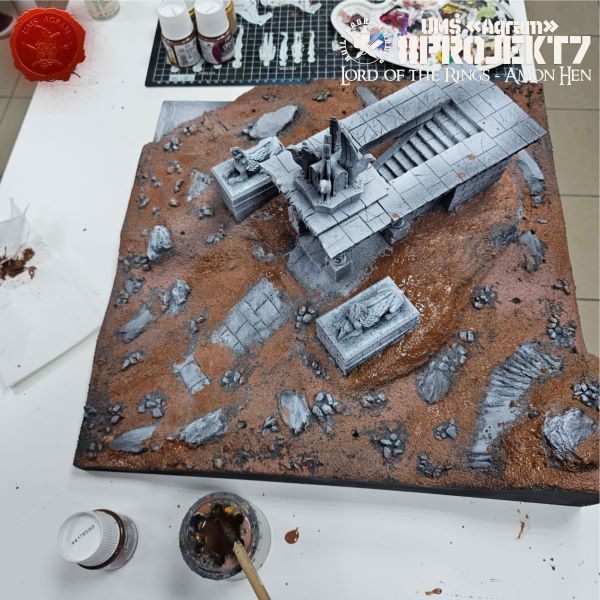
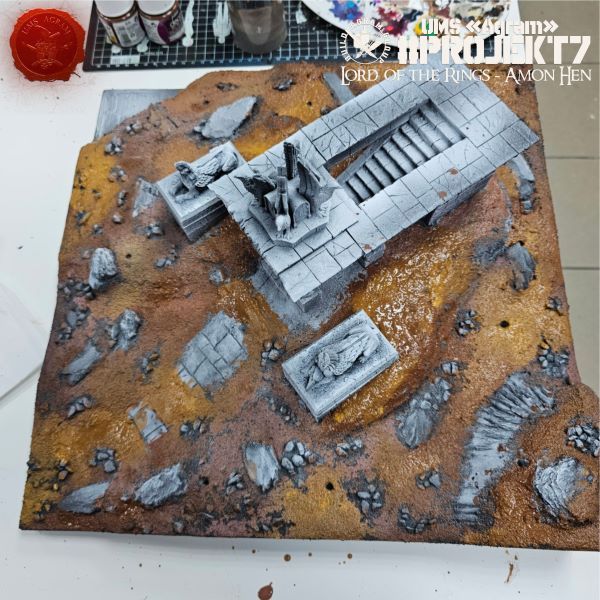
    Next came the painting of the terrain. As always, we used a palette of brown and gray paints from the Pebeo Deco brand. These are acrylic paints—relatively affordable and quite thick—which allow for easy coverage or a quick drybrush, should the need arise. We started with the brown tones, beginning with the darker shades and finishing with the lighter ones.

    Click for enlarged picture

    Click for enlarged picture

    Click for enlarged picture

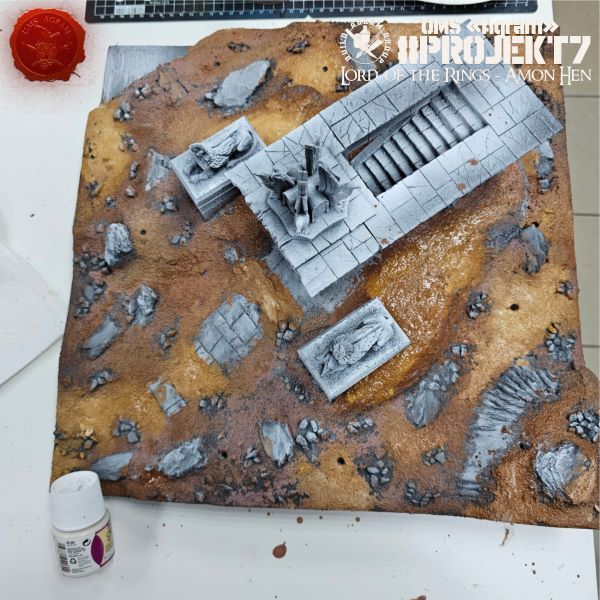
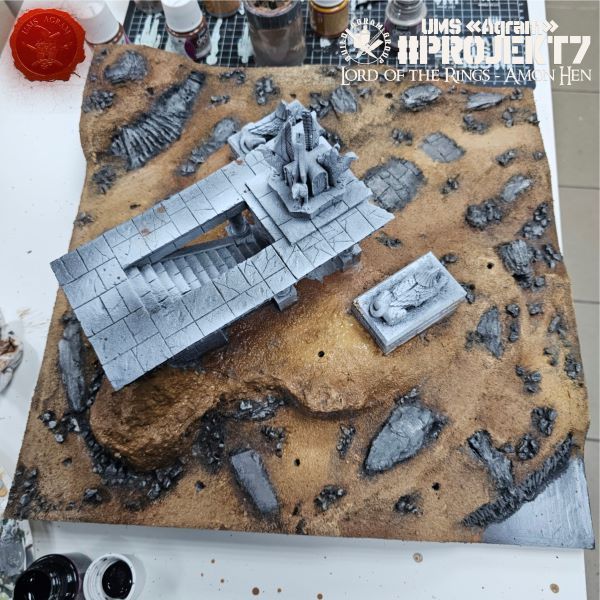
    Next, we highlighted the stone surfaces with black paint, then lightened them using shades of gray, ranging from darker to lighter tones. We left the temple and the statues covered only with the spray paints applied in the first step.

    Click for enlarged picture

    Click for enlarged picture

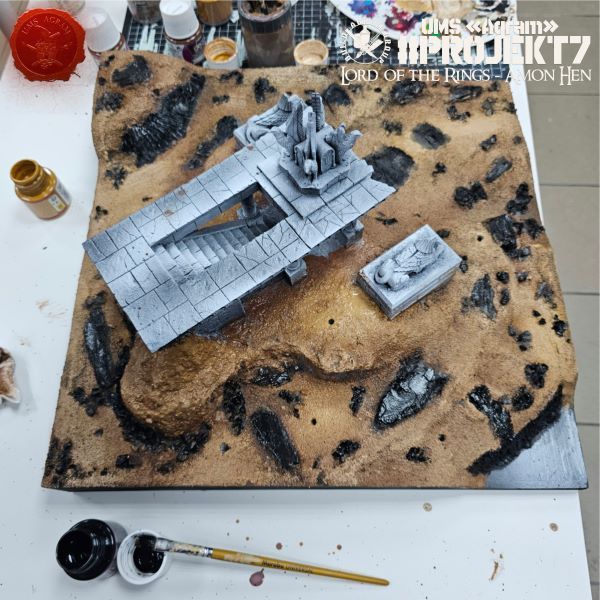
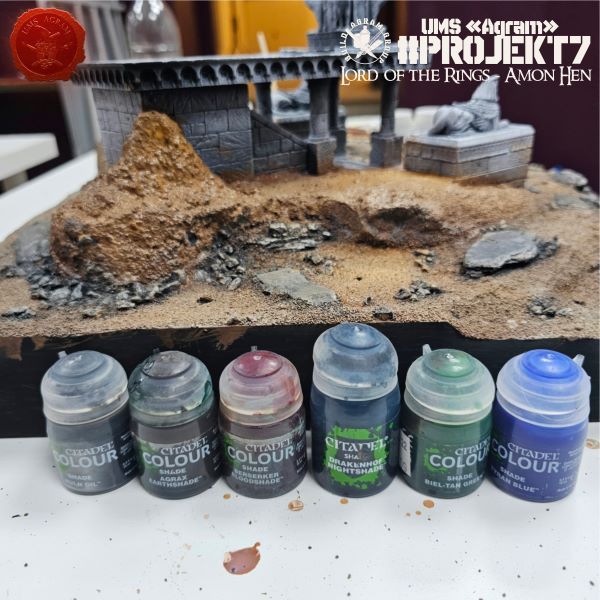
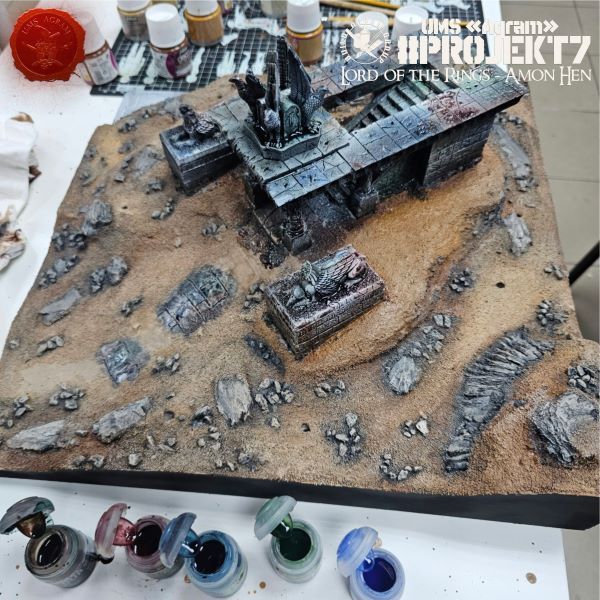
    Once the base was finished, we turned our attention to the temple and the statues. The first layer of paint we applied over the black-and-white undercoat consisted of washes. We took 5 or 6 different shades and randomly dabbed them across all the surfaces.

    Click for enlarged picture

    Click for enlarged picture

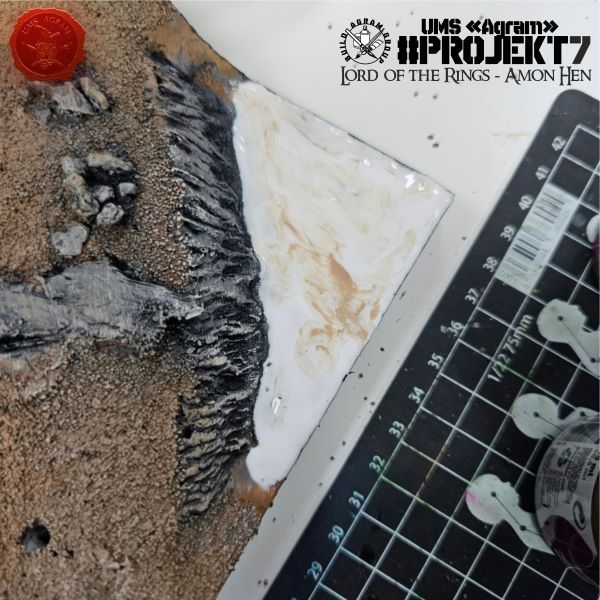
    Since our time was running out, we decided to stop painting there and give the washes a chance to dry thoroughly. The final step for the board was applying a thick layer of PVA glue to the corner where the river would be. We did this to smooth out the surface, as we had decided to simply paint the river rather than adding any "depth."

    Click for enlarged picture

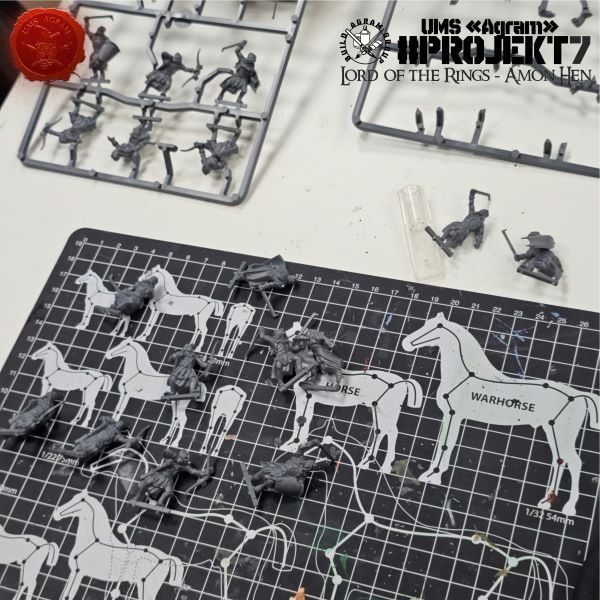
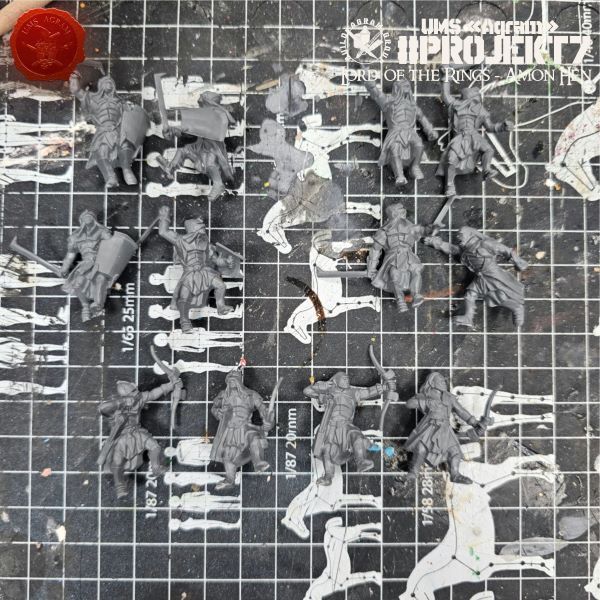
    Meanwhile, Kruno set to work preparing the newly arrived Uruk-hai figures. He removed the first half of the figures from the sprue and cleaned off the flash.

    Click for enlarged picture

    Click for enlarged picture

    He organized them and removed the tabs for the bases. Next time, he will continue with the second half.

    Click for enlarged picture

    Click for enlarged picture

    " ["content_hrv"]=> string(6871) "

    Agram Group Build se vraća. U svojoj sedmoj instalaciji, ekipa je odlučila izraditi igraću tablu / dioramu za Amon Hen. Za tu potrebu, ispunili smo si dječačke sne i nabavili originalni Forge World teren Amon Hena (izašao negdje cca 2000.) sa setom pripadajućih figura. Ova serija članaka pratit će izradu cijelog projekta – kako izrade terena, tako i sastavljanja i bojanja figura.

    Click for enlarged picture

    Kao što smo najavili, ovaj put započinjemo sa bojanjem. Prvi korak bio je nanošenje crne temeljne boje (sprejem) i onda bijele da istakne detalje.

    Click for enlarged picture

    Click for enlarged picture

    Zatim je uslijedilo bojanje terena. Kao i uvijek, koristimo paletu smeđih i sivih boja marke Pebeo Deco. To su akrilne boje, relativno pristupačne cijenom, a dosta guste tako da omogućava lagano prekrivanje ili brzi drybrush ako nam zatreba. Prvo smo odradili smeđe nijanse, krenuvši prvo od tamnijih i završivši sa svjetlijim nijansama.

    Click for enlarged picture

    Click for enlarged picture

    Click for enlarged picture

    Zatim smo kamene plohe istaknuli crnom bojom i onda posvjetljavali sivim nijansama od tamnijih do svijetlijih. Hram i kipove smo ostavili prekrivene samo sprejevima iz prvog koraka.

    Click for enlarged picture

    Click for enlarged picture

    Kad je baza bila gotova, okrenuli smo se hramu i kipovima. Prvi sloj boje koje smo stavili na crno-bijeli undercoat bili su washevi. Uzeli smo 5, 6 nijansi i nasumično tapkali po svim plohama.

    Click for enlarged picture

    Click for enlarged picture

    S obzirom da nam se termin bližio kraju, tu smo odlučili stati sa bojanjem i dati washevima priliku da se pošteno osuše. Zadnji korak na tabli bilo je dodavanje debelog sloja PVA ljepila na kut u kojem će biti rijeka. To smo napravili da izgladimo površinu s obzirom da smo odlučili da rijeku samo obojamo, bez dodavanja „dubine“.

    Click for enlarged picture

    Za to vrijeme, Kruno se bacio na pripremu novopridošlih figura Uruk Haia. Prvu polovicu figura je maknuo sa okvira (sprue) te očistio srhove.

    Click for enlarged picture

    Click for enlarged picture

    Složio ih je i maknuo tabove za baze. Sljedeći put nastavlja s drugom polovicom.

    Click for enlarged picture

    Click for enlarged picture

    " ["created"]=> string(19) "2026-10-22 09:56:04" ["modified"]=> string(19) "2026-10-22 09:56:04" } ["Member"]=> array(10) { ["id"]=> string(2) "35" ["group_id"]=> string(1) "1" ["first_name"]=> string(5) "Marko" ["last_name"]=> string(9) "Paunović" ["first_name_mask"]=> string(5) "marko" ["last_name_mask"]=> string(8) "paunovic" ["username"]=> string(5) "marko" ["password"]=> string(40) "3bd37b326d19d1880d3b93a4b32e8fb3a90fa122" ["born"]=> string(19) "2033-03-07 20:35:00" ["created"]=> string(19) "2009-06-02 20:37:03" } }
    Marko Paunović, 22nd October 2026
  • Lizardmen Sauropod – part 1
              array(2) {
      ["Article"]=>
      array(10) {
        ["id"]=>
        string(3) "531"
        ["member_id"]=>
        string(3) "100"
        ["title_eng"]=>
        string(29) "Lizardmen Sauropod – part 1"
        ["title_hrv"]=>
        string(27) "LIZARDMEN SAUROPOD - dio 1."
        ["mask_eng"]=>
        string(25) "lizardmen_sauropod_part_1"
        ["mask_hrv"]=>
        string(26) "lizardmen_sauropod_-_dio_1"
        ["content_eng"]=>
        string(3455) "

    While printing a sauropod model—which I intended to use for a kitbash of a Lizardmen Bastiladon—one of the printed torsos ended up with defects in the legs. Around the same time, I was playing Pokémon Crystal; having fallen in love with some of the concepts in that game, I decided to merge the two worlds into one.

    Click for enlarged picture

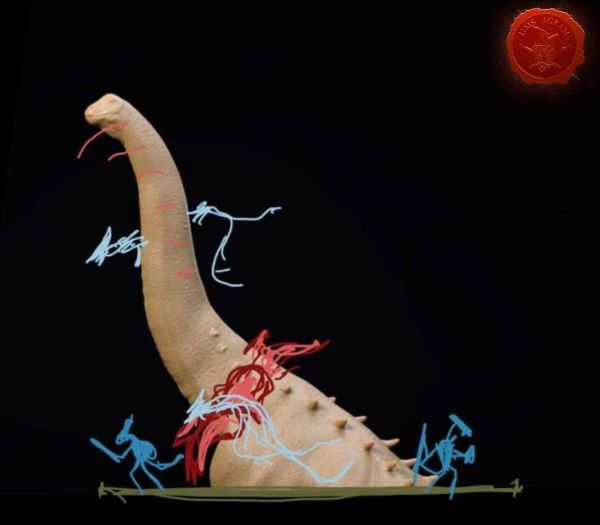
    Taking the Pokémon Meganium as a starting concept, I wanted to create a dinosaur on a large base emerging from a lake, surrounded by skinks that are grooming it.

    Click for enlarged picture

    To achieve this, I decided to cut off the lower part of the torso—excluding the legs—position the model so it "lies" on the base, place a couple of Skinks around it, and pour resin over the base to create the effect of lake water.

    Click for enlarged picture

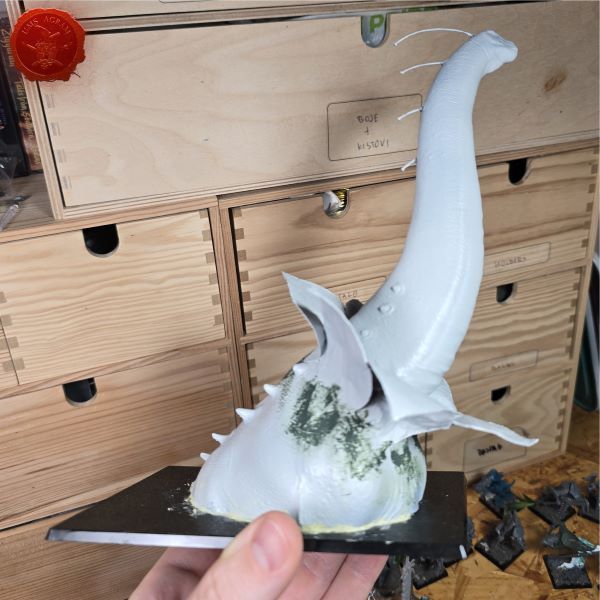
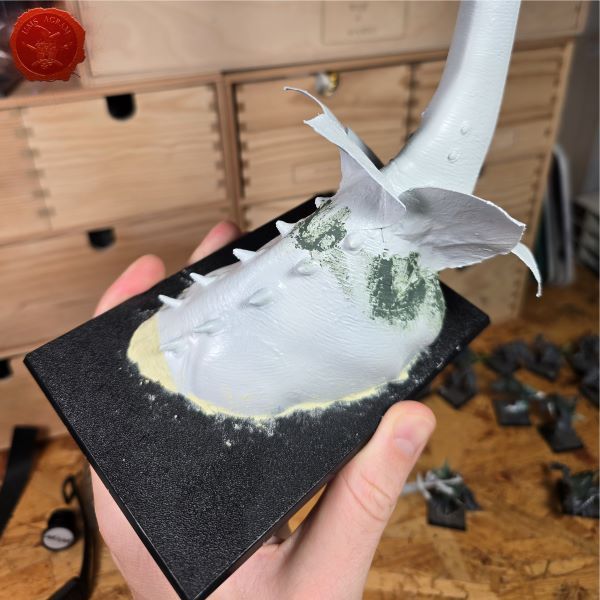
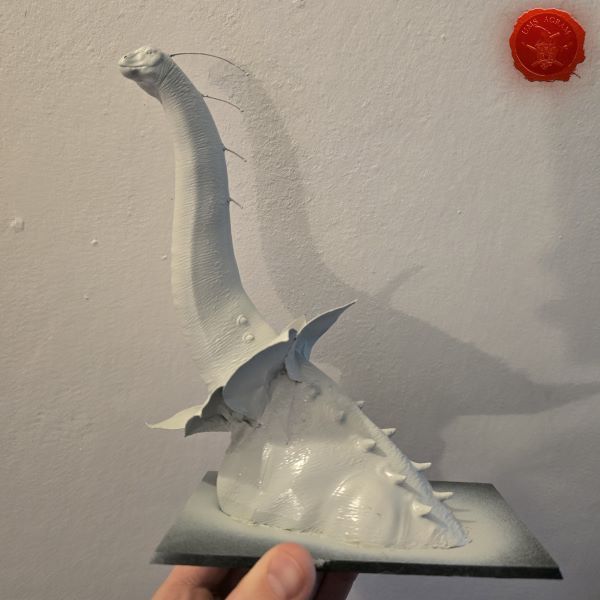
    The first step was to create flower petals around the dinosaur's neck. I used slightly thicker paper, cut into the shape of petals. Afterward, I glued them together with super glue to form a flower shape. I coated each petal with wood glue—applying about 6 layers—to set them into a form that would be both flexible and sturdy enough for painting. I applied each coat using a small brush, with outward strokes, to create texture on the surfaces of the petals.

    I glued the dinosaur's torso to the base using superglue and filled the gaps.

    Click for enlarged picture

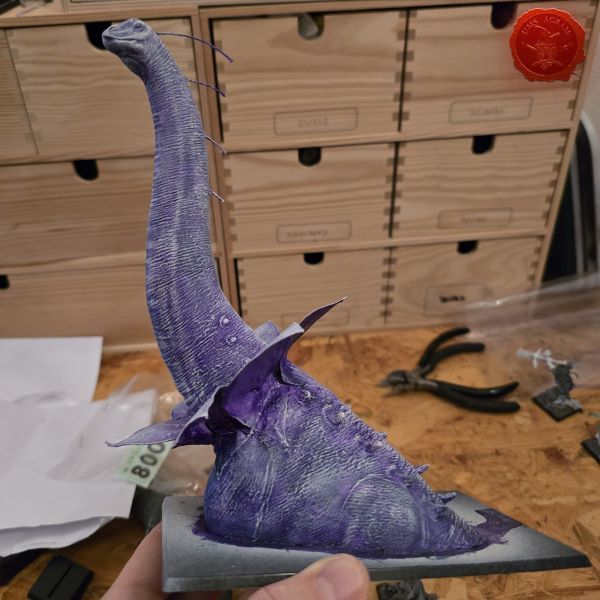
    Preparation for painting was the easier part of the job; the primer used was a light-grey spray, followed by a single coat of a purple 'contrast' paint. After that, I dry-brushed the entire model with white. This created a strange, sickly base for the subsequent layers of green. This concludes the first part of the tutorial; in the second part, I will continue with painting, casting resin, and adding the final details to the model.

    Click for enlarged picture

    " ["content_hrv"]=> string(3240) "

    Prilikom printa modela sauropoda kojeg sam mislio koristiti za kitbash Lizardmen modela bastiladona, ostao je jedan printani model trupa sa greškama u nogama. U slično vrijeme sam igrao Pokemon Crystal i obožavajući neke od koncepata u toj igri, odlučio sam spojiti dva svijeta u jedan.

    Click for enlarged picture

    Uzevši pokemona Meganium-a kao početni koncept, želio sam napraviti dinosaura na velikoj bazi koji izranja iz jezera, okruženog skinkovima koji ga timare.

    Click for enlarged picture

    Da bih to izveo, odlučio sam odrezati donji dio trupa bez nogu, postaviti model da "leži" na bazi, postaviti par skinkova oko njega i preliti bazu sa rezinom kako bih stvorio efekt jezerske vode.

    Click for enlarged picture

    Prvi korak je bio napraviti latice cvijeta oko vrata dinosura. Koristio sam malo deblji papir, izrezan u oblik latice. Nakon toga sam ih zalijepio super ljepilom u oblik cvijeta. Premazao sam svaki list drvofixom u cca 6 slojeva, kako bih učvrstio listove u formu u kojoj će biti elastični i čvrsti za bojanje. Sve premaze sam radio s manjim kistom potezima prema van, kako bih stvorio teksturu na stranicama latica.

    Trup dinosaura sam zalijepio na bazu sa superljepilom i zapunio rupe.

    Click for enlarged picture

    Priprema za bojanje je bila lakši dio posla, primer je bio svijetlosivi sprej, sa jednim slojem ljubičaste contrast boje. Nakon toga sam drybrushem bijele prekrio cijrli model. Ovime sam dobio čudnu bolesnjikavu bazu za slojeve zelene. Ovime završavam prvi dio tutoriala, nastavljam u drugom sa bojanjem i lijevanjem rezinske mase, uz završne detalje modela.

    Click for enlarged picture

    " ["created"]=> string(19) "2026-10-19 07:14:35" ["modified"]=> string(19) "2026-10-19 07:14:35" } ["Member"]=> array(10) { ["id"]=> string(3) "100" ["group_id"]=> string(1) "2" ["first_name"]=> string(5) "Mario" ["last_name"]=> string(7) "Grgurev" ["first_name_mask"]=> string(5) "mario" ["last_name_mask"]=> string(7) "grgurev" ["username"]=> string(9) "lepimario" ["password"]=> string(40) "11e0b1ecc2c467637dfa513774d2426f3b925264" ["born"]=> string(19) "2045-01-21 09:02:00" ["created"]=> string(19) "2022-01-21 09:02:32" } }
    Mario Grgurev, 19th October 2026
  • Agram Group Build #7 – Amon Hen, pt.5
              array(2) {
      ["Article"]=>
      array(10) {
        ["id"]=>
        string(3) "530"
        ["member_id"]=>
        string(2) "64"
        ["title_eng"]=>
        string(39) "Agram Group Build #7 – Amon Hen, pt.5"
        ["title_hrv"]=>
        string(40) "Agram Group Build #7 – Amon Hen, dio 5"
        ["mask_eng"]=>
        string(32) "agram_group_build_7_amon_hen_pt5"
        ["mask_hrv"]=>
        string(34) "agram_group_build_7_amon_hen_dio_5"
        ["content_eng"]=>
        string(4850) "

    Agram Group Build is back. For this seventh installment, the team decided to create a gaming board/diorama for Amon Hen. To that end, we fulfilled a childhood dream and acquired the original Forge World Amon Hen terrain (released around 2000) along with the accompanying set of miniatures. This series of articles will document the entire project—from crafting the terrain to assembling and painting the miniatures.

    Click for enlarged picture

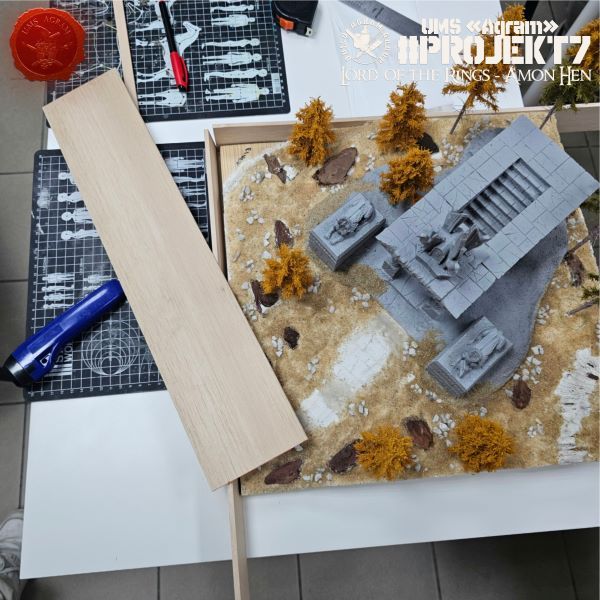
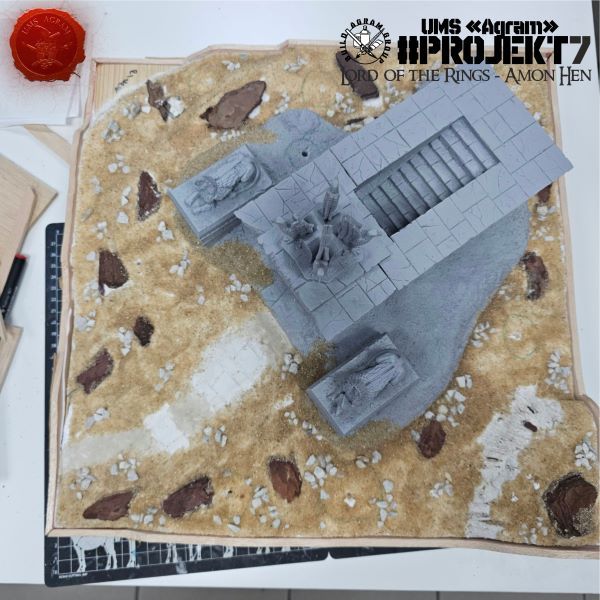
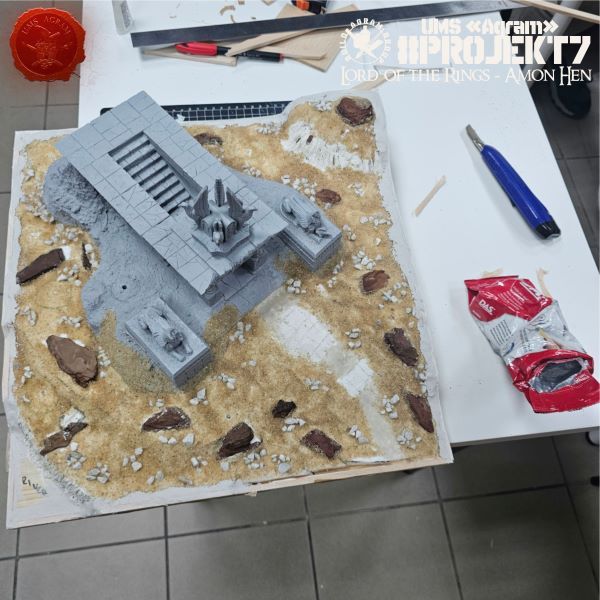
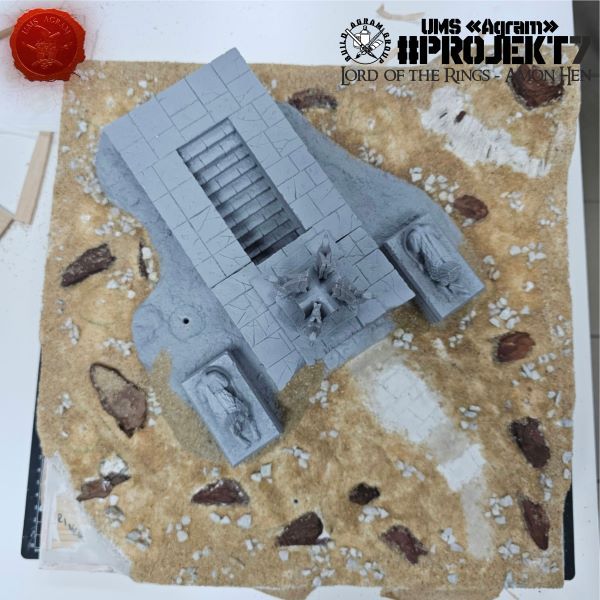
    The plan last time was to also build a balsa wood frame, but unfortunately, the balsa got misplaced during the move following the renovation of the space, so we had to postpone it. Now, it’s time to get it done.

    Click for enlarged picture

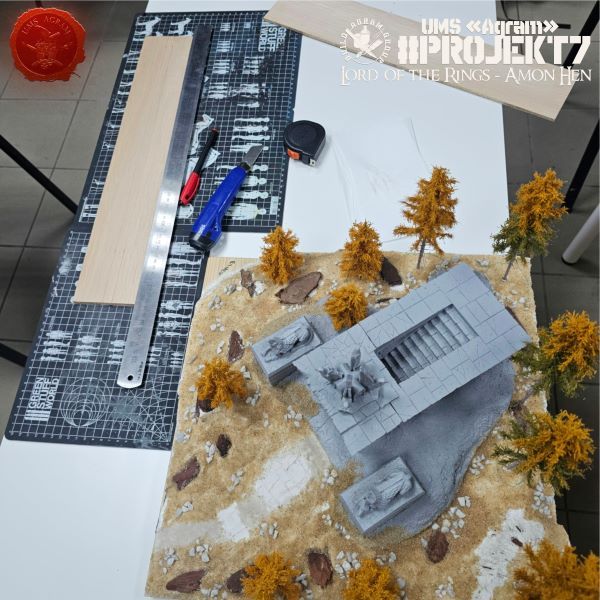
    We cut the balsa wood into four 50 cm pieces. Afterward, we measured the highest points of each side, marked the balsa accordingly, and cut it to the desired dimensions.

    Click for enlarged picture

    Click for enlarged picture

    Then we traced the relief onto the balsa frame and carefully cut it out.

    Click for enlarged picture

    The final step was cutting each corner at a 45-degree angle to create a neat frame joint.

    Click for enlarged picture

    Next came the gluing of the frame. We bonded the sides using PVA glue, while the joints where one frame side met another were secured with superglue.

    Click for enlarged picture

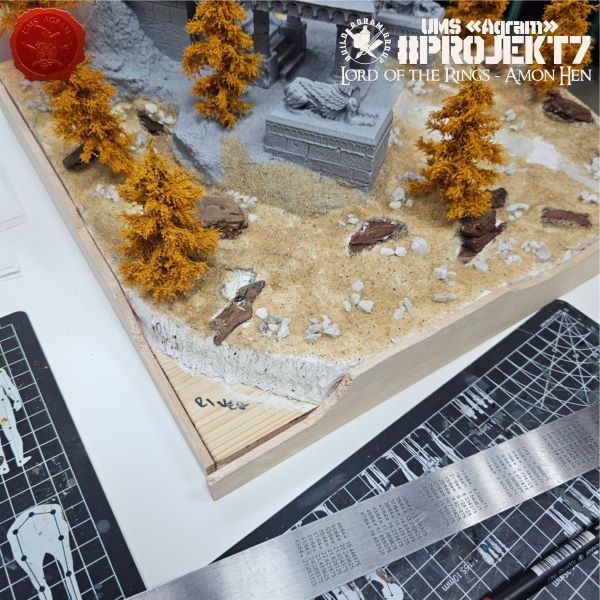
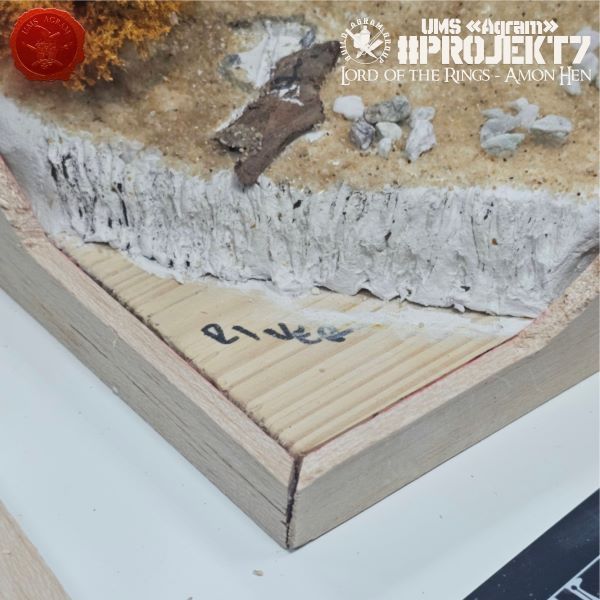
    We filled the gaps between the balsa wood frame and the terrain we created last time with DAS modeling clay.

    Click for enlarged picture

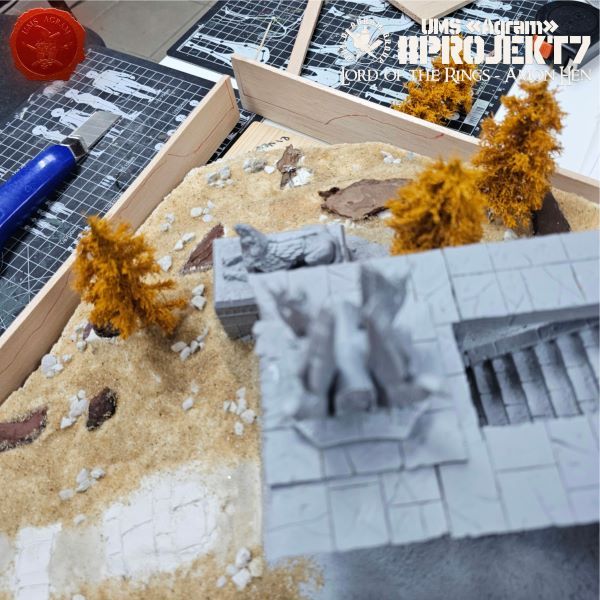
    Finally, we coated the top surfaces of the frame and the air-drying clay infill with PVA glue, and sprinkled over it the same sand we had used for the rest of the board.

    Click for enlarged picture

    And that’s it for this time. Next week, it’s time for painting.

    Click for enlarged picture


    " ["content_hrv"]=> string(4765) "

    Agram Group Build se vraća. U svojoj sedmoj instalaciji, ekipa je odlučila izraditi igraću tablu / dioramu za Amon Hen. Za tu potrebu, ispunili smo si dječačke sne i nabavili originalni Forge World teren Amon Hena (izašao negdje cca 2000.) sa setom pripadajućih figura. Ova serija članaka pratit će izradu cijelog projekta – kako izrade terena, tako i sastavljanja i bojanja figura.

    Click for enlarged picture

    Plan za prošli put bio je da napravimo i okvir od balze, ali na žalost u selidbi nakon renovacije prostora, negdje smo zagubili balzu tako da smo to odgodili. Sad je došao red na to.

    Click for enlarged picture

    Odrezali smo balzu na četiri komada od 50cm. Nakon toga izmjerili smo najviše dijelove pojedine strane i tako označili balzu te ju prerezali na željene dimenzije.

    Click for enlarged picture

    Click for enlarged picture

    Potom smo ucrtali reljef na okvir od balze i pažljivo ga izrezali.

    Click for enlarged picture

    Zadnji korak bilo je zarezivanje svakog kuta pod 45 stupnjeva tako da dobijemo uredan spoj okvira.

    Click for enlarged picture

    Tada je uslijedilo lijepljenje okvira. Stranice smo zalijepili PVA ljepilom dok smo spojeve stranice okvira na drugu stranicu okvira zalijepili superljepilom.

    Click for enlarged picture

    U rupe između okvira od balze i terena kojeg smo napravili prošli put ubacili smo DAS glinamol.

    Click for enlarged picture

    Na kraju smo gornje plohe okvira i popune od glinamola premazali PVA ljepilom te na to posipali isti pijesak koji smo koristili za ostatak table.

    Click for enlarged picture

    I to je bilo to za ovaj put. Sljedećeg tjedna ide bojanje.

    Click for enlarged picture

    " ["created"]=> string(19) "2026-10-15 10:05:42" ["modified"]=> string(19) "2026-10-15 10:05:42" } ["Member"]=> array(10) { ["id"]=> string(2) "64" ["group_id"]=> string(1) "1" ["first_name"]=> string(9) "Krunoslav" ["last_name"]=> string(8) "Belinić" ["first_name_mask"]=> string(9) "krunoslav" ["last_name_mask"]=> string(7) "belinic" ["username"]=> string(5) "Kruno" ["password"]=> string(40) "eb3fda45fbec0258e90d809803b10491c548b22f" ["born"]=> string(19) "2015-01-18 09:19:00" ["created"]=> string(19) "2015-01-18 09:20:39" } }
    Krunoslav Belinić, 15th October 2026
All articles

Latest battle-reports

All battle-reports