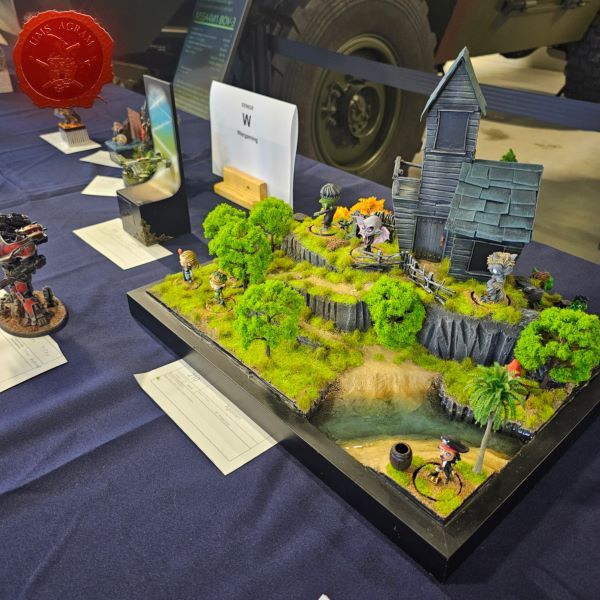
Painting Warcry terrain
A couple of weeks ago, Ana showed us how to convert plastic Warcry terrain. This week she paints them in our hobby related articles series. If you wish to participate with your own articles, let us know here ums.agram@gmail.com
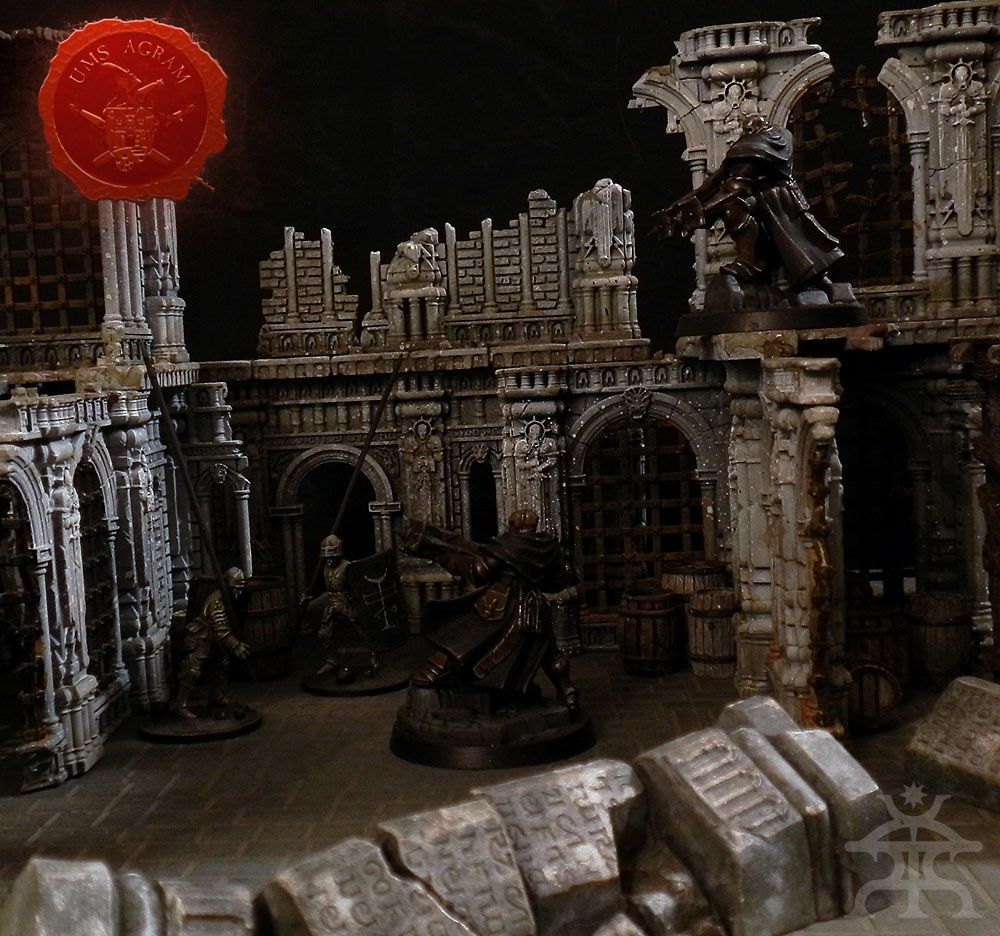
Before painting, I gave the terrain a coat of primer. I used black, grey and white sprays to achieve pre-shading in a quick and simple manner. Since these kits are covered in sculpted detail and texture, this method was highly effective.
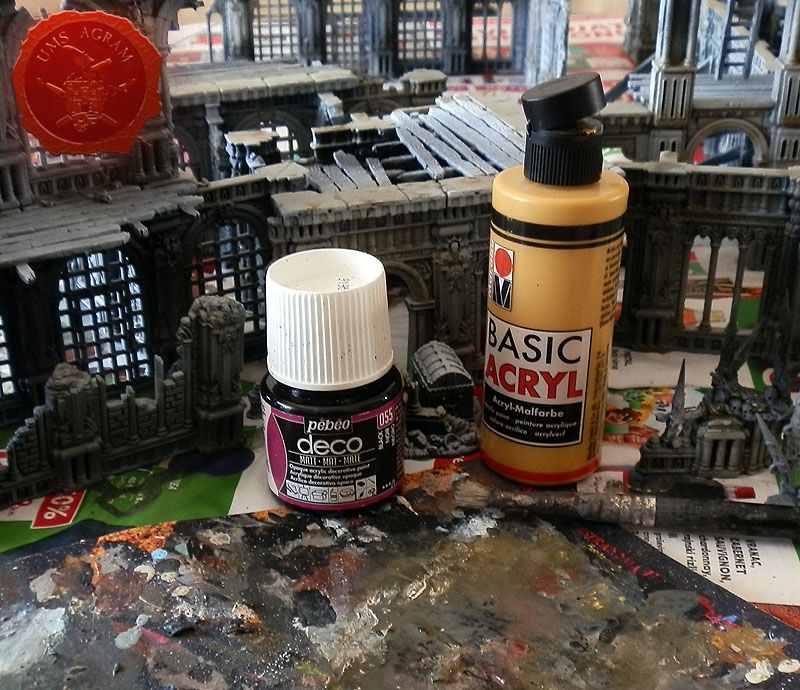
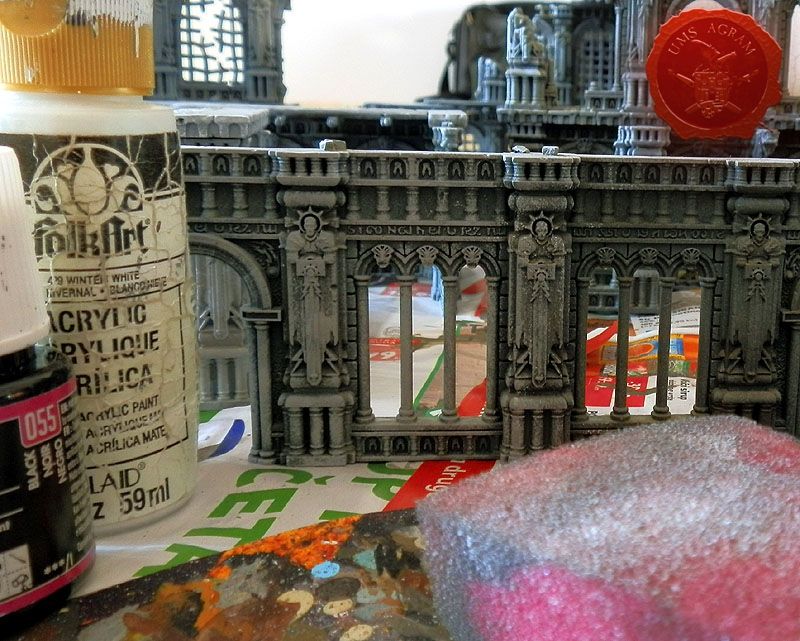
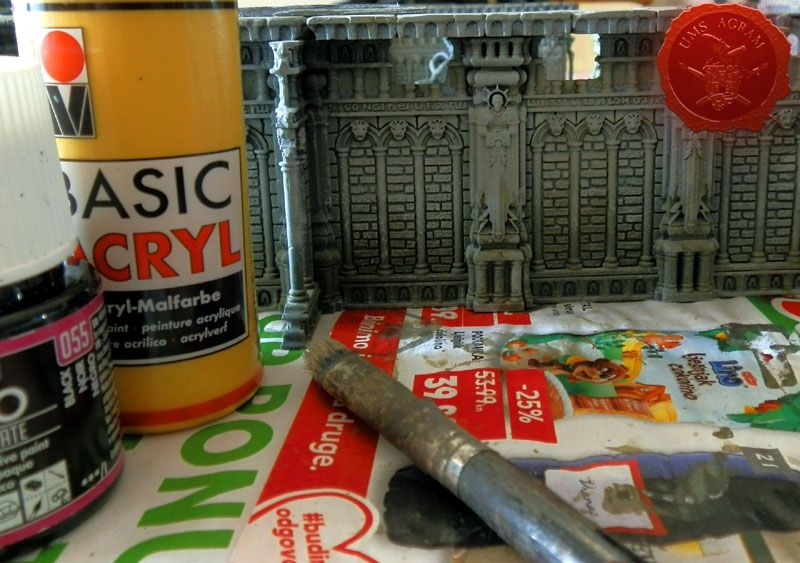
There are three types of surfaces here: masonry, wood and metal. I deliberately painted them in that order. The paints I used were all water-based acrylics.
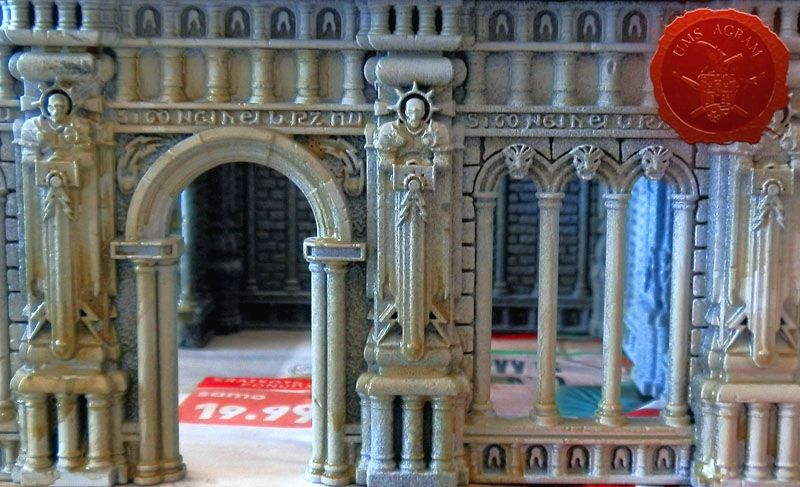
Stone surfaces are the largest and lightest in colour, so I painted them first. Step one was a watered- down dark green, which I got by mixing ochre and black. This was applied all over the stone walls. I use cheaper craft acrylics for this kind of work.
Step two was a light grey highlight applied with sponge. With this technique, paint sticks to extruded parts and highlights details. It also leaves an uneven, blotchy texture, which fits an old stone surface. This is why I prefer it to drybrushing in this case.
Once the highlight was dry, I re-applied the dark green wash from step one. However, this time I focused only on the lower half of the wall. These two steps (wash and sponge highlight) can be repeated a number of times, until the desired contrast is achieved. If your green wash is very transparent, it will take several coats for it to become visible enough. The highlights can go from light grey to white, but it's not good to go overboard.
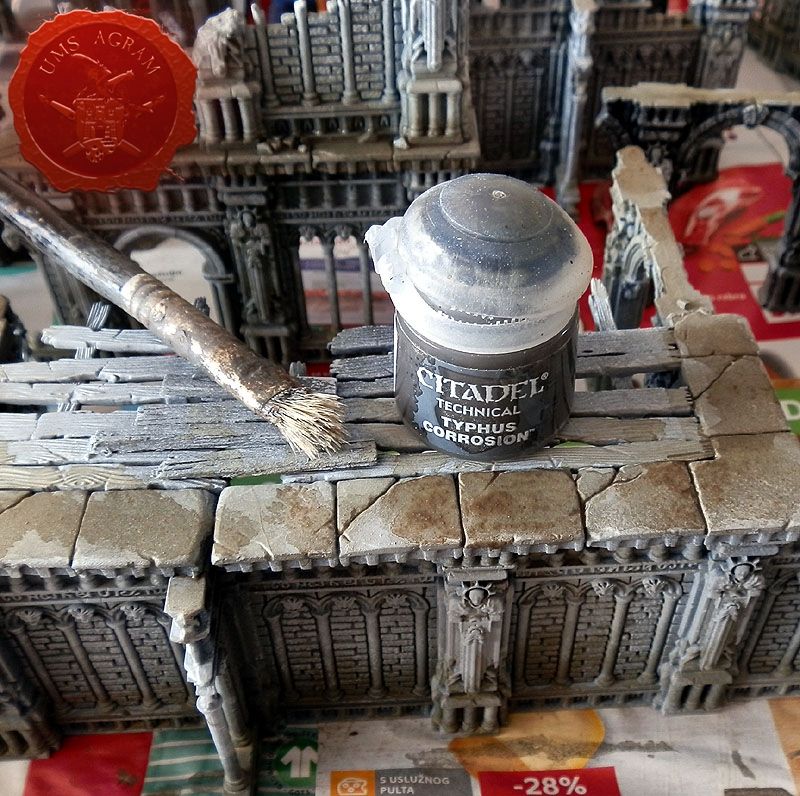
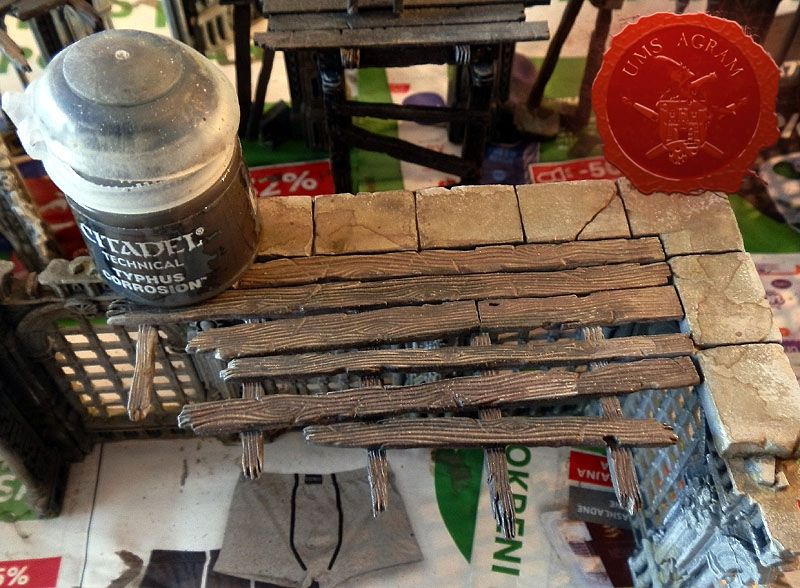
When I was happy with my shades and highlights, I applied Typhus Corrosion (Citadel Technical) on the horizontal surfaces of the ruins. I added water to the paint and applied it with brush as well as sponge, to get uneven stains on the stone. If you find places on the vertical surfaces of the walls where you find you want to add starker contrast, you can apply a bit of this mix there as well.
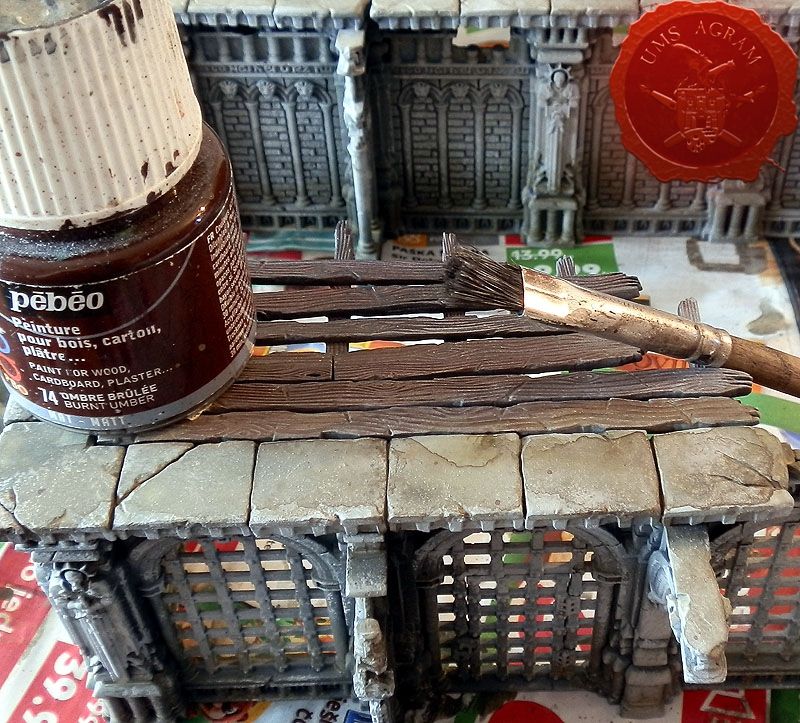
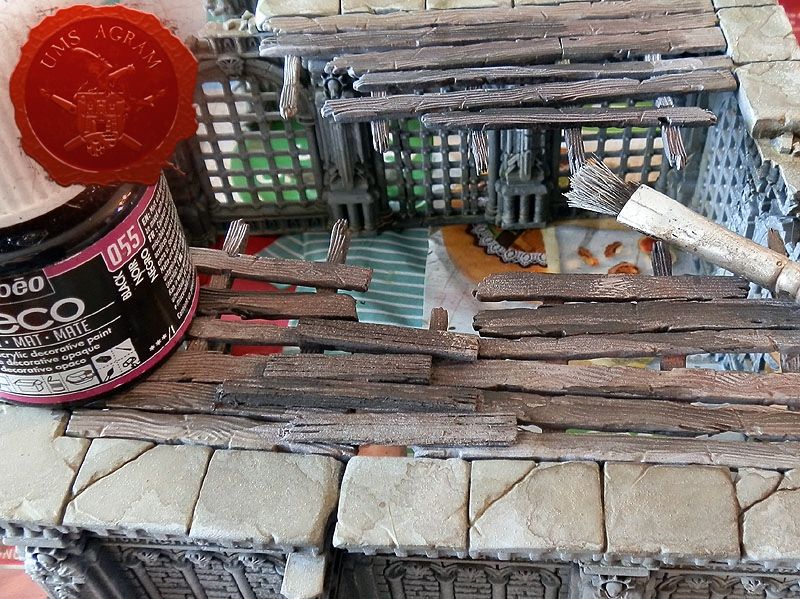
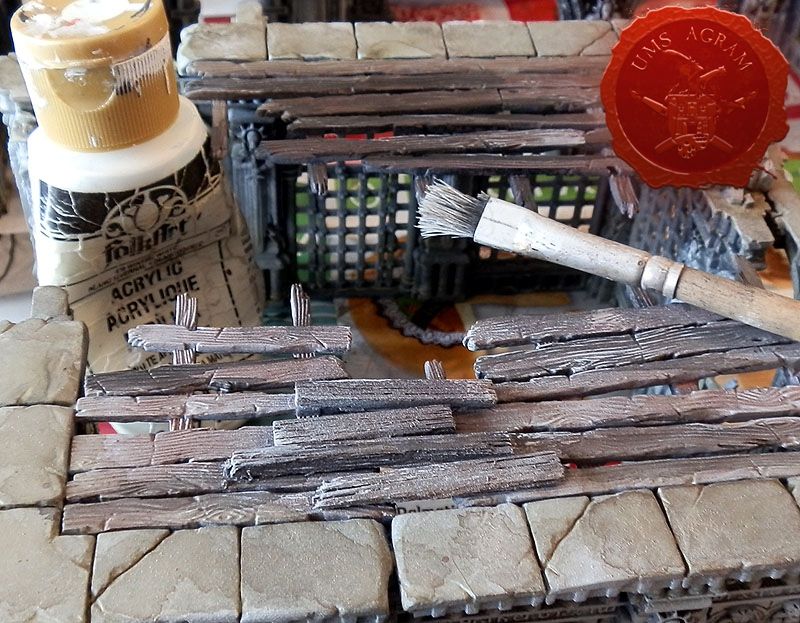
The wooden beams and floors were next in line. The wooden areas may already be slightly stained from the process of painting stone, but that is perfectly fine in this case and there is no need to touch them up before the next step. I made a glaze by watering down Umber and covered all wooden surfaces - making sure I didn't mess up the previously painted stone parts. I find flat brushes really convenient for this task. When that was dry, I applied a watered-down black. I didn't go over the entire wood surface, but rather stained random spots on the planks. Then I did the same wit watered-down white. Finally, I took watered-down Typhus Corrosion and painted evenly over all wood surfaces. This final glaze ties it all together and provides a warmer tint.
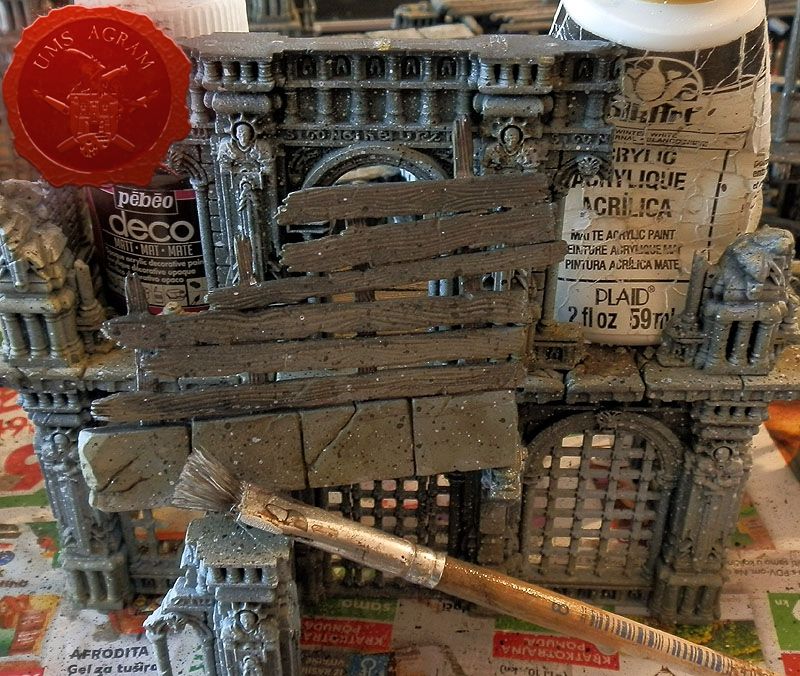
Wood and stone then got splattered with black and white drops of paint, using a large stiff brush. This gives the terrain extra texture and interest. I don't want this effect on the metal surfaces, and that's why I did it before getting started with metal.
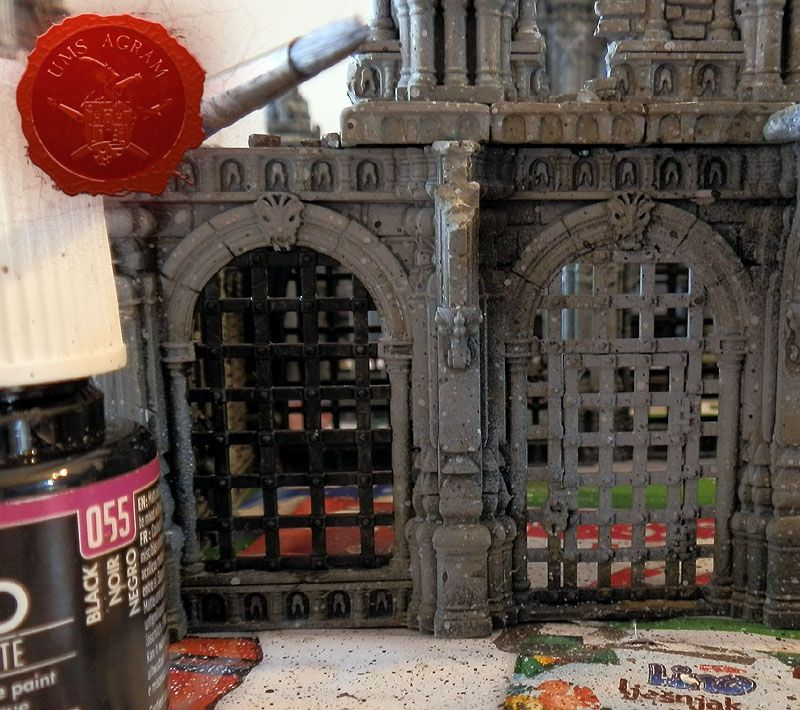
There are lots of iron bars in the Warcry terrain kit. I started by carefully painting all of them with matt black, without getting black paint on the already finished surfaces around them. This can take a while when you're painting several kits at once, so it's important to be patient and have a larger brush with a good tip – it will hold enough paint but still provide good control.
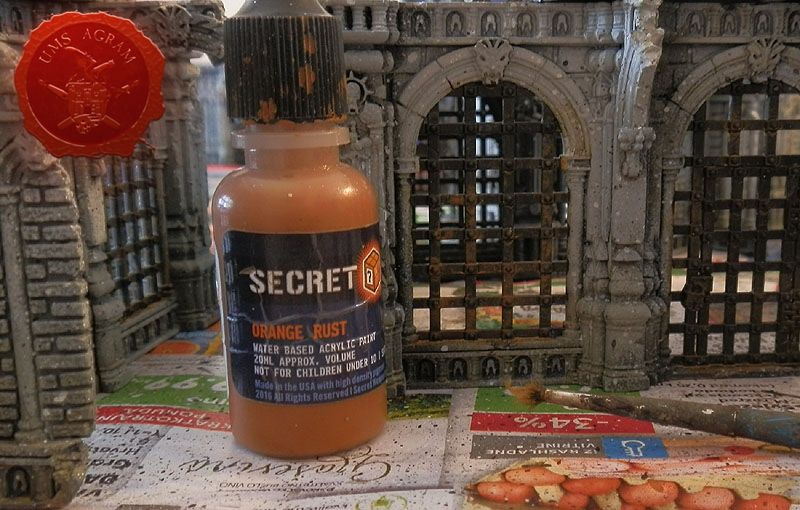
The bars were weathered using Secret Weapon Weathering Acrylics Red Rust and Orange Rust. These were applied as washes and unevenly.
There are several parts I wanted in bronze, such as the bell. I used a bronze paint for the basecoat. This got a coat of Typhus Corrosion and then Nihilakh Oxyde (also Citadel Technical) to simulate verdigris.
The scenery was then sprayed with matt varnish.
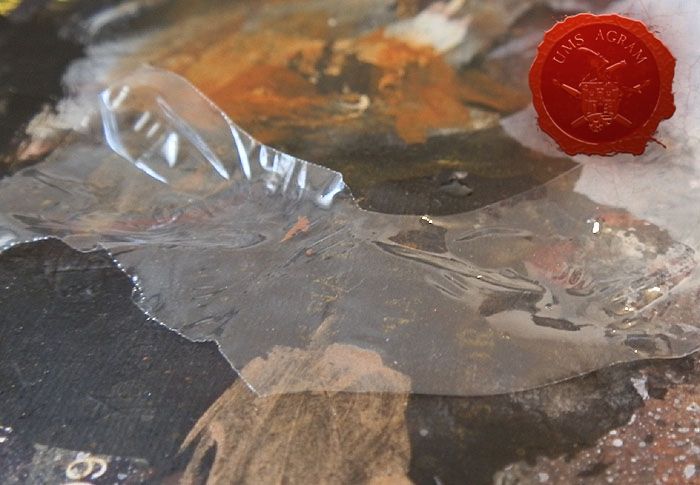
Since I had several fountains, I played with water effects. Where I needed a pool od water I poured Vallejo Still Water. It was done in several thin layers, as this prevents long drying time and possible clouding. Fountains attached to walls got water streams made of shrink wrap heated over a candle. This was cut to length and attached with superglue before I poured Still Water. When all was dry, I used Greenstuff World Splash Gel to create waves and splashes.


Latest articles
- Miniature Painting Workshop - 75mm Dwarf Ivan Knezović, 26th May 2026
- We visited: Festival Svet v Malem 2026, Pivka, Slovenia Krunoslav Belinić, 26th May 2026
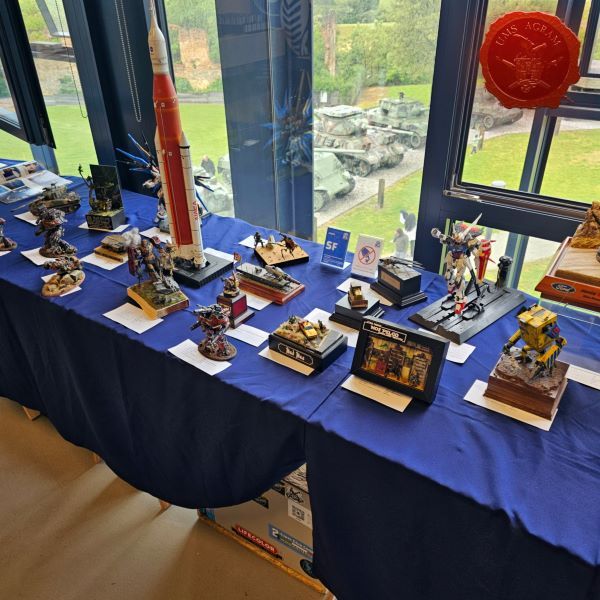
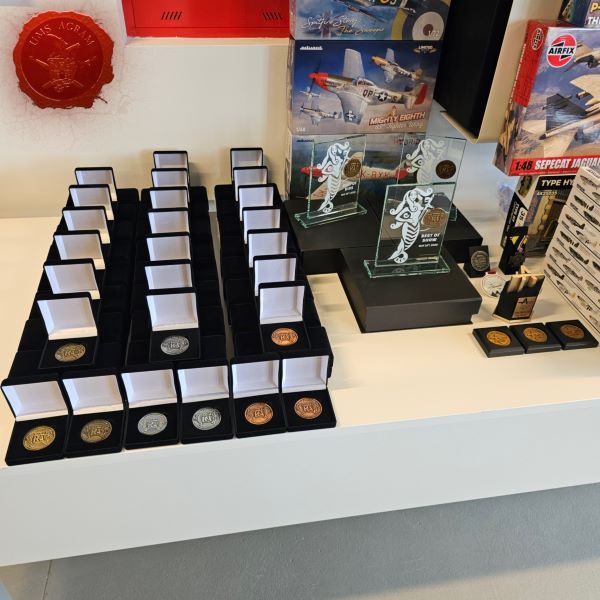
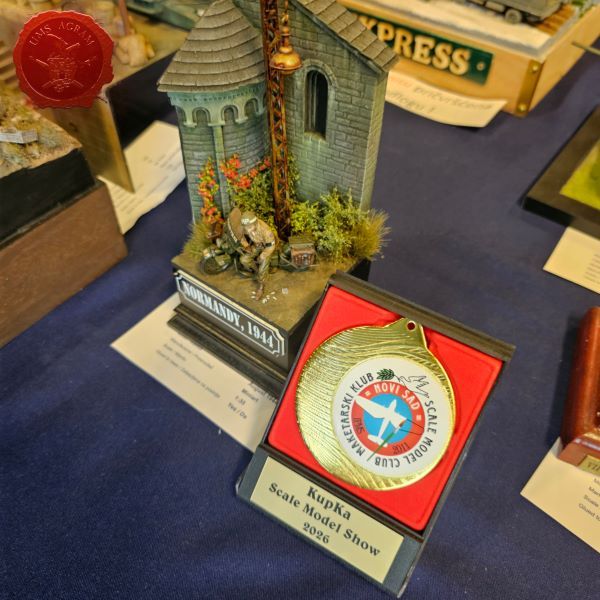
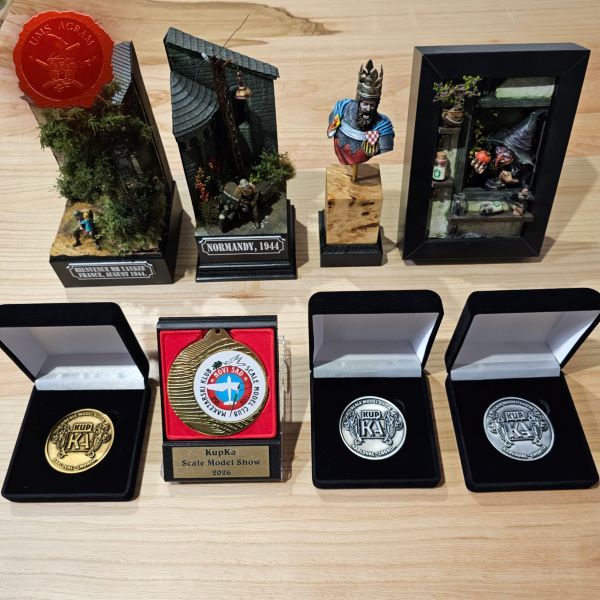
- We visited: KupKA 2026 Marko Paunović, 26th May 2026
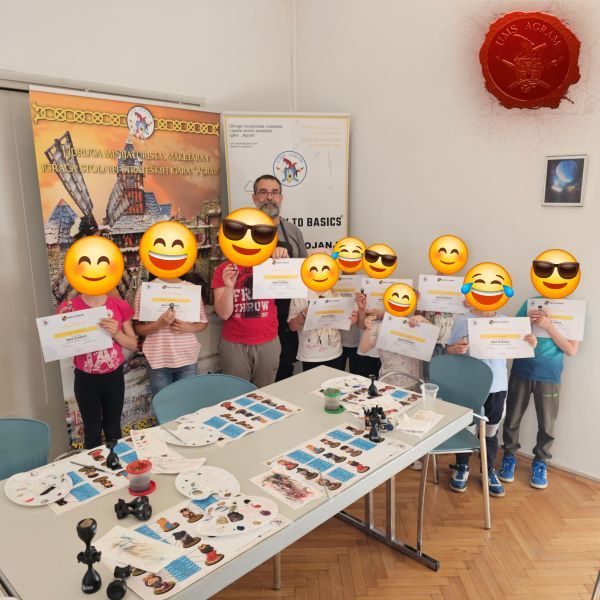
- Back to Basics Workshops in Gallery VN Krunoslav Belinić, 26th May 2026
- Painting Faces at Tabletop Level Marko Paunović, 20th May 2026


Latest battle-reports
- Kill Team - Blooded vs. Vespid Stingwings 28th February 2025, GW - Warhammer 40.000, and Antoni Pastuović (Imperial Guard)
- 22nd April 2022, GW - Warhammer 40.000, Borna Pleše (Space Marines) and Kristijan Kliska (Tau Empire)
- 17th November 2021, GW - Warhammer 40.000, and Nino Marasović (Space Marines)