Frozen Stiff - Step by Step Tutorial
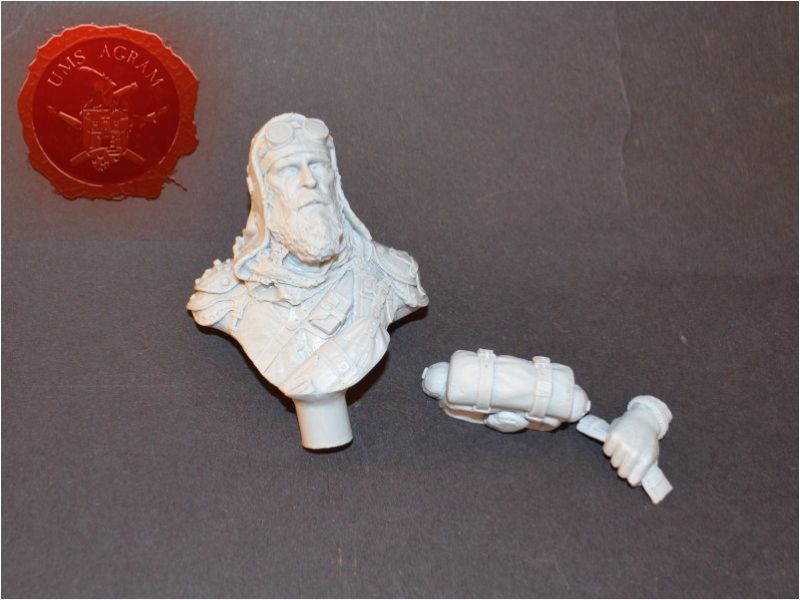
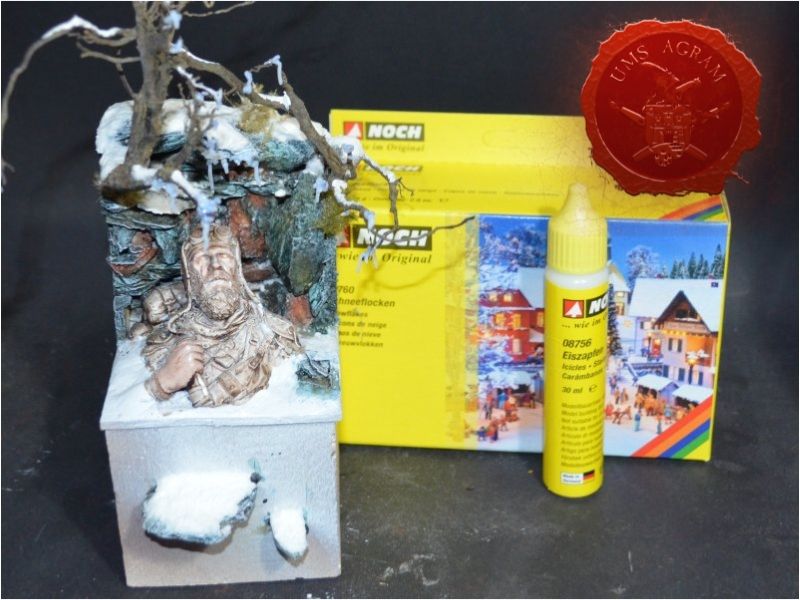
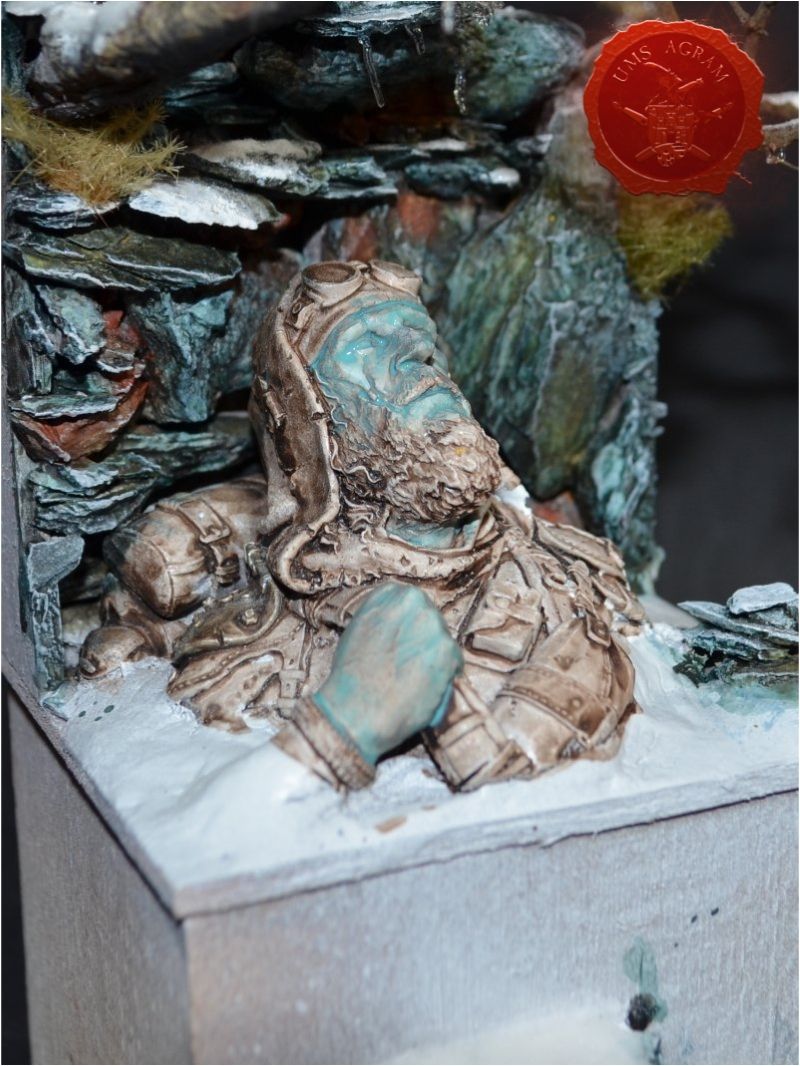
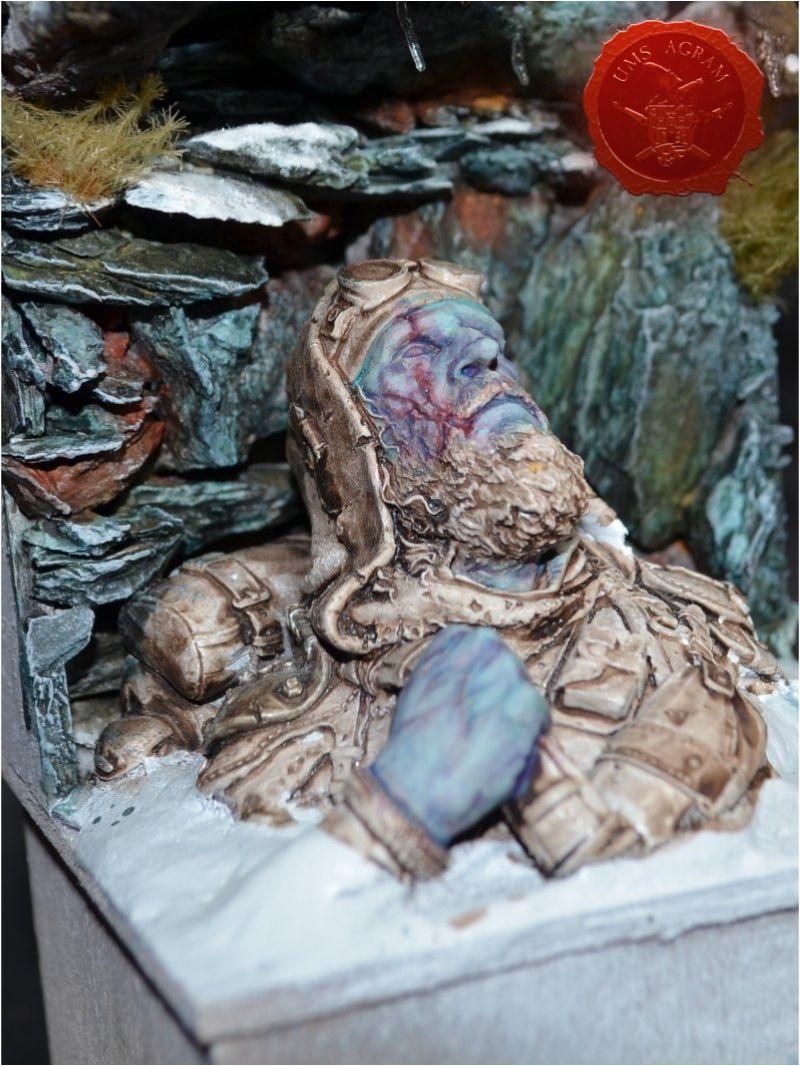
This article follows the build of my award winning diorama called Frozen Stiff that I built for the Iron Painter 2017 competition. I wanted to do something different for this project so I decided to use a bust for a diorama. The miniature I used was The Wanderer by FER Miniatures, a 1:10 bust.
Making the plinth
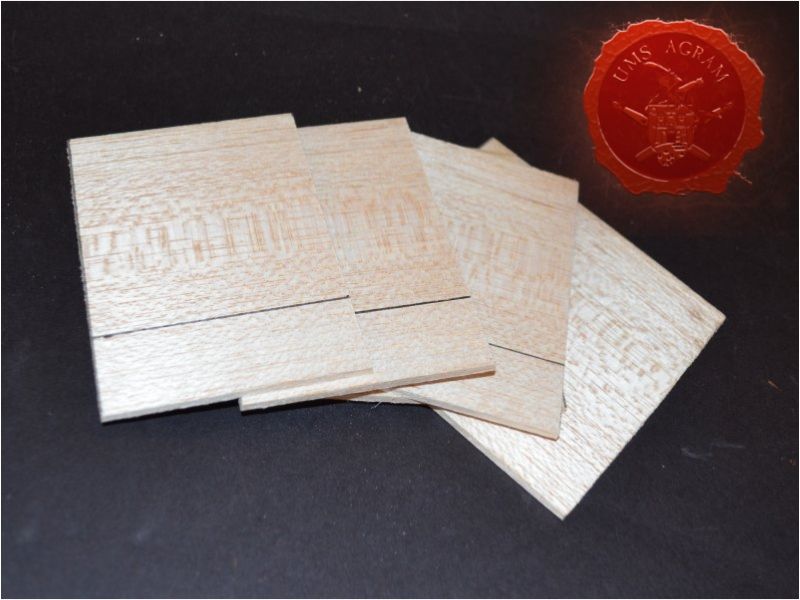
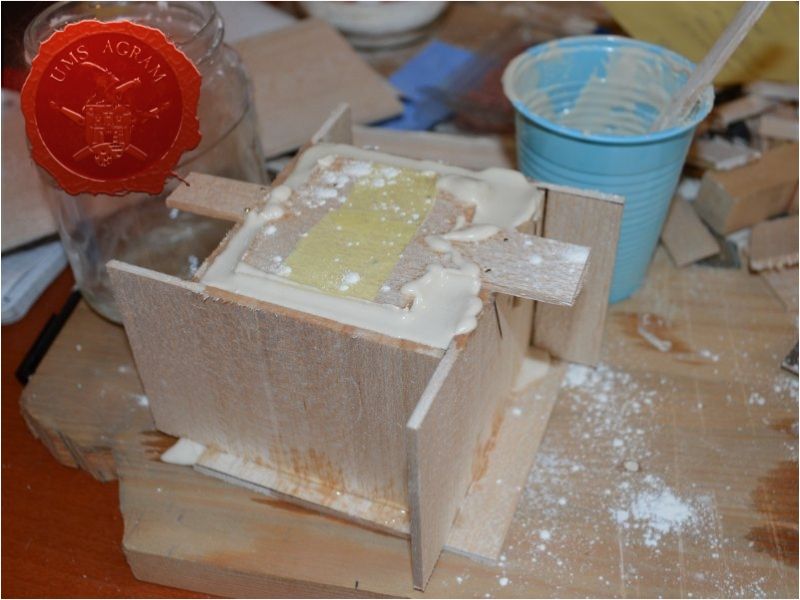
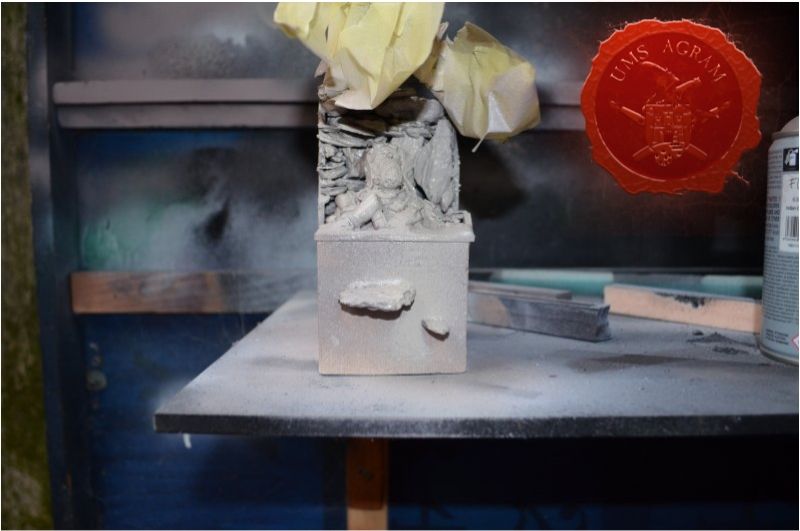
For the base, I needed quite a large plinth and I didn't have any lying about so I decided to make my own. After checking the size of the footprint of the bust, I calculated that I need about 7,5x75 cm base. To make it out of plaster would mean it would be rather on the heavy side so I had to make the plinth hollow. The sides of the mould for the plinth were done from 4mm thick balsa wood. I didn't glue them together and for fixing them in place I used pins. This would enable easier removal of the plinth from the mould. I used HD styrofoam to make the inside of the mould. By using this, I saved about 60% of the final weight of the plinth. Once the plinth was cast and dry, I removed the sides of the mould and used my disc sander to sand the irregular mouldlines and excess material.

Preparation work and making the base
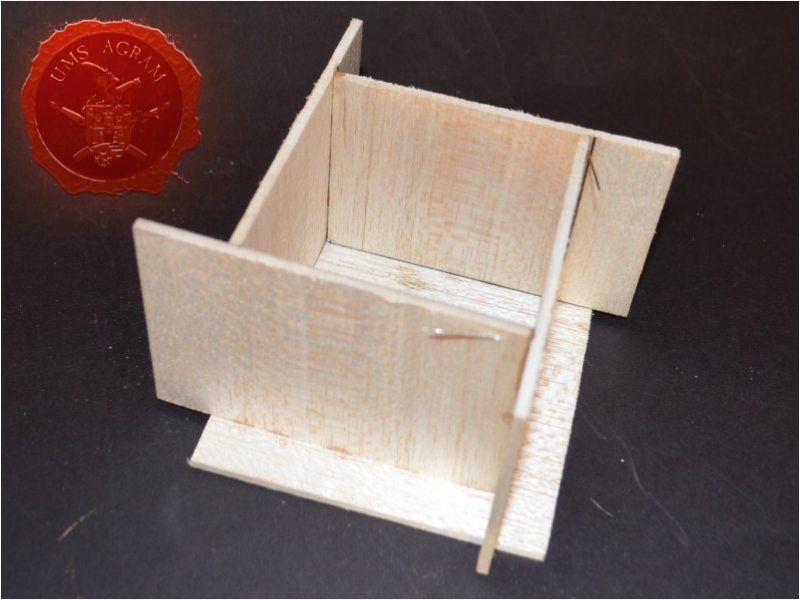
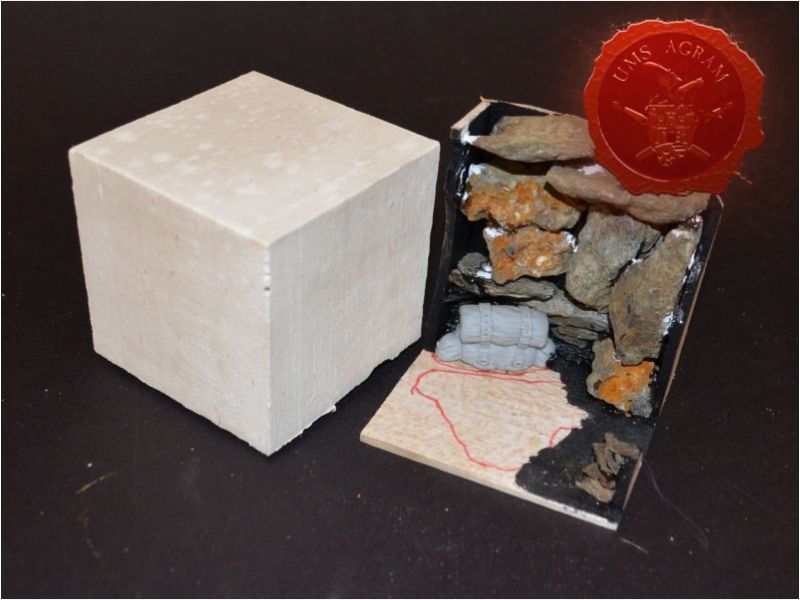
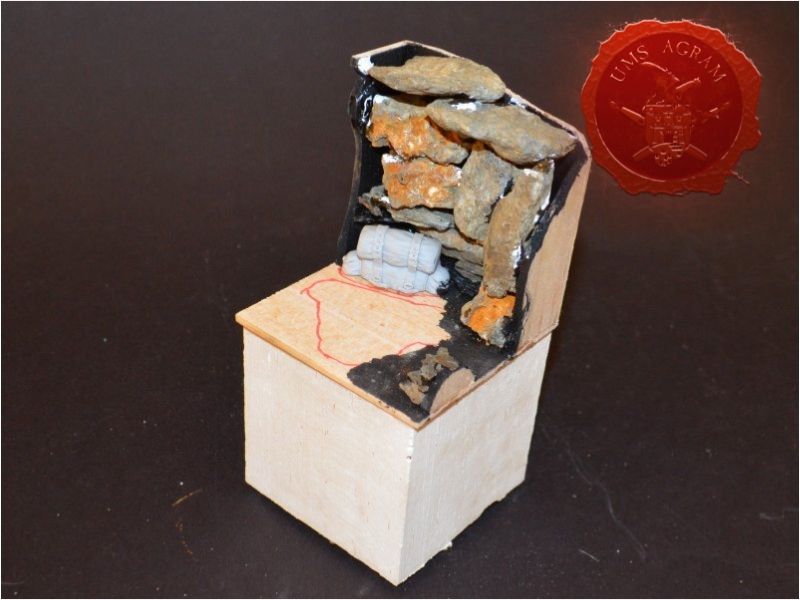
In order to place the bust at the correct angle, I needed to sand the bottom side of the bust. Again, I turned to my disc sander. It took several attempts to get it to right position and once I was satisfied with the result, I used 4mm thick balsa wood to make the back and the sides of the diorama. Inside, I would make the cliffs.

IDEAS
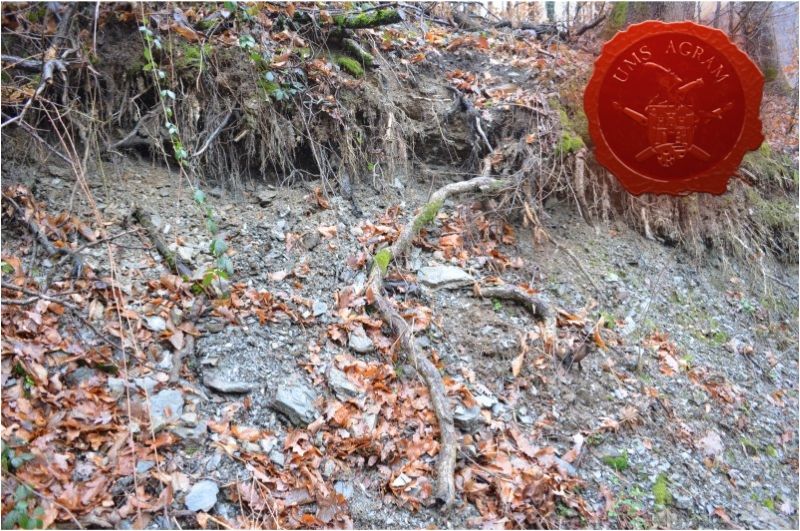
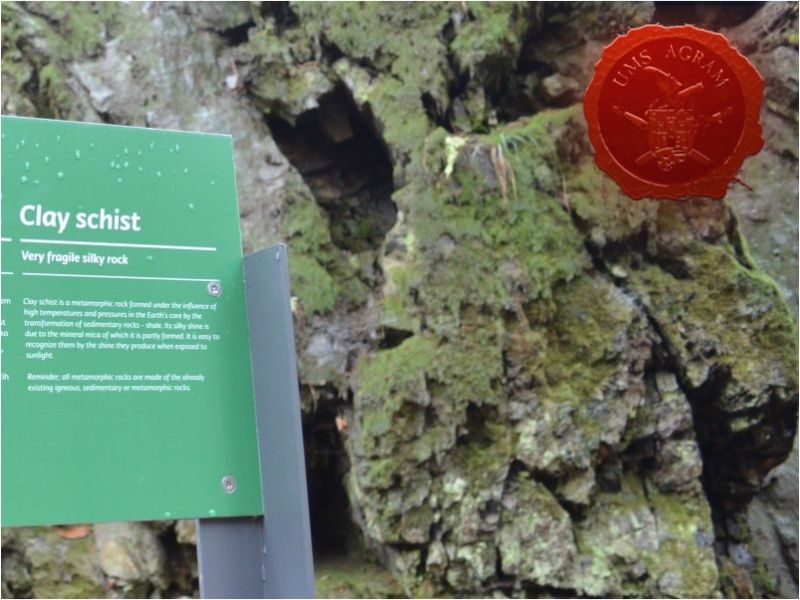
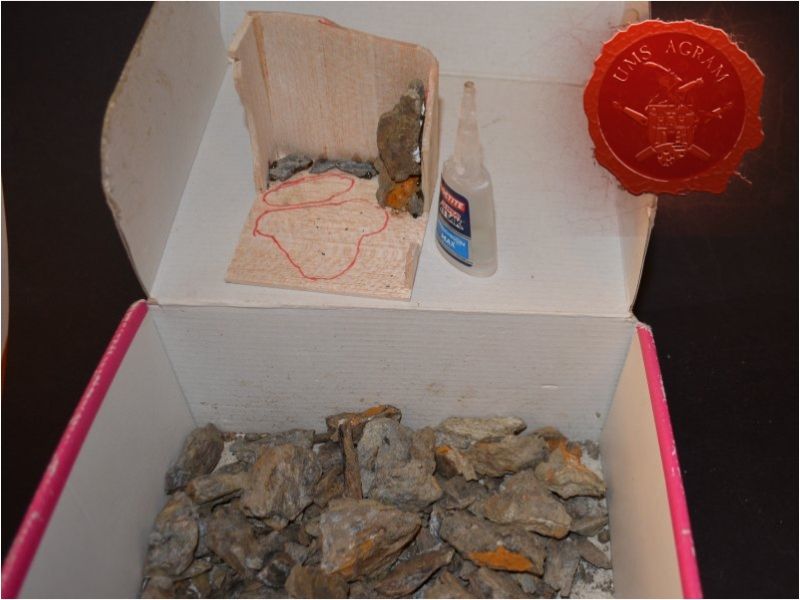
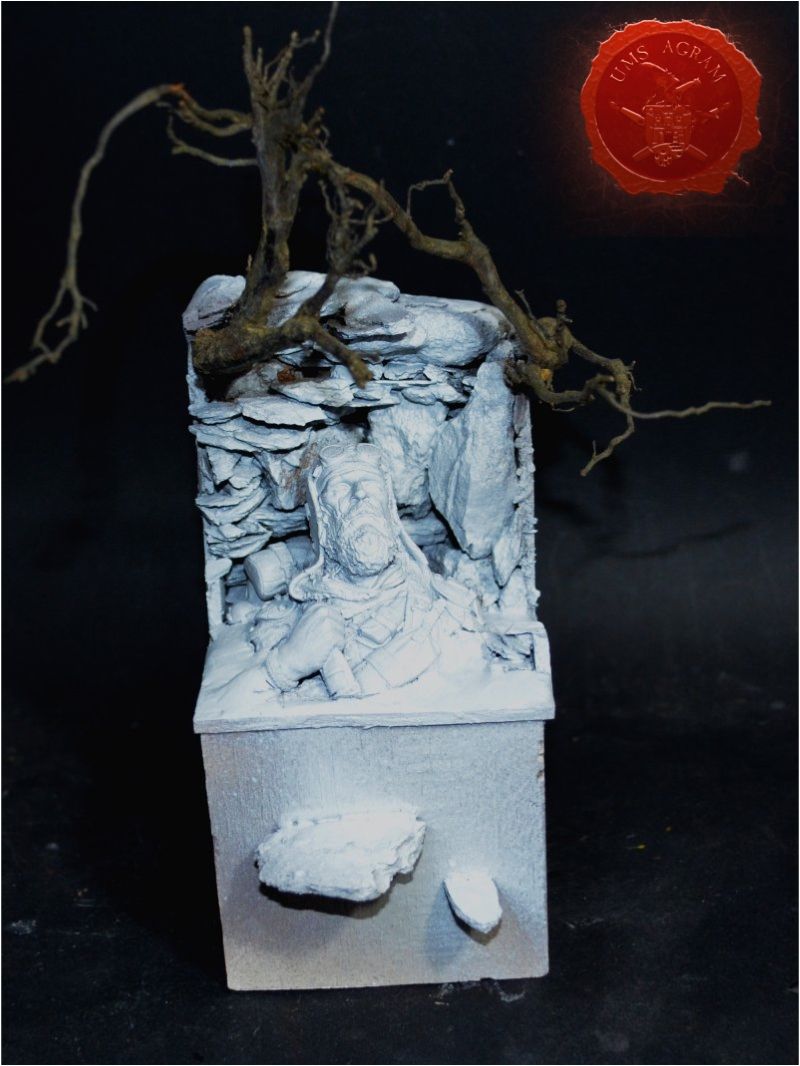
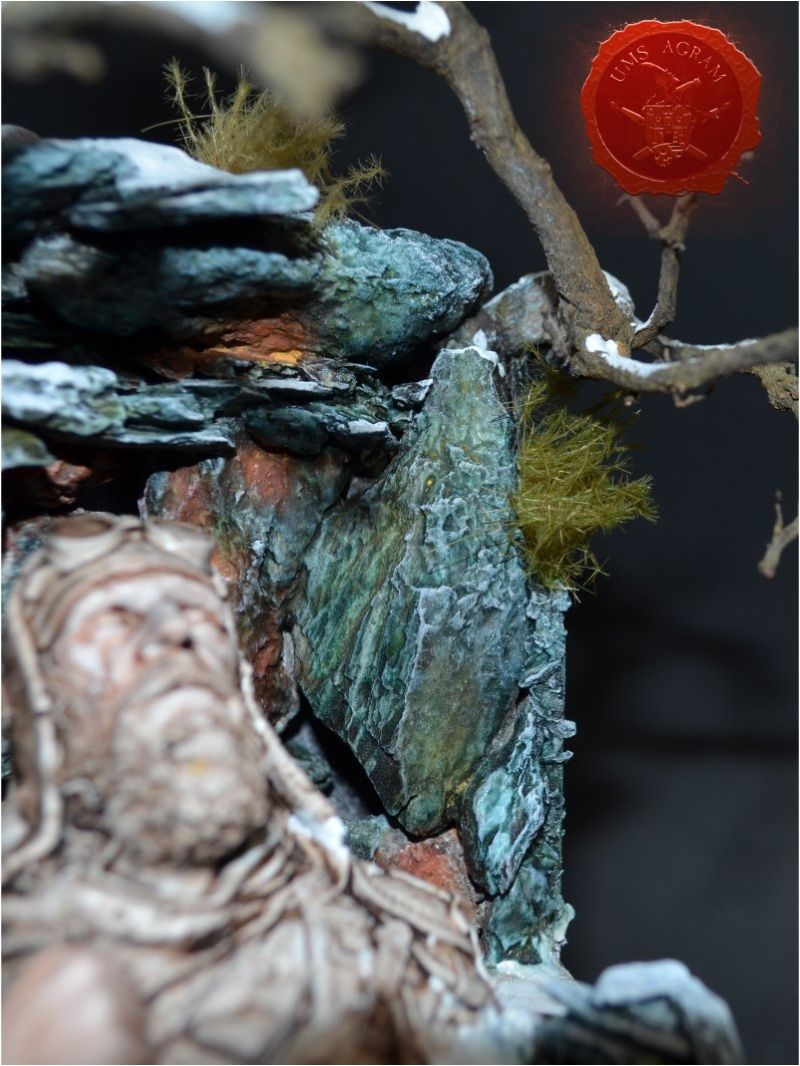
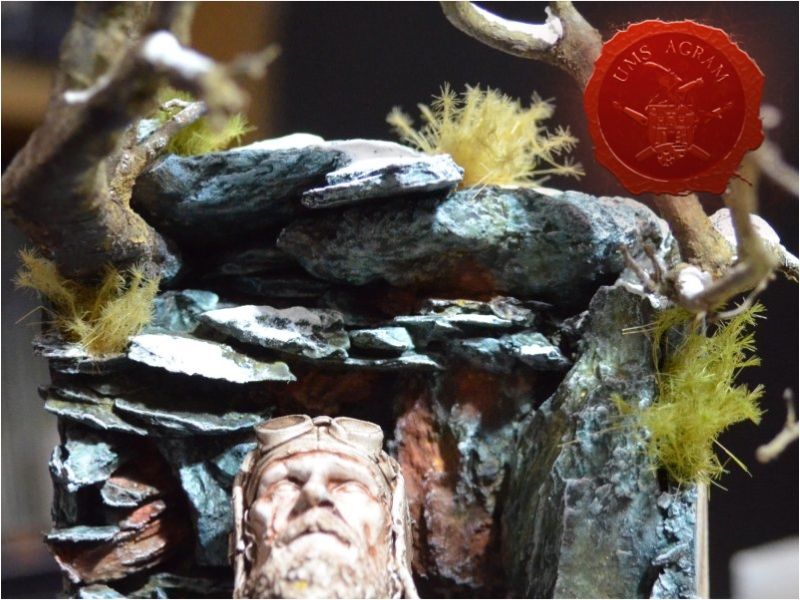
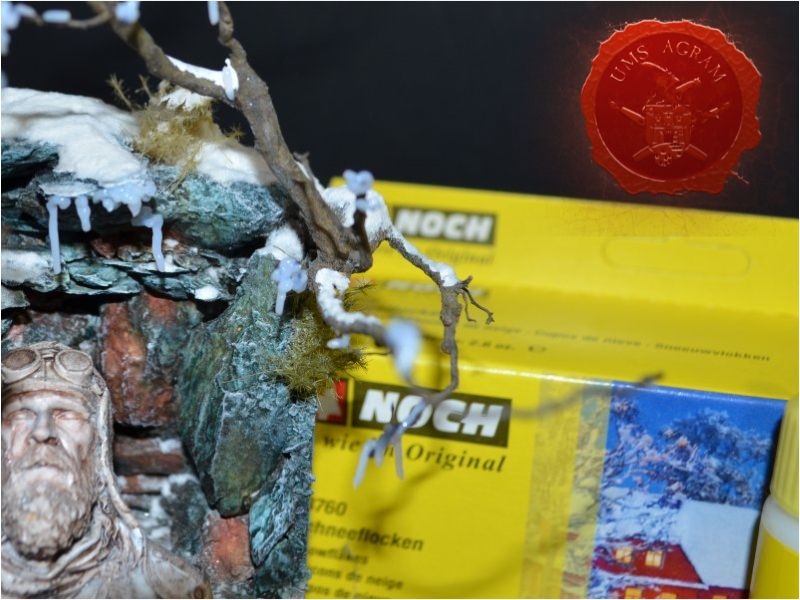
During my Snowpocalypse entry (Frozen Stiff, that I began to call it at this point), I used clay schist to make the cliffs. For that build, I needed only a handful. Fortunately for me, the Medvednica hill next to Zagreb where I live, is full of this metamorphic rock so I decided to take a hike with a mate and go gather a bagful of broken stones. During these hikes, I like to take photos of nature as it is really a good source of inspiration. Once back, I had to wash the stones in soapy water to remove the dirt because the paint wouldn't stick to the stones properly otherwise. I used warm water and several repeats of the process until I got almost clear soapy water. I left it to dry for a couple of days near a heater. When the slate was dry, I stored them in two boxes. One was for really large pieces and the other was for smaller ones and debris. This would speed up the proces of choosing the stones while making the river bank and cliffs.
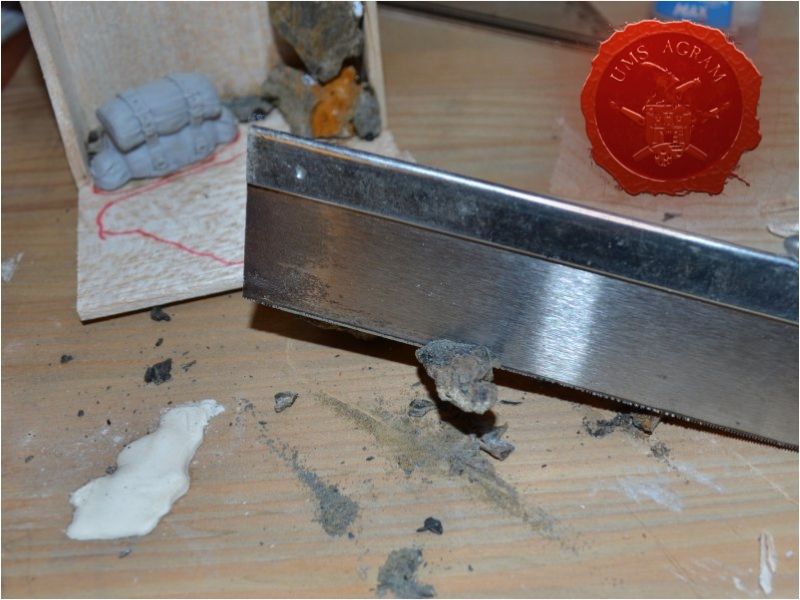
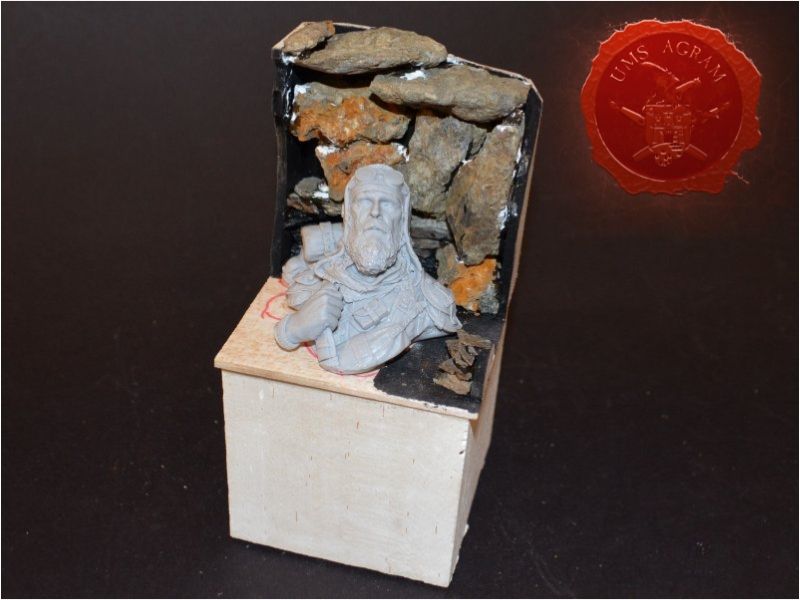
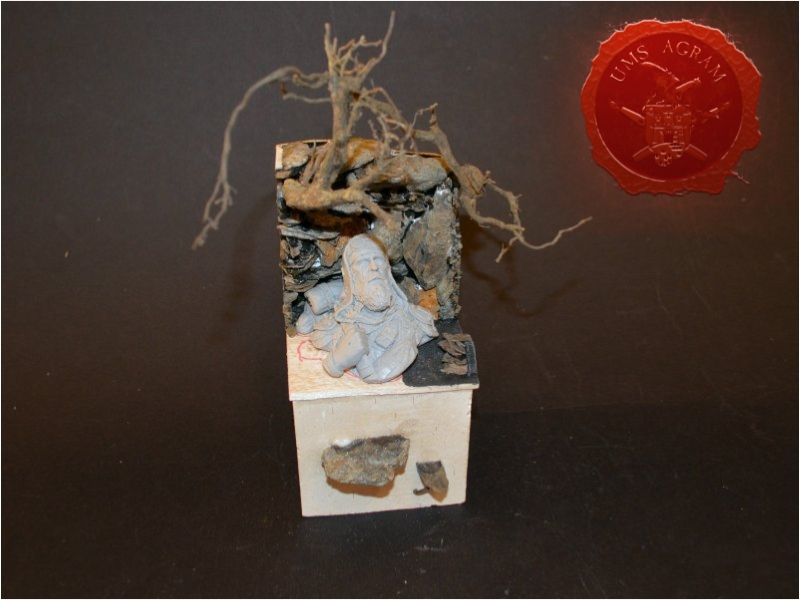
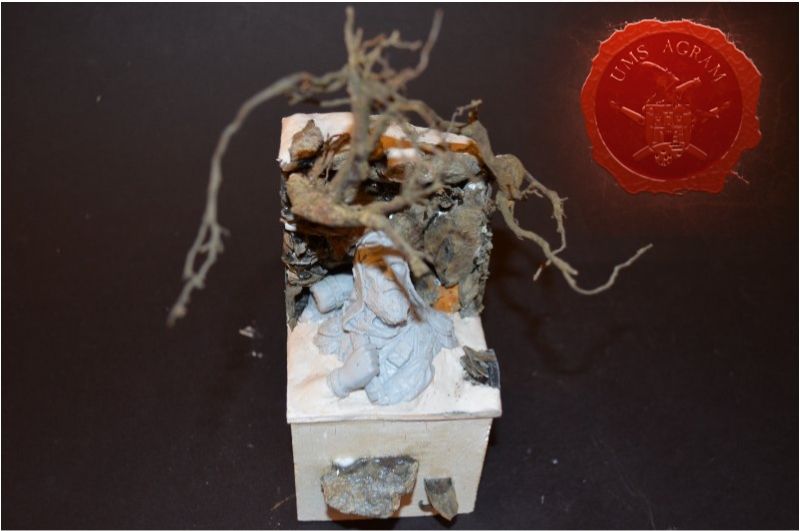
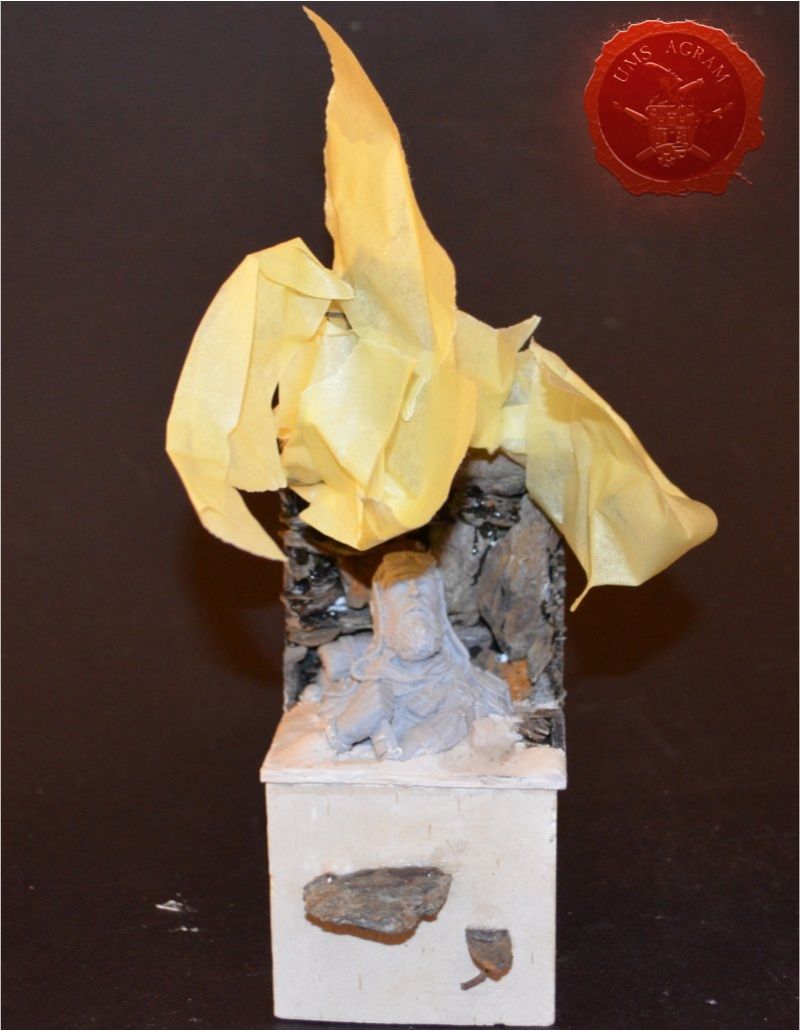
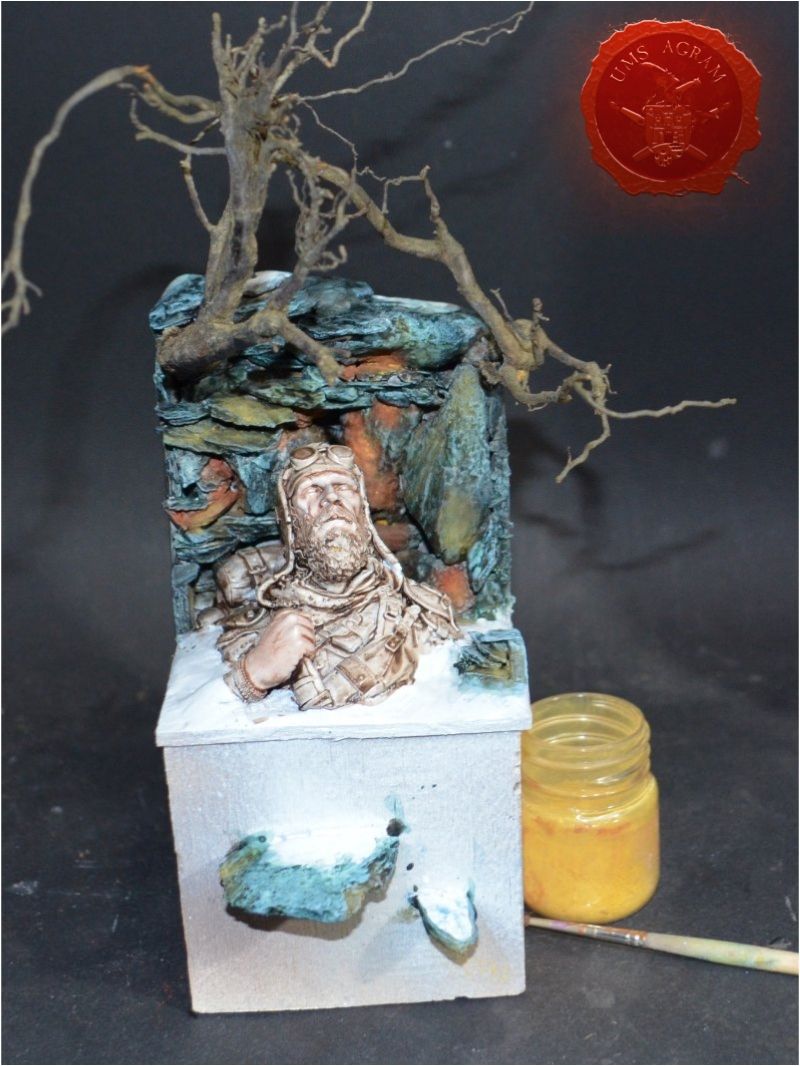
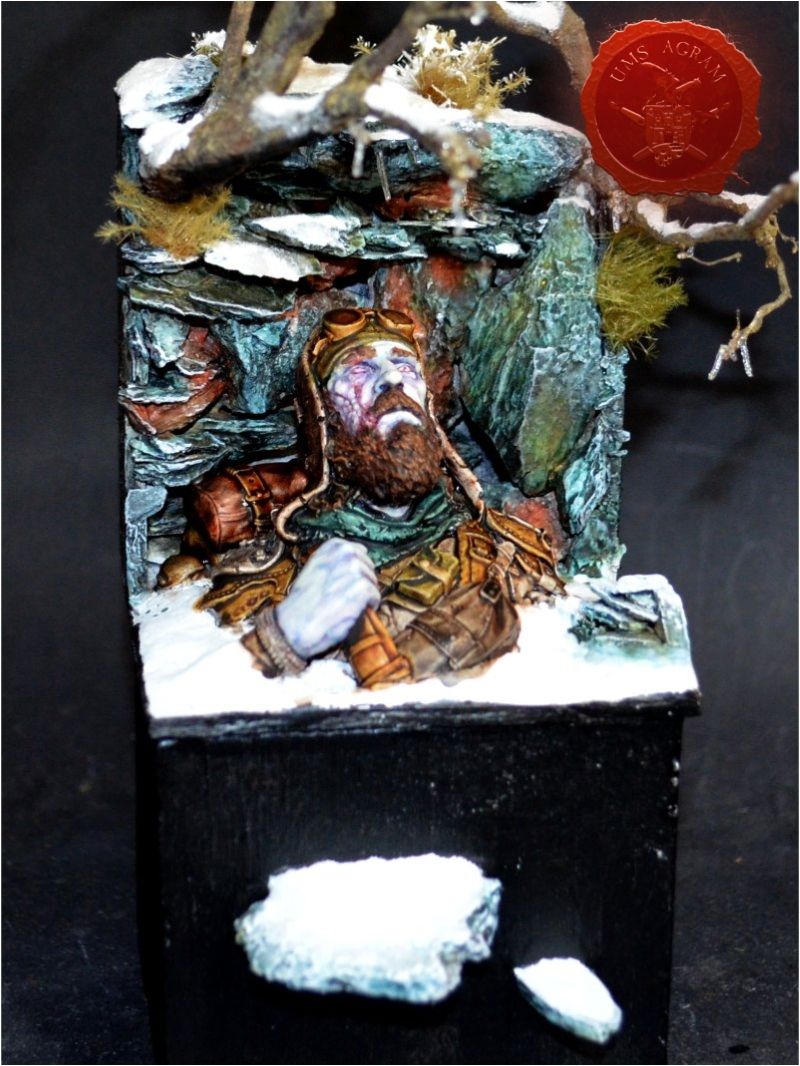
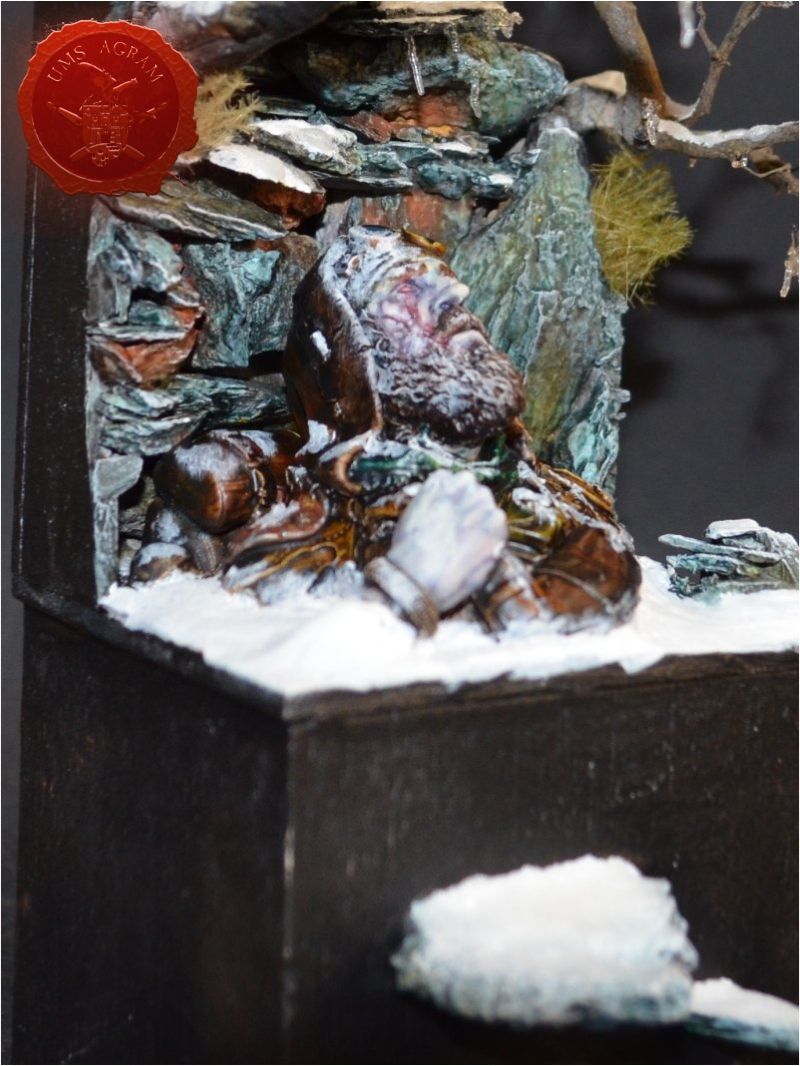
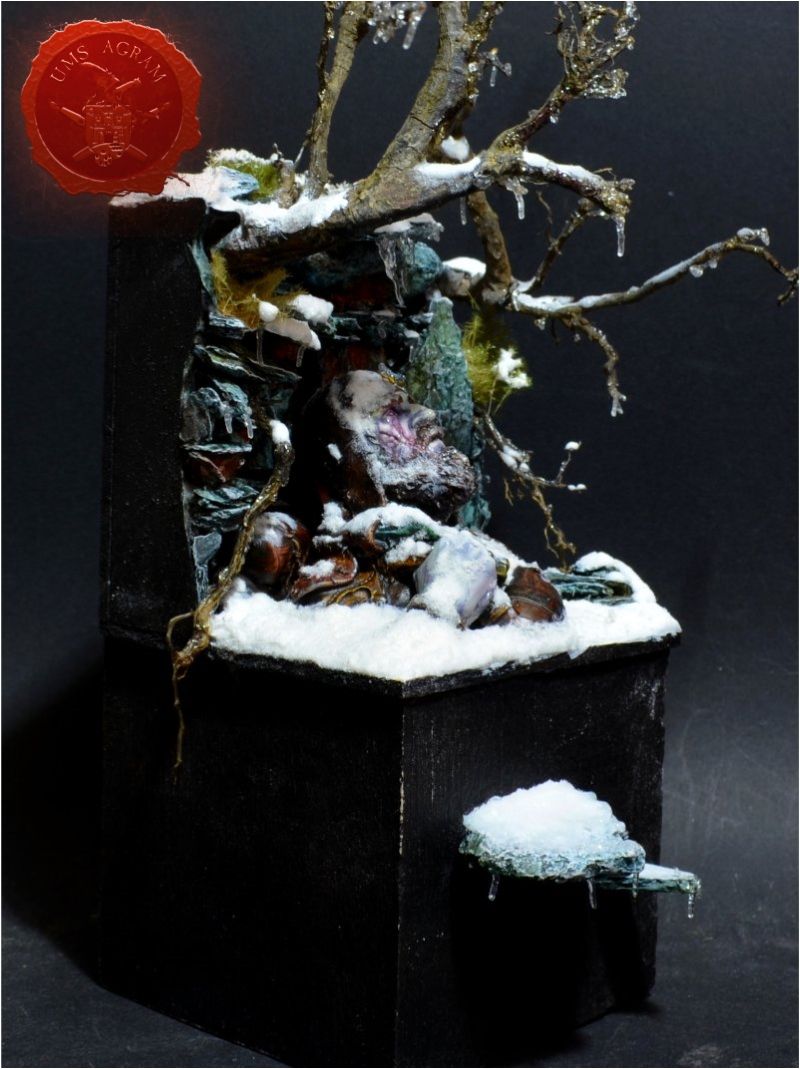
After the trip to the Medvednica mountain, I carefully cut, sawed and assembled all the schist pieces I'd need. Before gluing the stones, I painted the back and the sides of the base black. Using PVA and super glue, I glued them in place. Once the cliff was formed, I used dried up roots to make trees and their roots. I pinned them in place using my pin vice and glued them with super glue. Then I placed the mini and glued it in its place. With the bust in place, I could now add volume to the base that would eventually be snow. To do that, I used DAS airdrying clay.
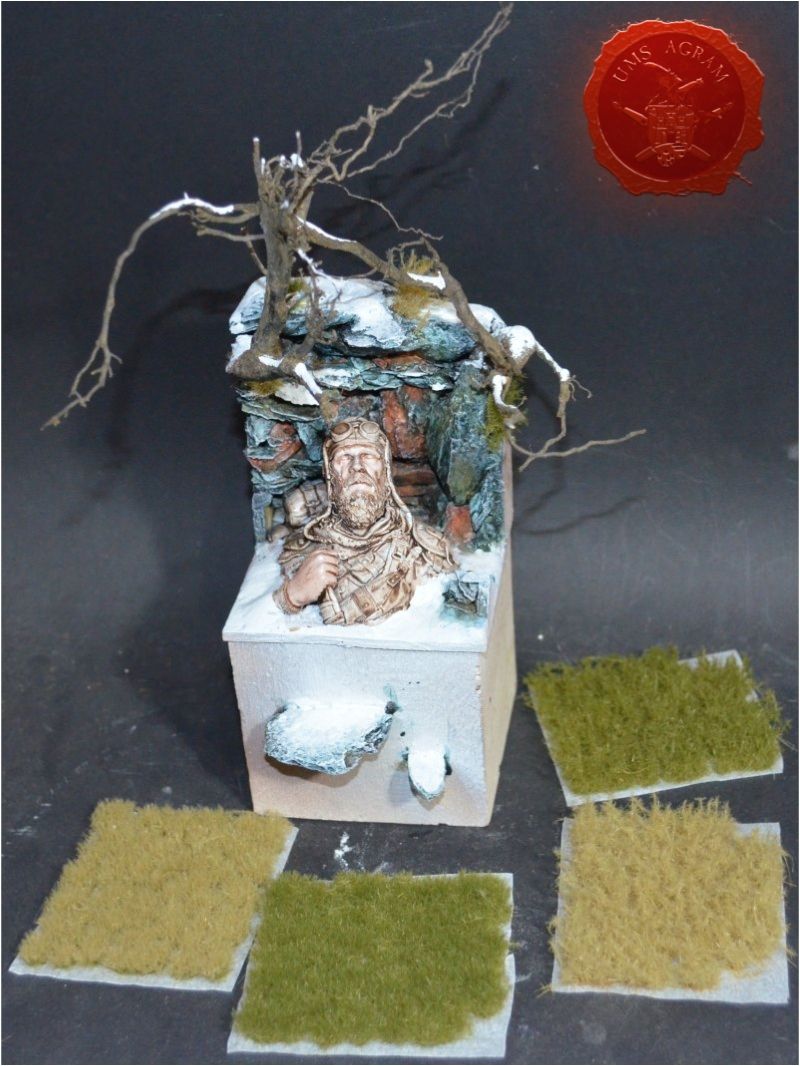
Painting and flocking of the base
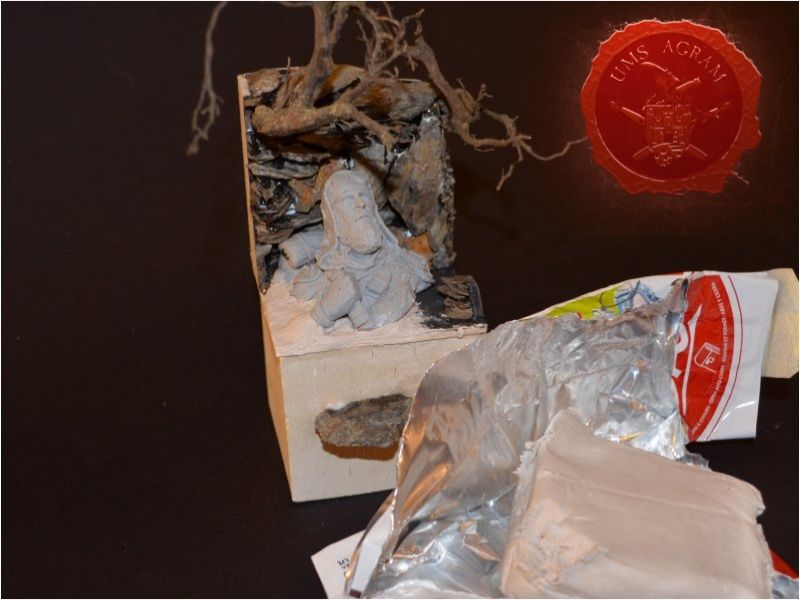
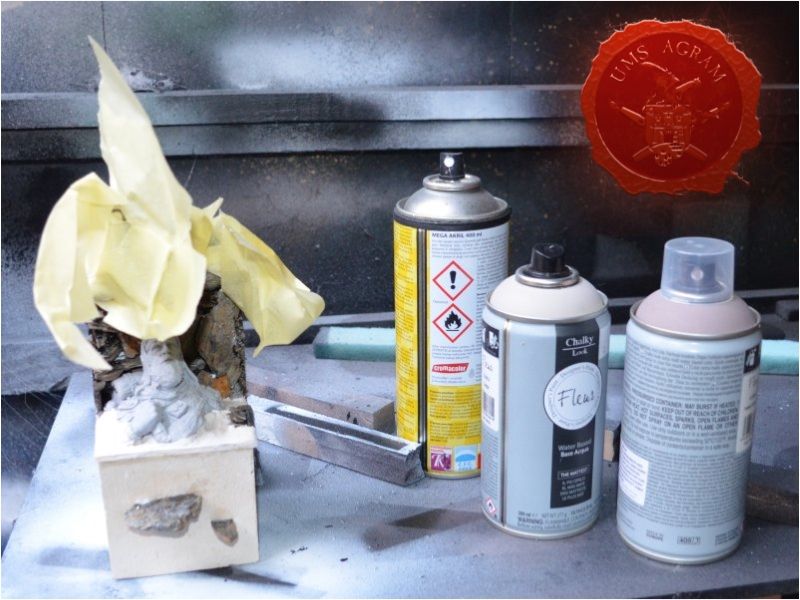
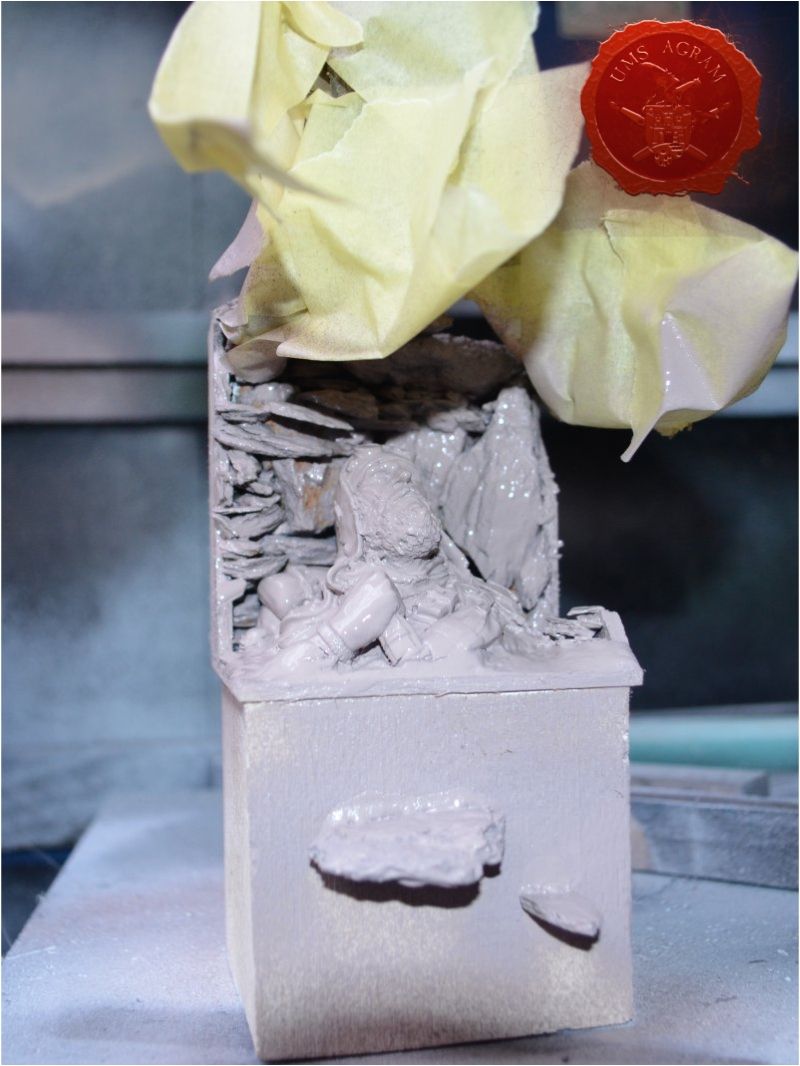
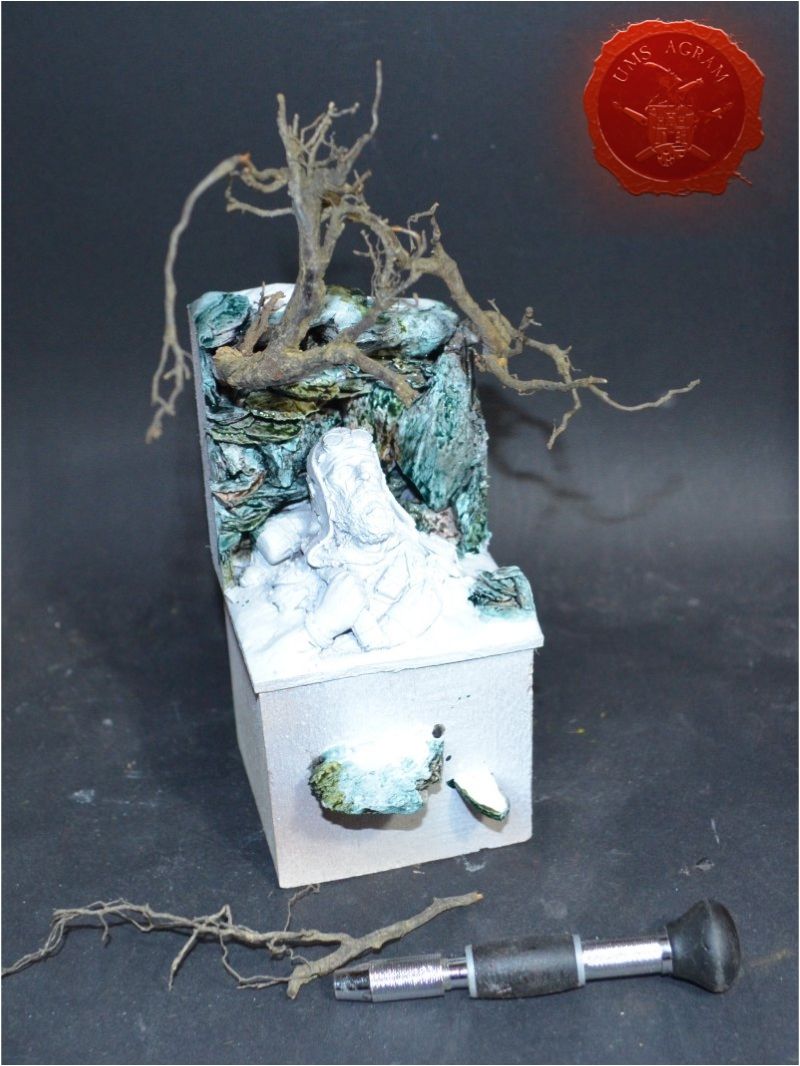
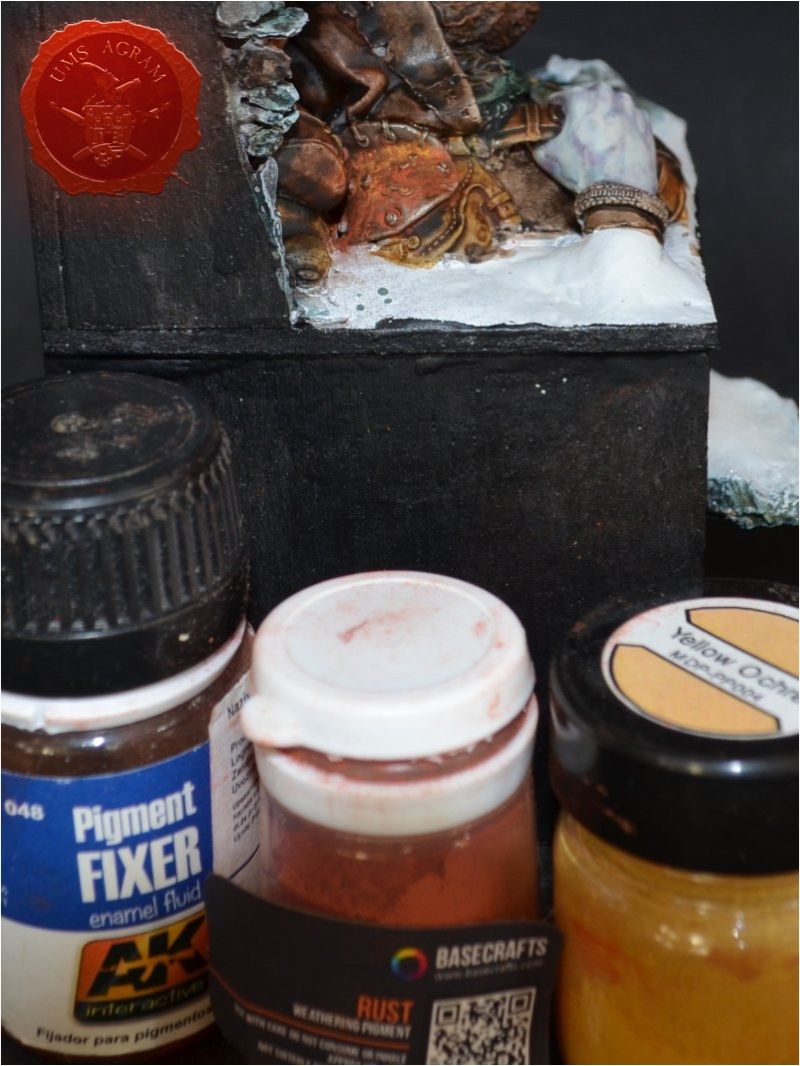
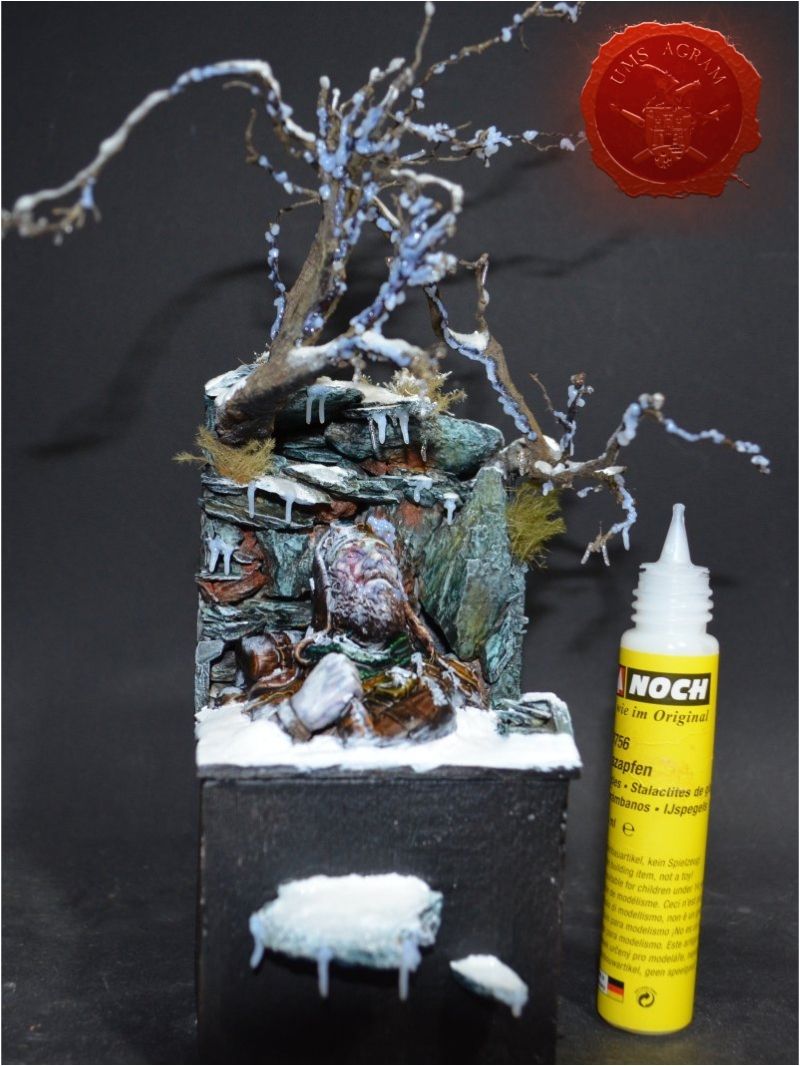
When the clay was dry, I covered the trees with masking tape and spreyed the entire diorama with several layers of paint. First layer was white, followed by off white and finished with drab colour. Each successive layer of sprey was applied with less and less intensity and volume. When the spreying was done, I removed the masking tape and proceeded to paint the rocks first. I used several layers of washes. I used mostly Citadel ones, Nuln Oil, Coelia Greenshade and Athonian Camoshade. When I was satisfied with the basic tones, I used several Scalecolor greys to make the highlights. Afterwards, I applied several shades of pigments (rust and ochre) in several places just to make the cliff a bit more interesting. I fixed the pigment in place using AK Interactive Pigment Fixer. After the painting, I decided to add some sparse vegetation. I used several tufts from a company called Gamer's Grass that specialises in producing great looking tufts. They recently released a new kind of tuft called spikey tufts which I thought perfect for this project. I then painted all the surfaces that were going to be under snow white and once the paint was dry, I applied several layers of NOCH Snowflakes fixed with PVA glue. I also had one other product that I was dying to try out. NOCH Icicles. It comes in a tube which you press and a „worm“ comes out. It dries clear and almost plastic like. It is so hard that it will fix the branches in place reducing chance of them breaking. Really effective and easy to use.

Painting the miniature
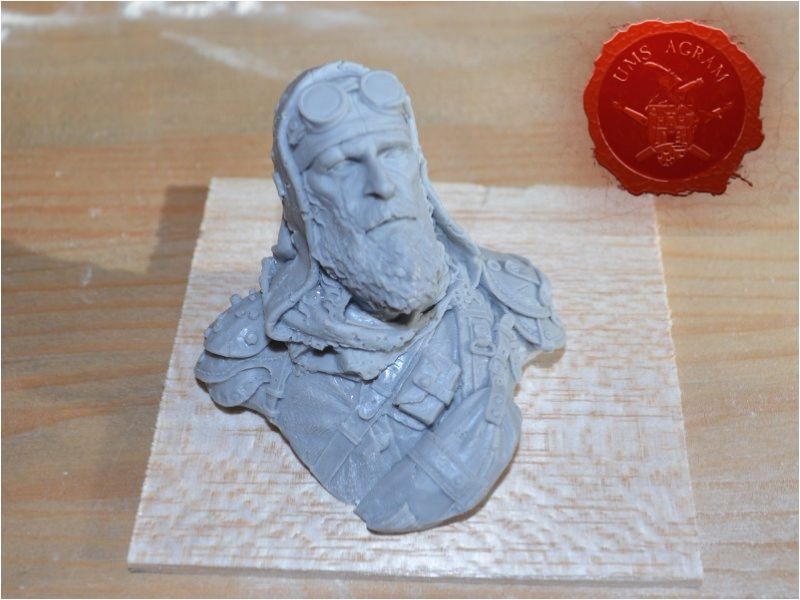
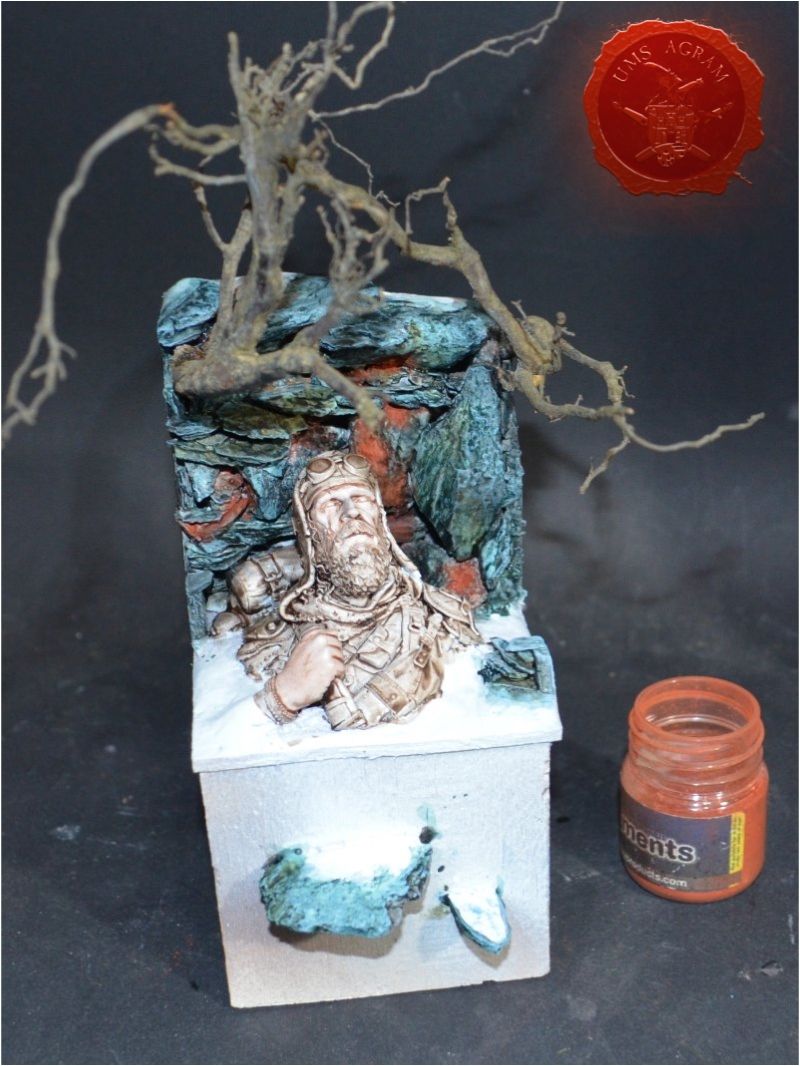
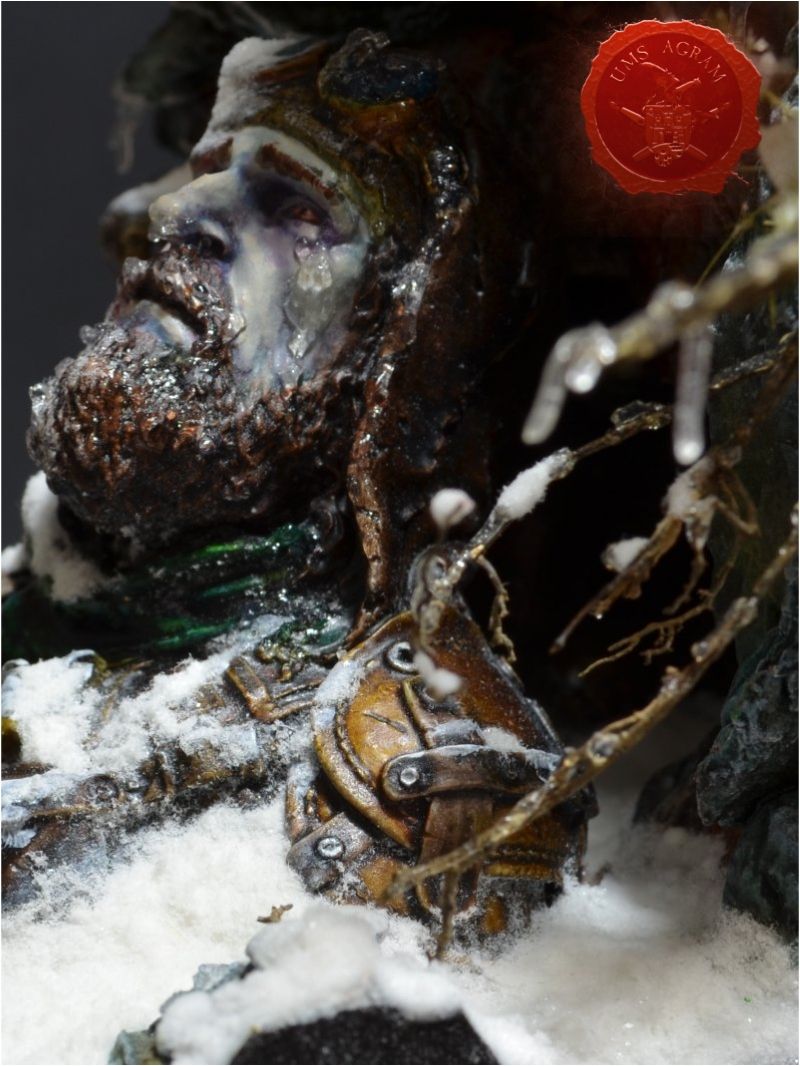
With the base mostly done, it was now time to paint the bust. Again, I used mostly Citadel Washes, diluted even more with Lahmian Medium to get glazes. Washes I used were: Agrax Earthshade, Seraphim Sepia, Reikkland Fleshshade and Nuln Oil. The skin was painted using heavily diluted Nihilakh Oxide and Druchii Violet. Highlights were done using a mixture of Scalecolor skin and light blue colours.
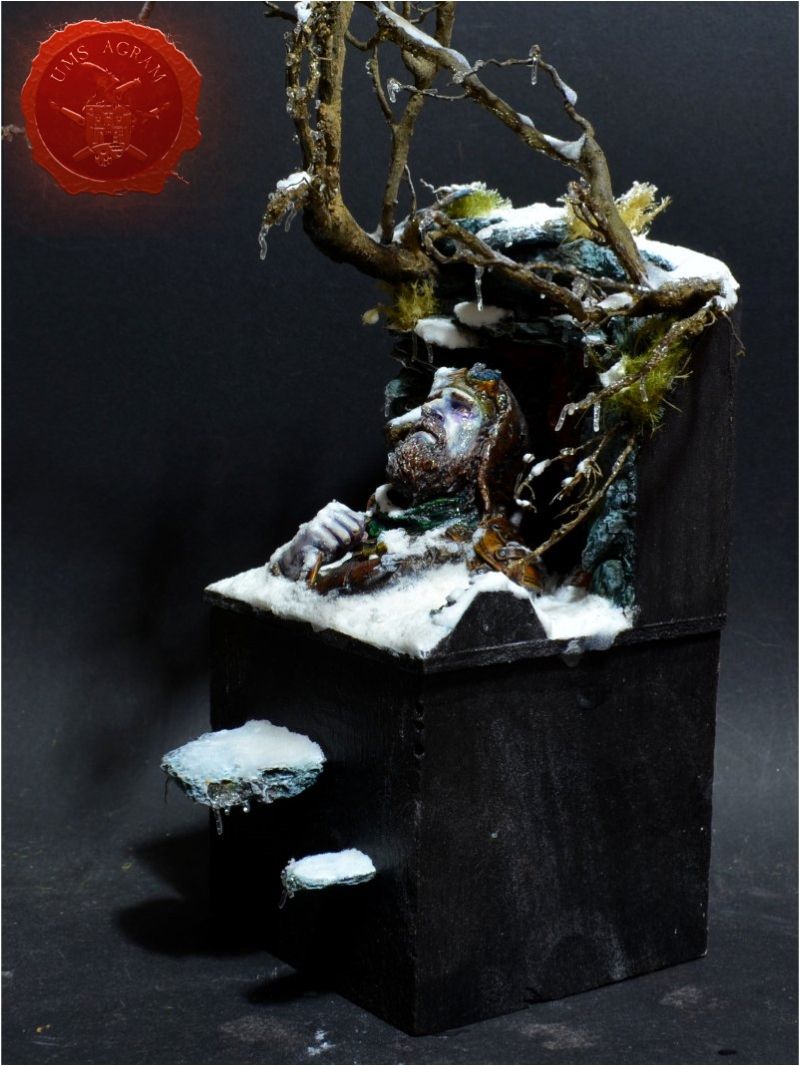
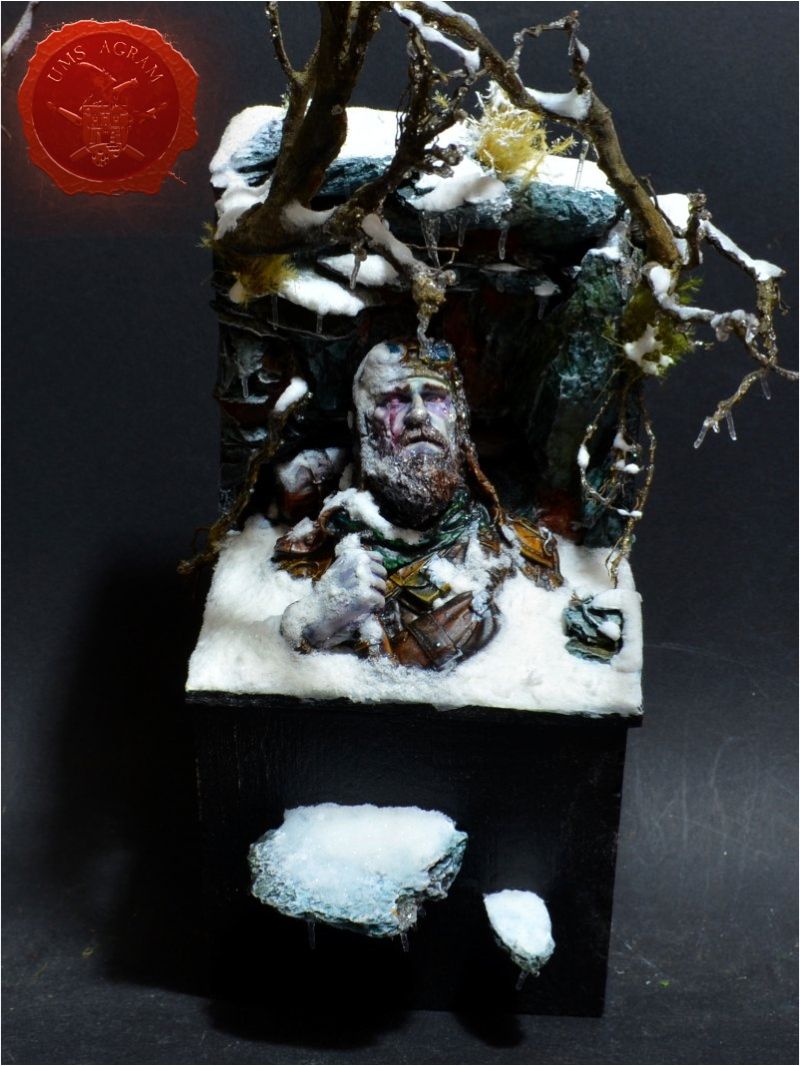
Finished diorama
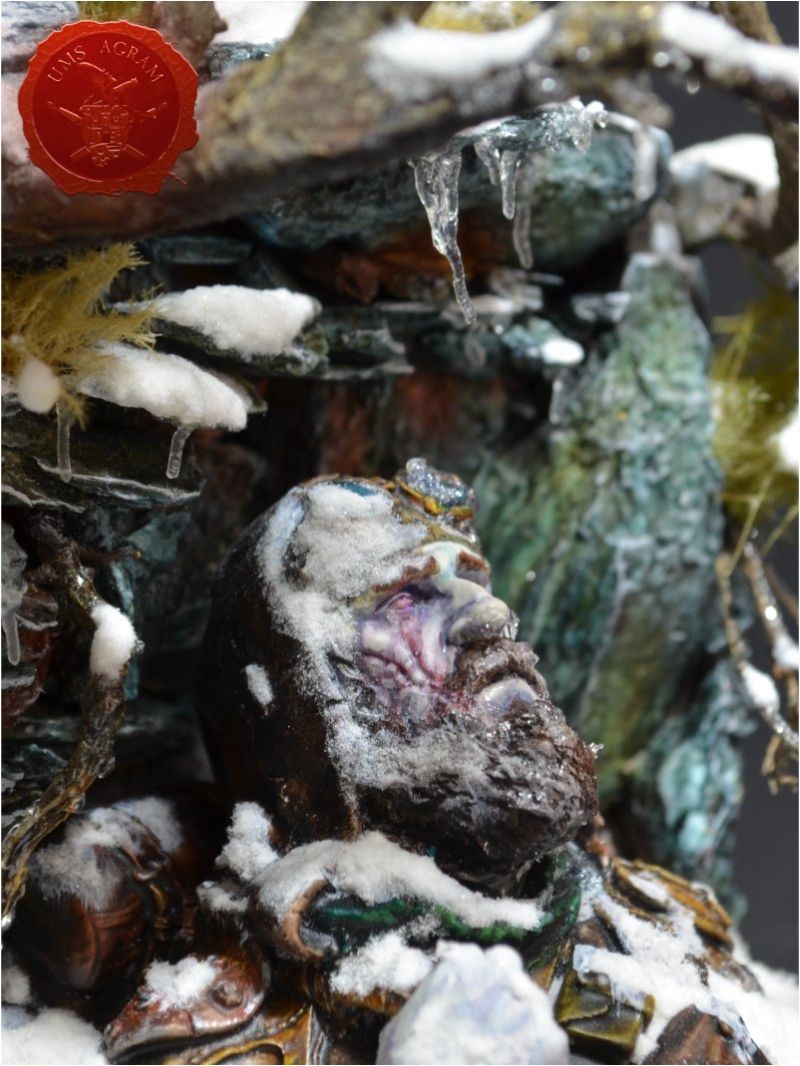
When I was satisfied with the paintjob, I added some snow (NOCH Snowflakes) and ice (NOCH Icicles) on the miniature, especially around the nose, mouth and on the beard.

Latest articles
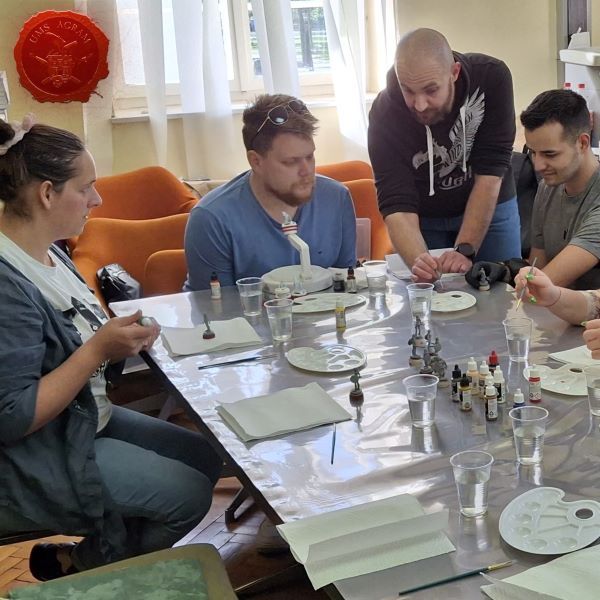
- Back to Basics Workshops in Library Medvescak Krunoslav Belinić, 24th April 2026
- Freehand for Sons of Horus Spartana Marko Paunović, 20th April 2026
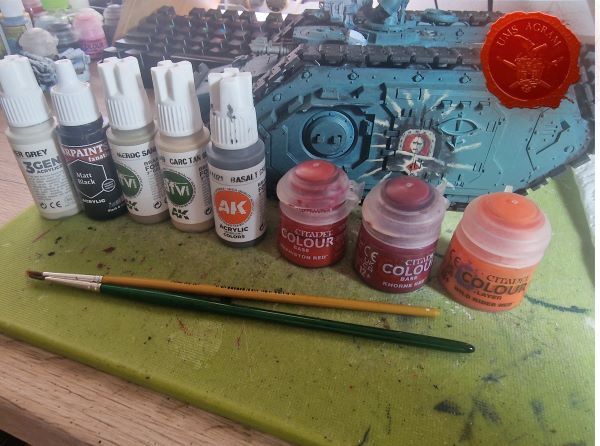
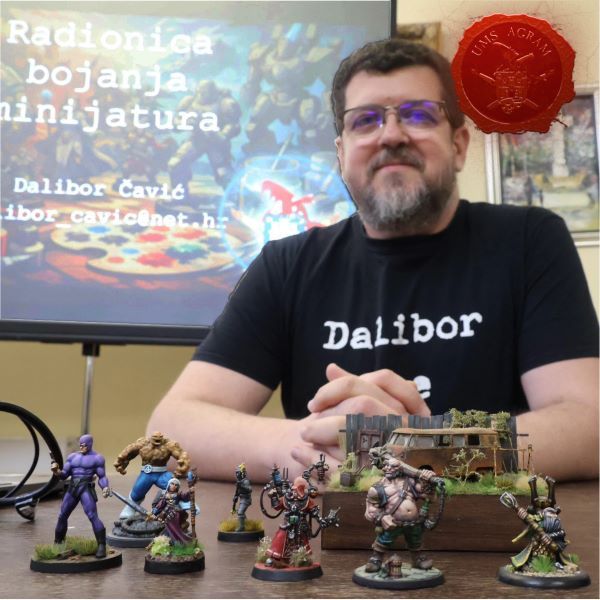
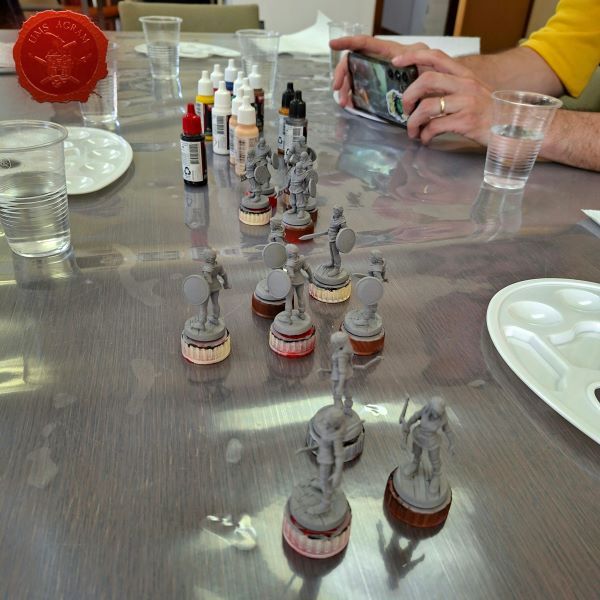
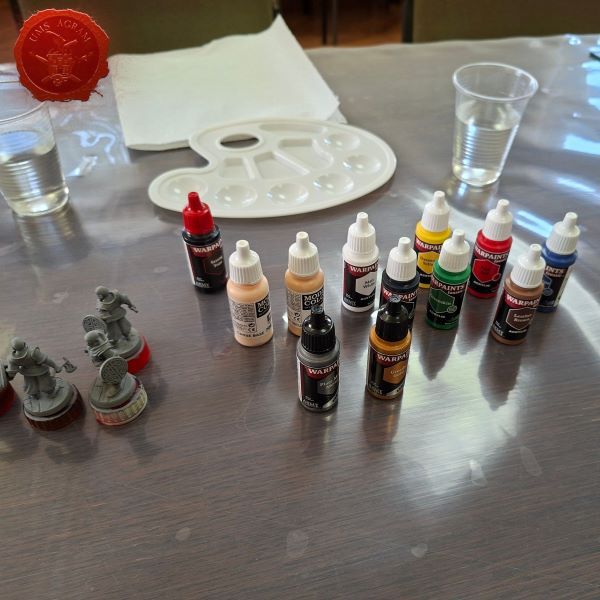
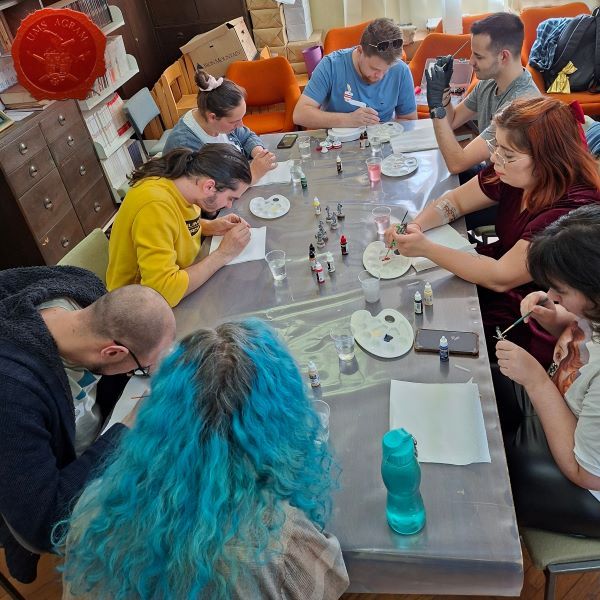
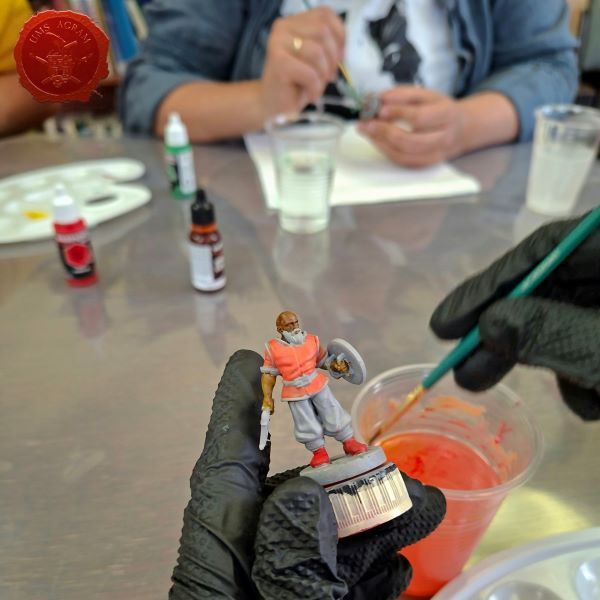
- Miniature Painting Workshop in Bjelovar Dalibor Čavić, 14th April 2026
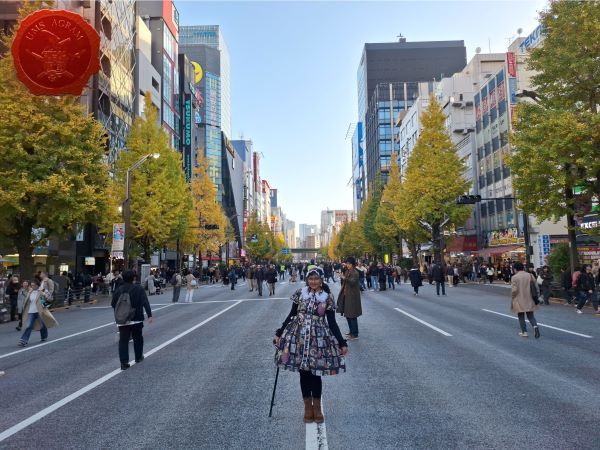
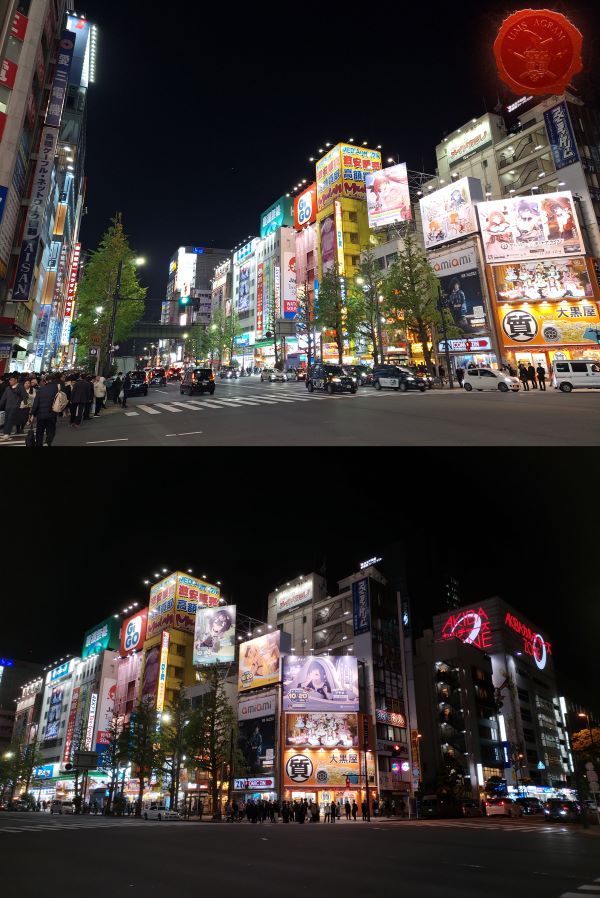
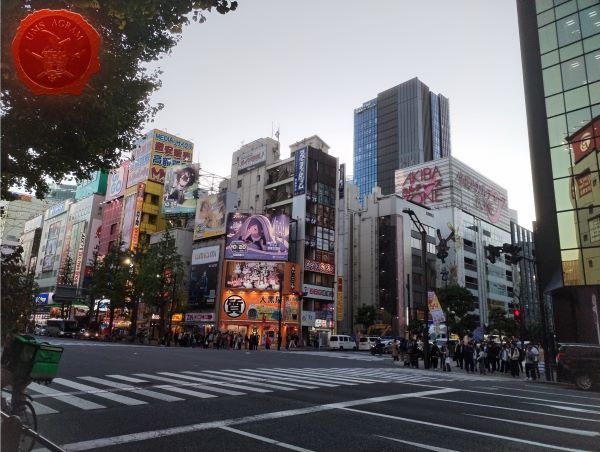
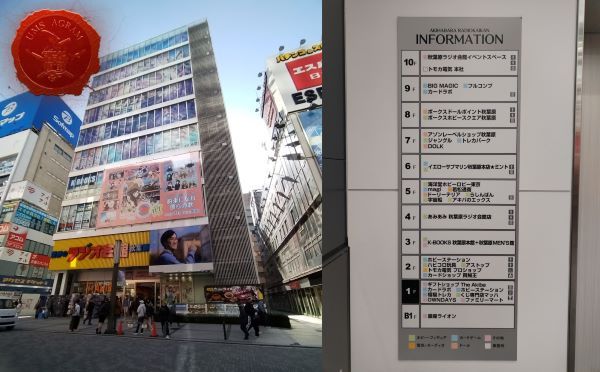
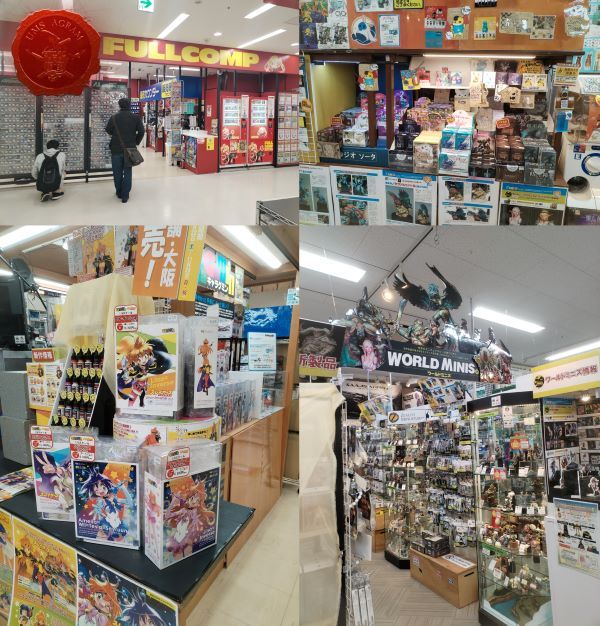
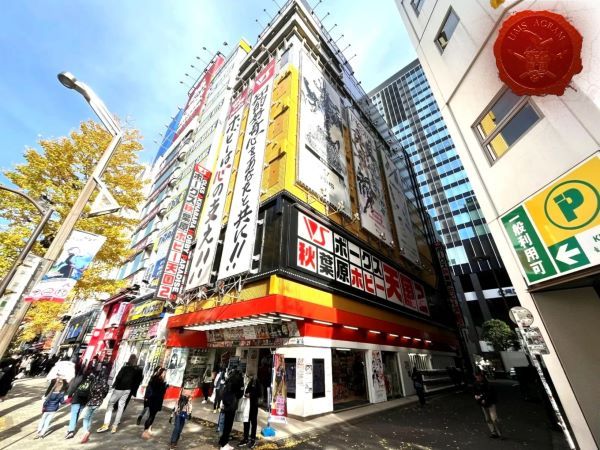
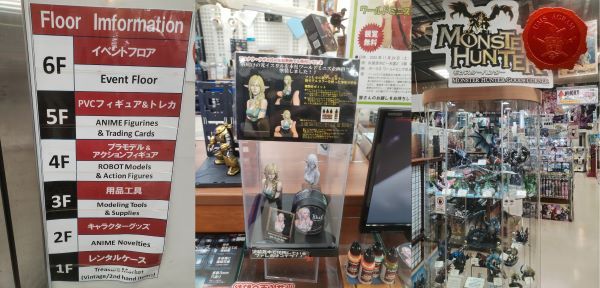
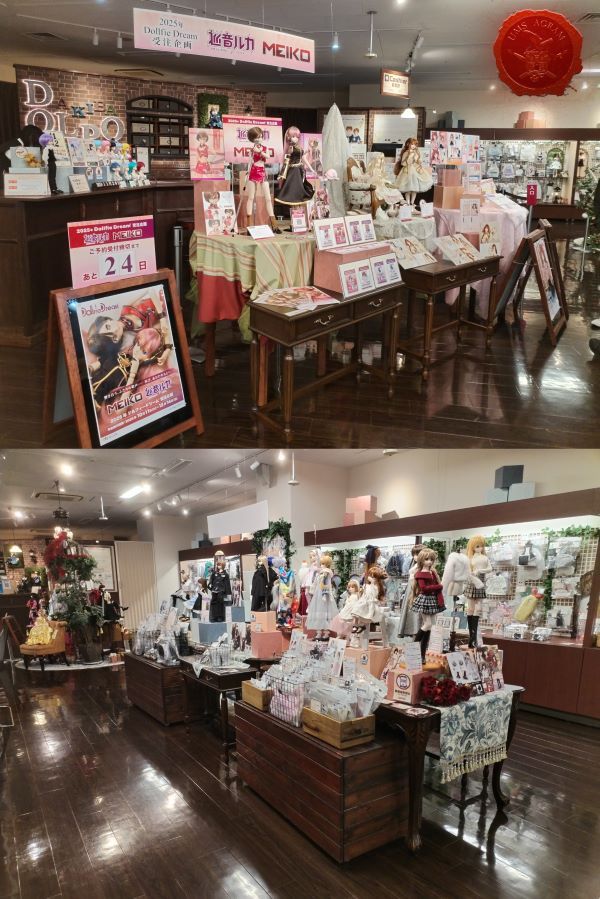
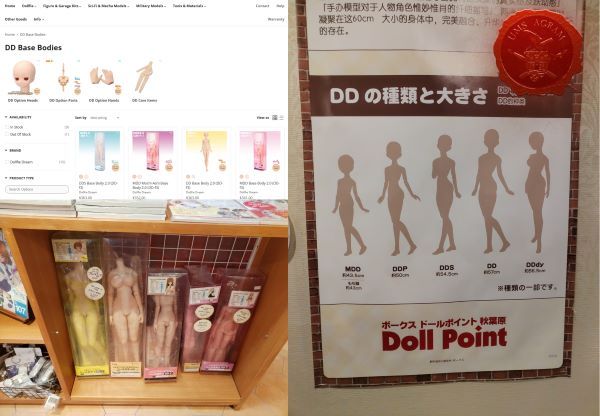
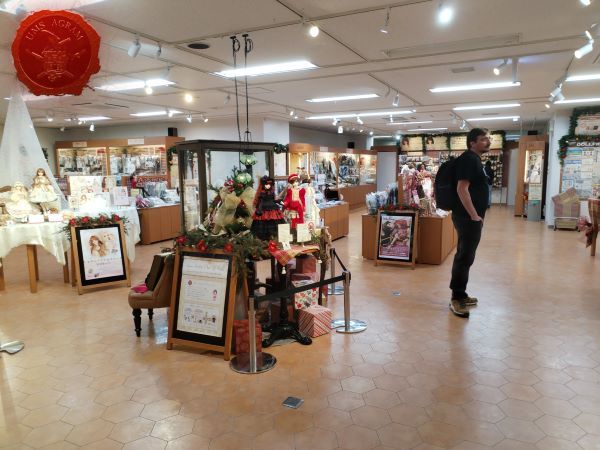
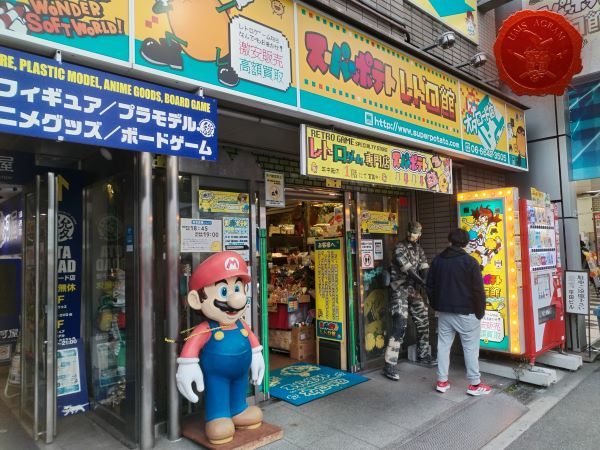
- Hobby Stores in Japan Marko Paunović, 8th April 2026
- Red Temple of Light - Board for Necropolis28 campaign Mario Grgurev, 1nd April 2026


Latest battle-reports
- Kill Team - Blooded vs. Vespid Stingwings 28th February 2025, GW - Warhammer 40.000, and Antoni Pastuović (Imperial Guard)
- 22nd April 2022, GW - Warhammer 40.000, Borna Pleše (Space Marines) and Kristijan Kliska (Tau Empire)
- 17th November 2021, GW - Warhammer 40.000, and Nino Marasović (Space Marines)