Making a plexiglass protection box
Since the article about the Tabletop World terrain table done for Frostgrave was published, I received several questions on how we protect such a gaming bord from dust and dirt when not in use, so I decided to make an article where I describe the process of making a plexiglass protection box for an entire board (in this case the Frostgrave bord) so it could be left on display in the shared spaces of my gaming club UMS „Agram“.
Planning
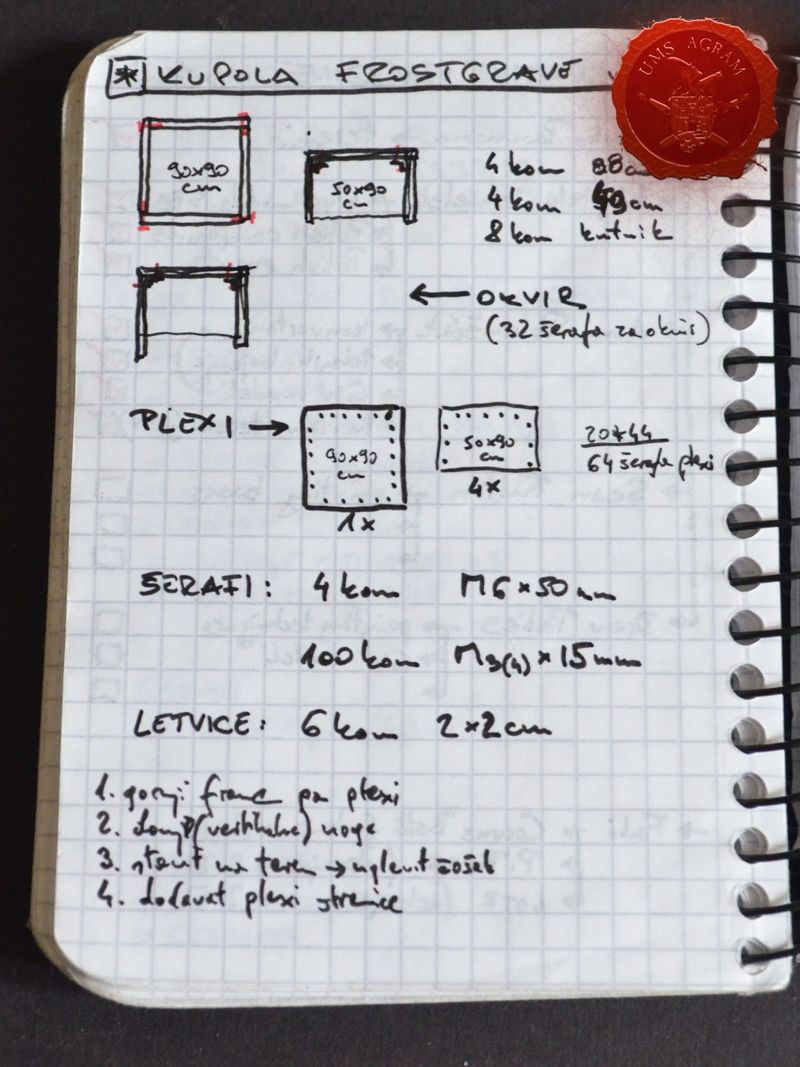
The table was 90 x 90 cm with a small wooden protection frame around it made primarily to be able to fit the protection box. The height of the tallest building (TTW Town Gate) was around 45cm. All this meant my protection box would need to be 90 x 90 x 50 cm in size. A quick sketch proved that I needed the following:
- 1 piece 90 x 90 cm of 5mm thick plexiglass
- 4 pieces 50 x 90 cm of 5mm thick plexiglass
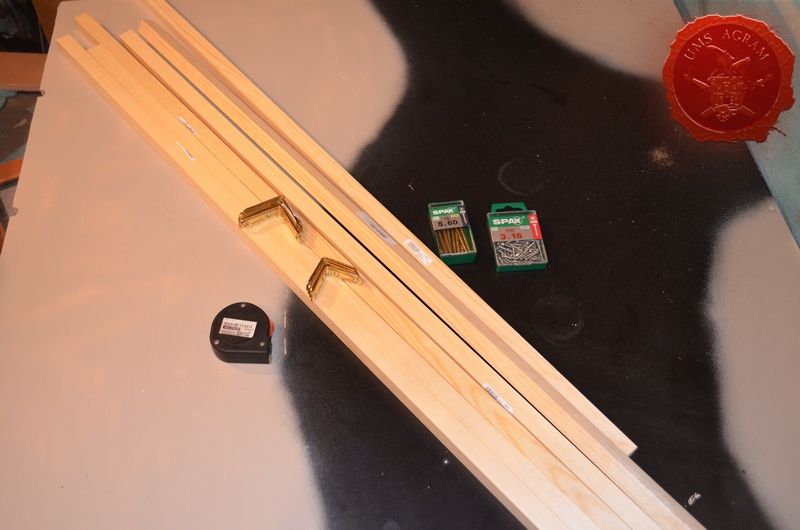
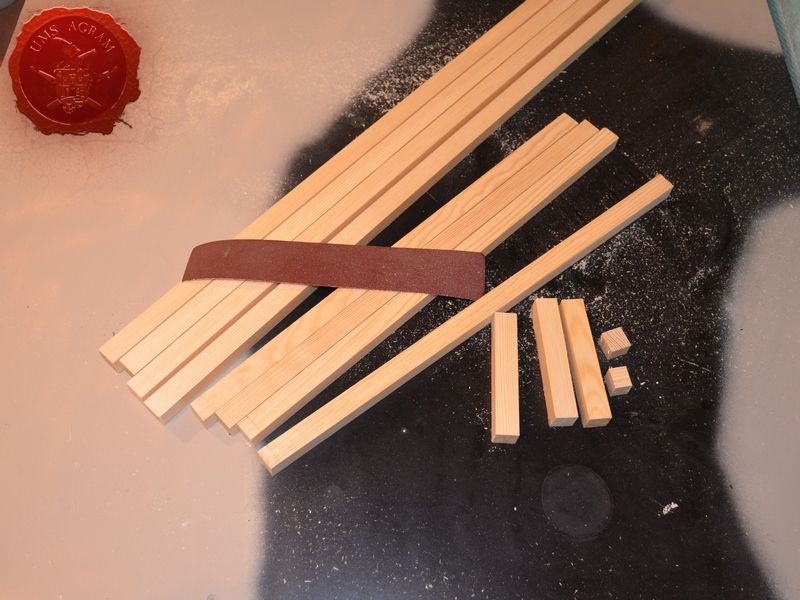
- 6 pieces of 2 x 2 x 100 cm wooden slat (linden) for 4 x 90 cm for the upper frame and 4 x 50 cm for the legs
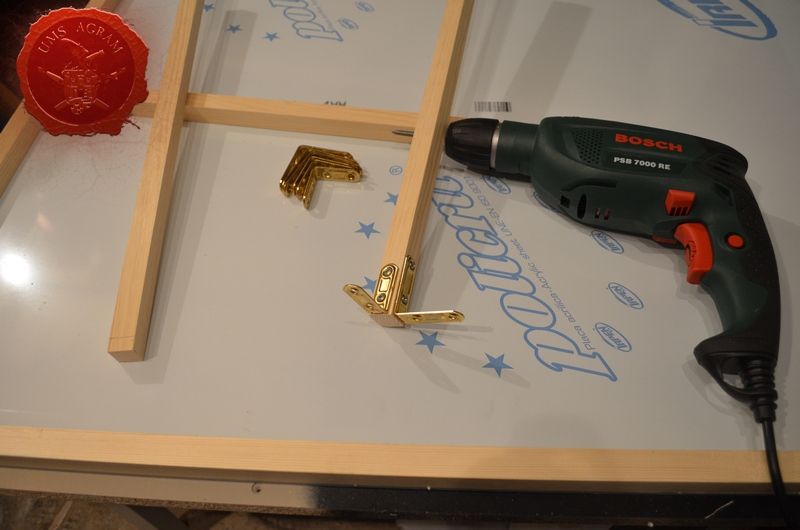
- 4 larger metal brackets
- 4 smaller metal brackets
- 4 pieces M5x60 mm screws (for the upper frame)
- roughly 100 M3x16 mm screws (for the legs and the plexiglass)
- screwdriver (or bits for the electric drill)
- electric drill (small and large)
- circular saw
- sanding paper
- meter
- permanent marker
- masking tape
Building
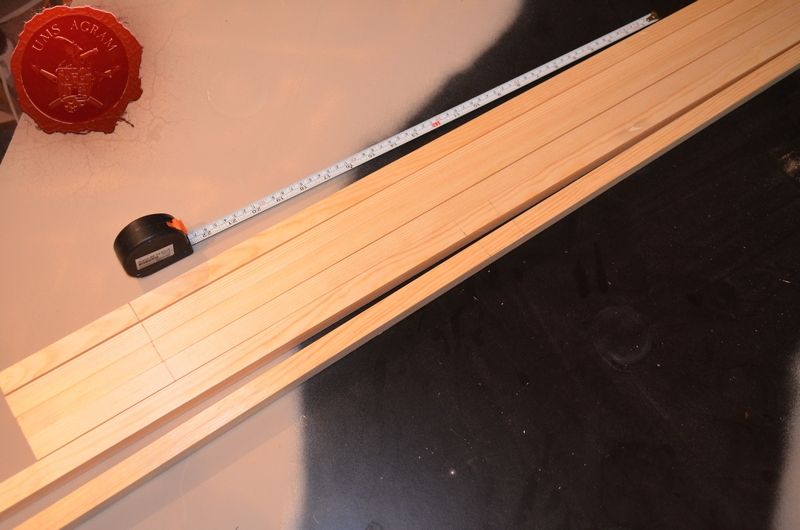
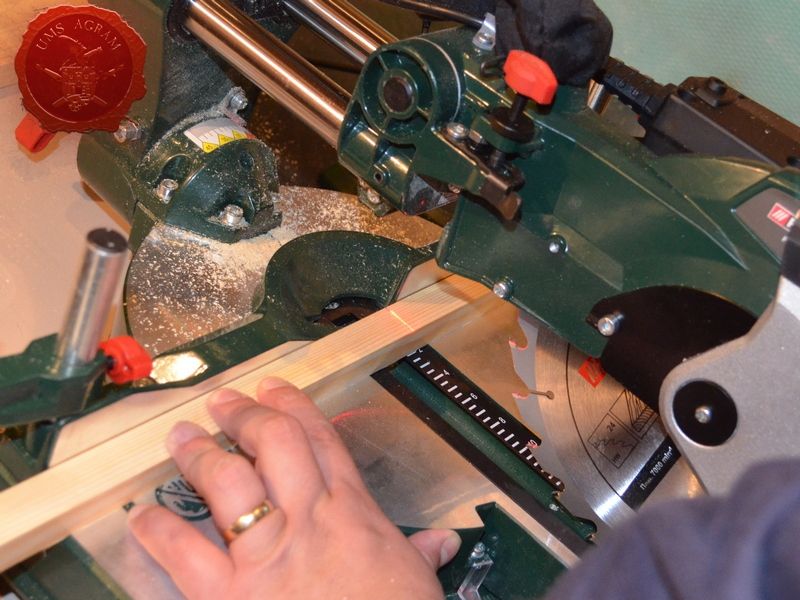
The building process began with carefully marking each slat where I needed to cut it. Using a large table mounted circular saw I cut the pieces to size. Fortunately, the saw I used had a laser pointer which made cutting the slats to exact size much easier. When the cutting was done, I sanded the cut areas with some sanding paper.
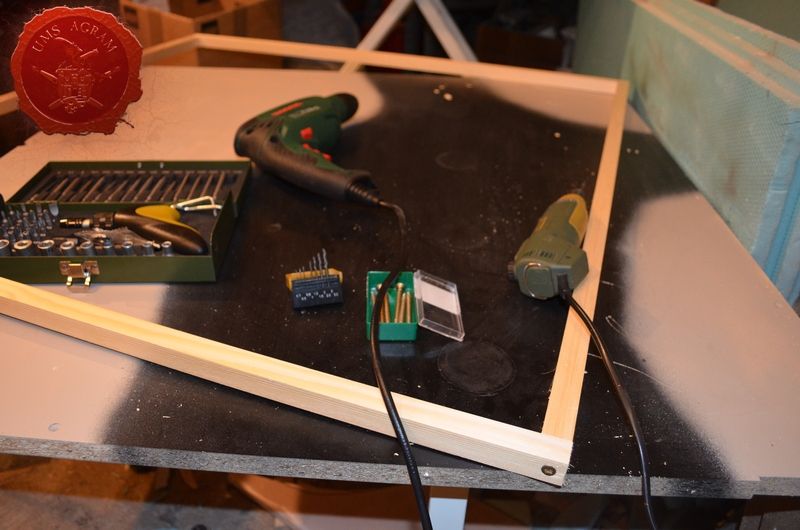
Next up I assembled the four 90cm long slats into a square wooden frame. Once done, I used my Proxxon electric drill to drill the holes for the M5x60 screws. I used a 3mm drill bit. After drilling, I fixed the frame with the screws. The frame still wasn't perfectly aligned. To align it, I decided I wouldn't use any extra bits. I would simply use the plexiglass (which was cut to exact specs professionally in the store). Using a 1,5mm drill bit on my Proxxon, I drilled the holes in the plexiglass and the wooden frame. Once I was done drilling the holes on each plank of the frame, I immediately fixed it with five M3x16 screws a side. Note: the plexiglass comes with a protective foil. Do not remove it until all the work is done to prevent accidental damage during the build.
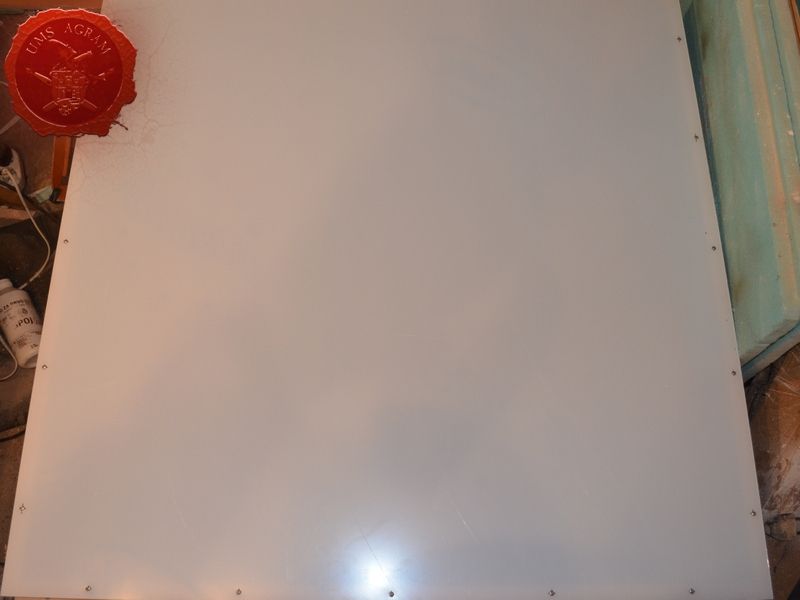
The upper part of the box was done. Next up were the legs. Using the M3x16mm screws I fixed one smaller and one larger bracket to each leg. Once all the legs were done, I fixed them to the upper part of the box. Once the frame was fully assembled, you can notice that due to the relatively small size of (even the larger) brackets, the legs are not perpendicular to the upper part of the box. In fact they were quite wobbly at this point. This isn't a worry as I would again use the plexiglass sides to fix the legs in place. However I decided to proceed with the assembly with the box installed on the Frostgrave board. This way I could place the legs perfectly in the corners of the board and then using the M3x16 screws fix the legs in place with plexiglass. This way, I would use the wooden planks for the structural strength of the entire box while the plexiglass sides would provide the shape and stability.


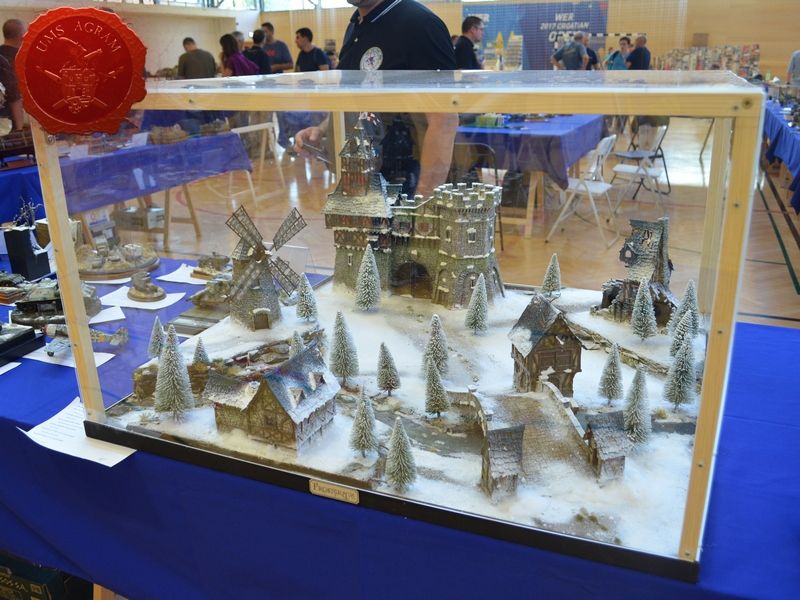
Finished product
Once the box was built, I carefully removed the protective foil from the plexiglass. In fact, as this was done just before a modelling show, I removed the foil at the show to prevent any possible damage to the case before it arrived at the show.
Latest articles
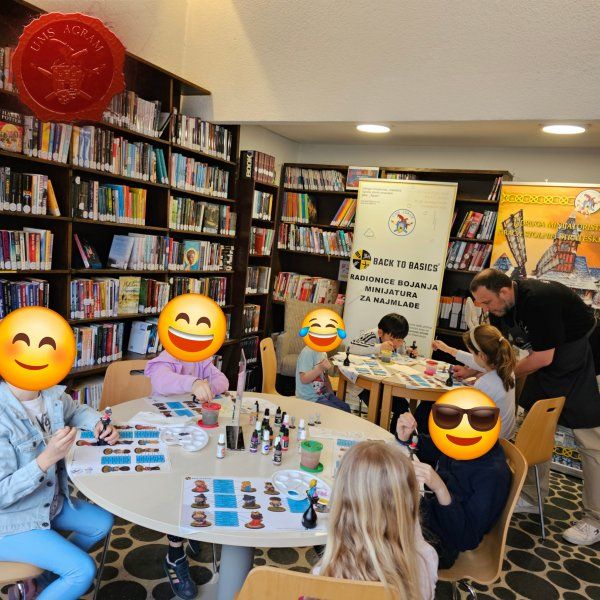
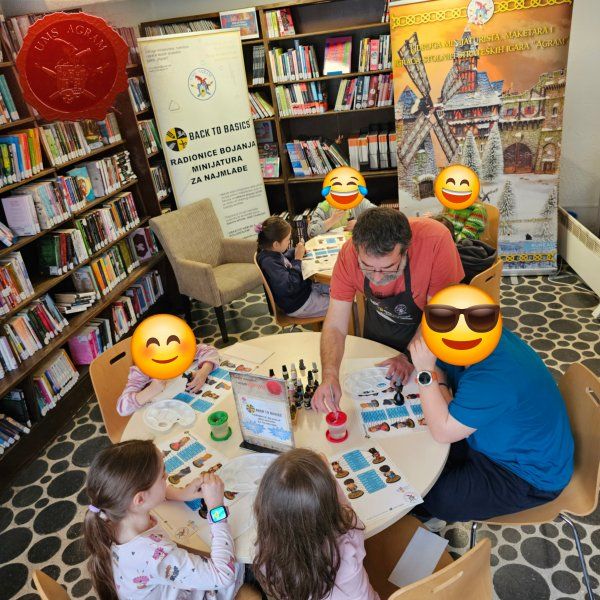
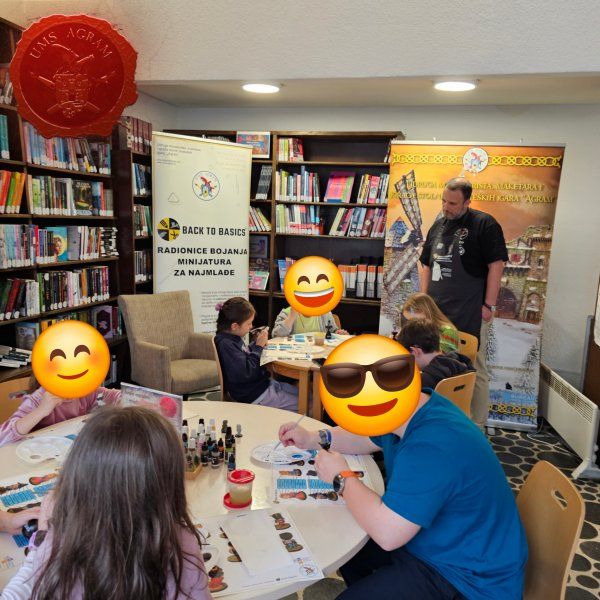
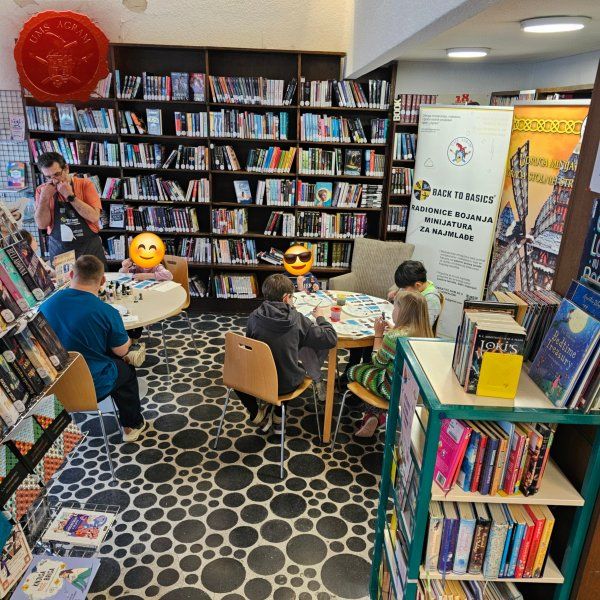
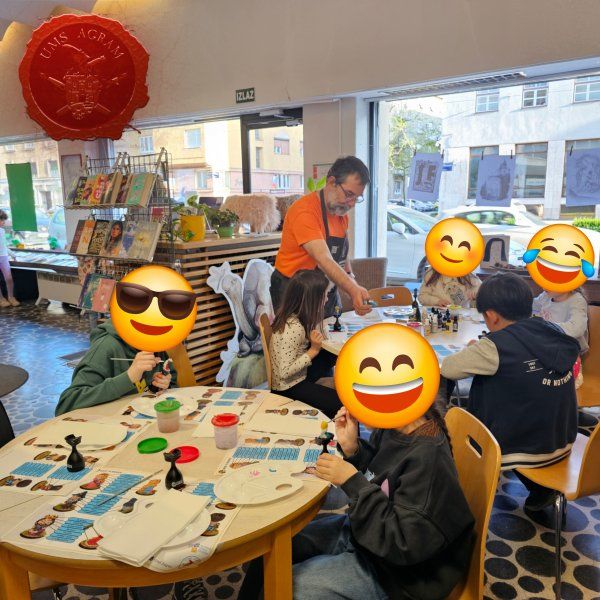
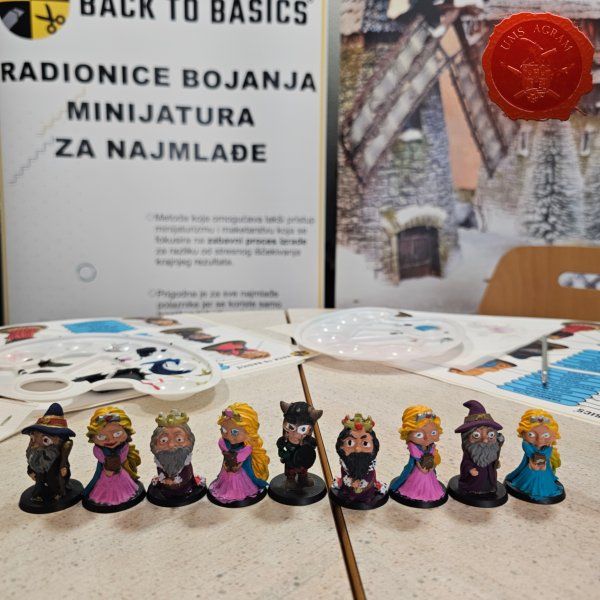
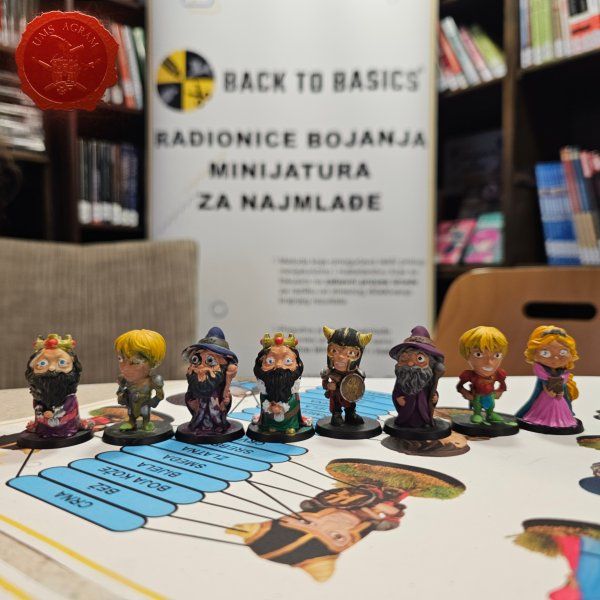
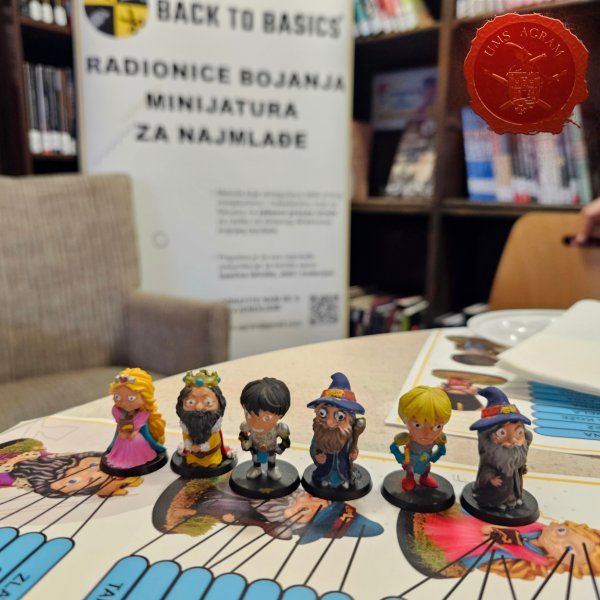
- Back to Basics Workshops in Library Medvescak Krunoslav Belinić, 24th April 2026
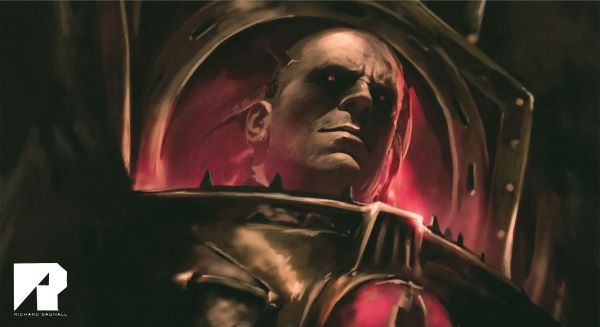
- Freehand for Sons of Horus Spartana Marko Paunović, 20th April 2026
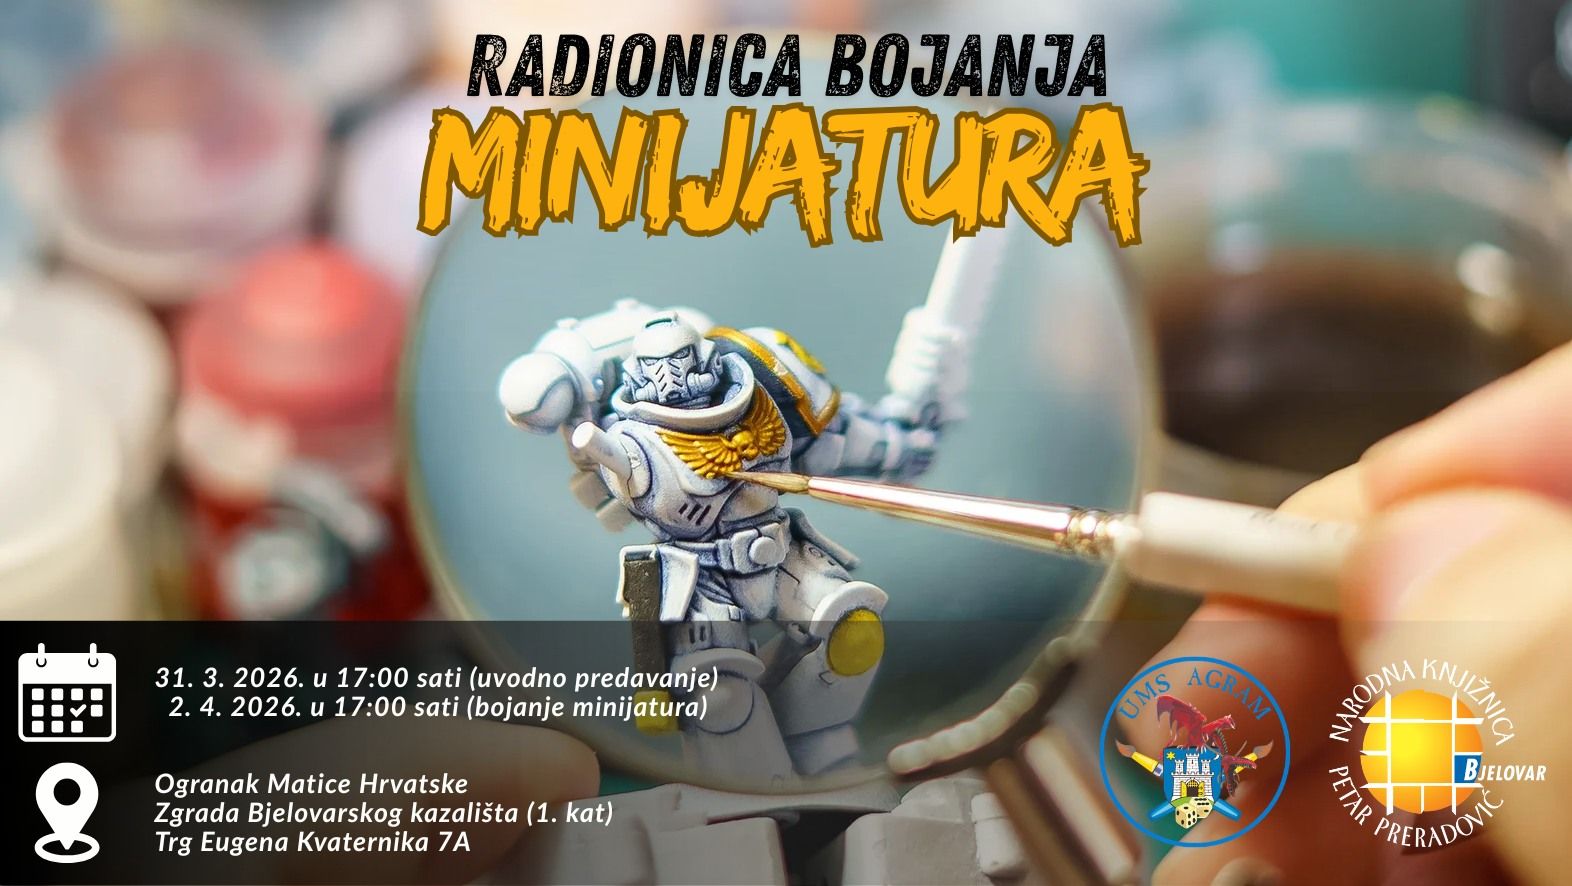
- Miniature Painting Workshop in Bjelovar Dalibor Čavić, 14th April 2026
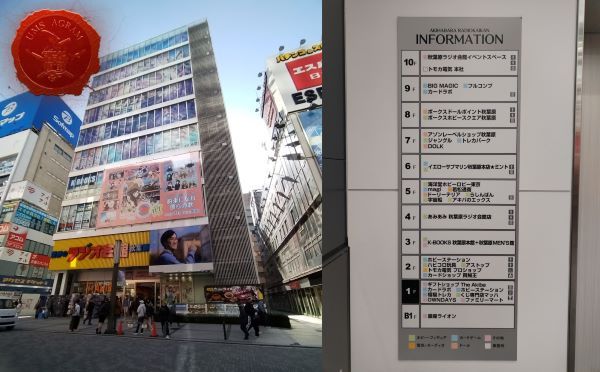
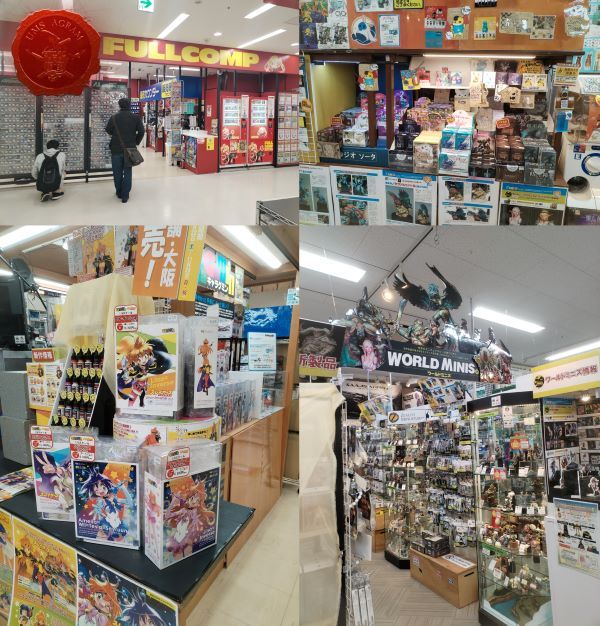
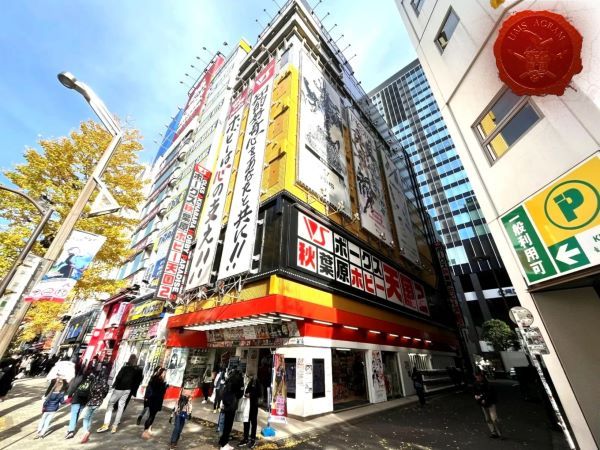
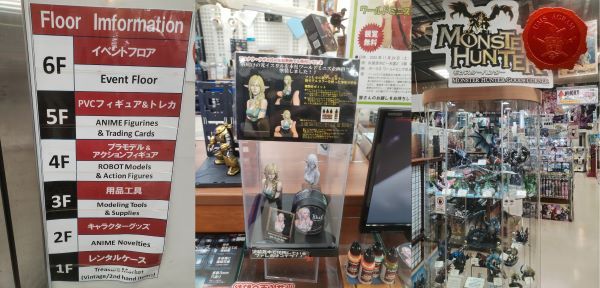
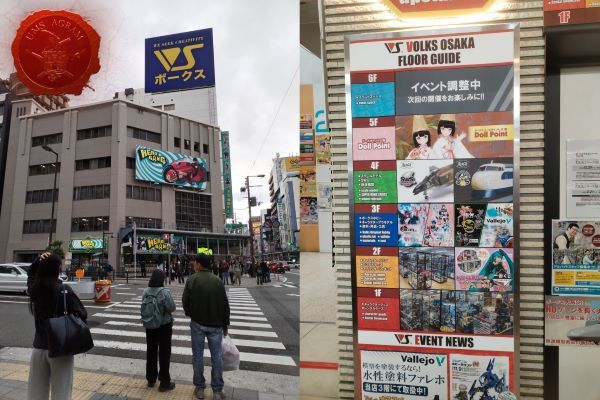
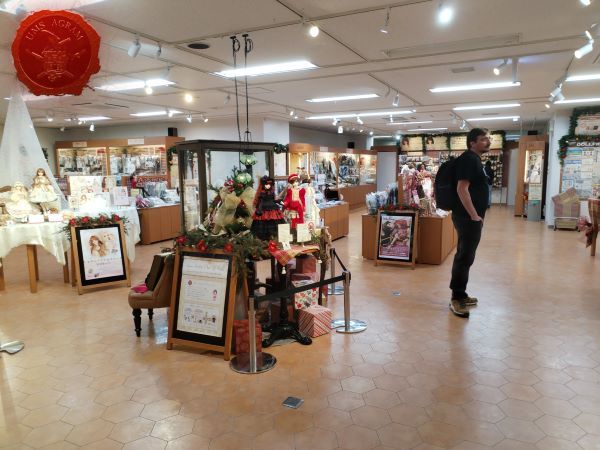
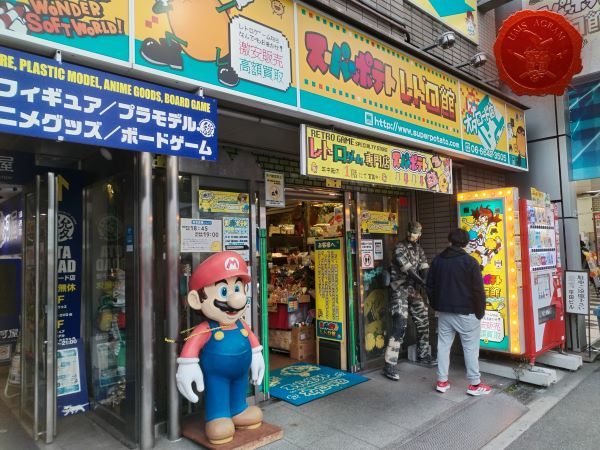
- Hobby Stores in Japan Marko Paunović, 8th April 2026
- Red Temple of Light - Board for Necropolis28 campaign Mario Grgurev, 1nd April 2026


Latest battle-reports
- Kill Team - Blooded vs. Vespid Stingwings 28th February 2025, GW - Warhammer 40.000, and Antoni Pastuović (Imperial Guard)
- 22nd April 2022, GW - Warhammer 40.000, Borna Pleše (Space Marines) and Kristijan Kliska (Tau Empire)
- 17th November 2021, GW - Warhammer 40.000, and Nino Marasović (Space Marines)