PIRATE'S COVE GAMING BOARD – pt.1
Over the course of the next two articles, I'll follow the building process of a gaming board for a board game called Pirate's Cove that my club's terrain workshop did a couple of years ago.
About The Game:
Pirate's Cove is a board game originally published in Germany in 2002 by Amigo Spiele. In 2003, Days of Wonder republished it with a new graphic design. During the game, players play pirate ship captains seeking treasure from islands and bragging rights by defeating other pirates in naval combat. The game takes place over 12 turns (months) and the goal is to be the pirate with the most fame. Each player has a ship token and a card showing four aspects of the ship (crew, cannon, sail, and hull). At the beginning of each turn, a card is turned over at each island to reveal the potential booty from plunder. Each island (except Pirate's Cove and Treasure Island) offer various amounts of Fame, Gold, Treasure or Tavern cards.
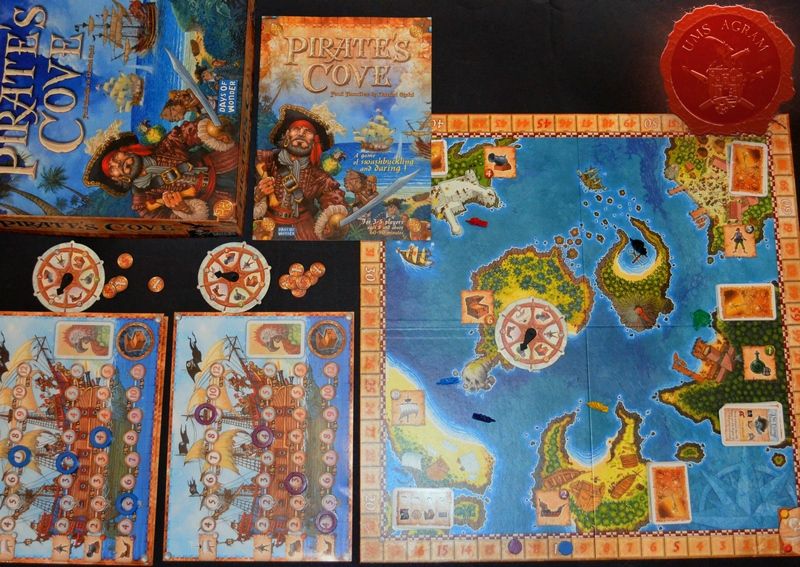
Captains choose an island to plunder based on the potential rewards of that island and then fight if they show up at the same island. Certain islands offer the opportunity to upgrade an aspect of the ship and the available plunder at each island changes with each turn. A player can use this information to predict where other players' ships will turn up and thus move his ship accordingly to either do battle or avoid it. The bounty of each island is skewed so that some Islands are clearly better choices than others, so it can force you to decide (or bluff) if you think you can take the island should other pirates go after the same bounty. Ships that survive combat then plunder the islands, gain fame, and pay gold to upgrade their ships based on the qualities of the islands. The Legendary Pirate, a black ship token, moves clockwise around the board, forcing captains to steer out of his path unless they think that they can defeat the powerful ship. At Treasure Island, no battle can take place and it is where ships can safely discharge cargo from their ship and bury any plundered treasure (a ship's capacity to hold treasure is based on its hull rating). Burying treasure and money adds to the player's accumulated fame points.
The Design:
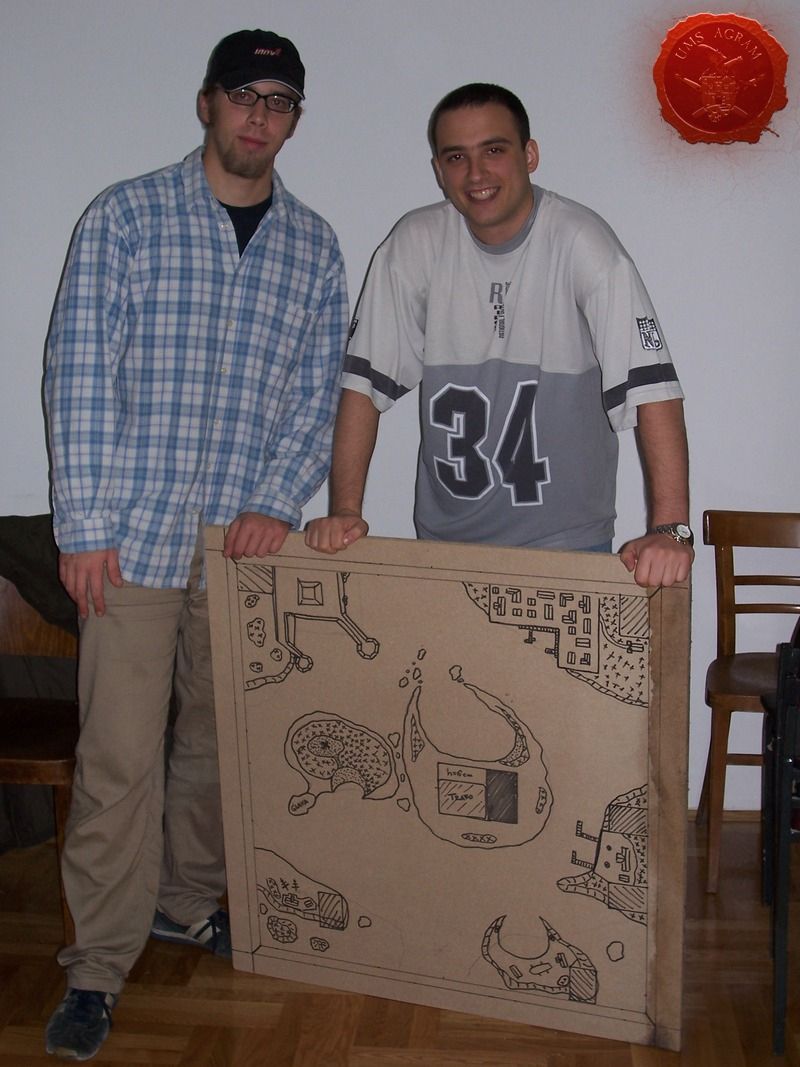
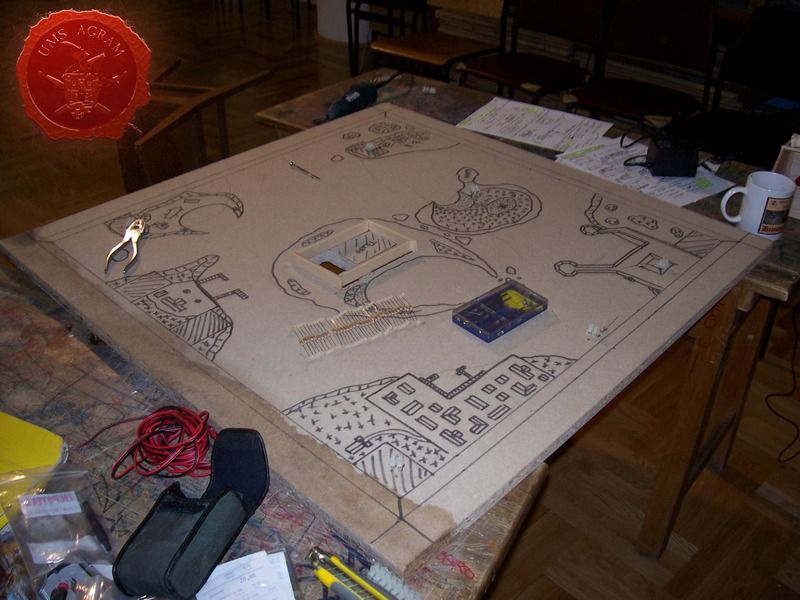
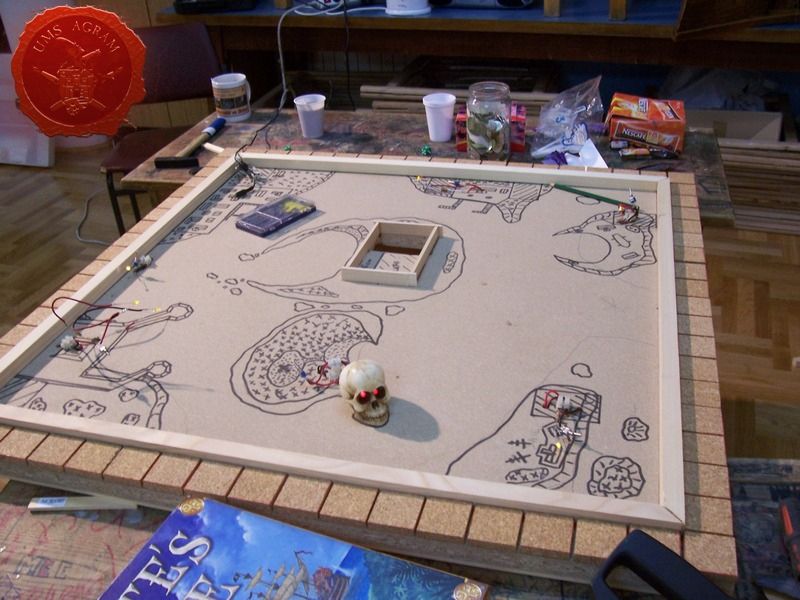
After playing a couple of games on the cardboard board provided in the game itself, my mate, Andrija Jurišić, and I decided we were going to make a proper board with little model ships to navigate the islands with. We decided to use a 90 x 90 cm plywood board that was 23mm thick. The first job to do was to draw the map onto the board, making sure that there is plenty of room for the scoring tiles around the entire board. Once we had our basic shape and measurements, we could continue with the design.
Immediately, we agreed to use LEDs inside all (or most) of the small buildings and huts scattered throughout the islands. Having a power source present made us think how cool it would be to have a proper smoking volcano so we started doing some research into various fog machines.
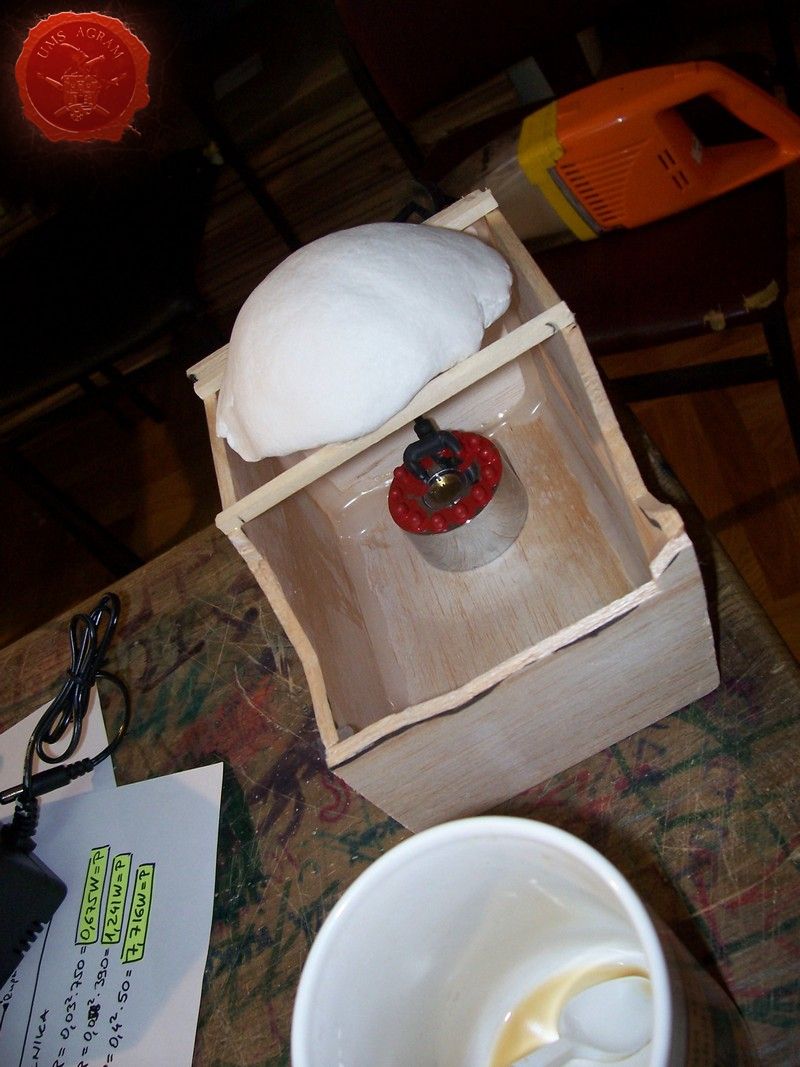
Foggers
The easiest way to obtain a fogger is going to your local pet store and getting a fogger for a terrarium. Apart from that, any DIY store should have a section with lamps. There are some lamps that come with a dish of some sorts and make fog that is then coloured by LEDs. I bought mine on ebay for about 8,00 USD with shipping. It uses a ceramic diaphragm vibrating at an ultrasonic frequency to create water droplets that silently exit the machine in the form of cool fog. They use a piezoelectric transducer to create a high frequency mechanical oscillation in a film of water. This forms an extremely fine mist of droplets about one micron in diameter, that quickly. However, these water droplets will contain any impurities that are in the reservoir, including minerals from hard water (which then forms a difficult-to-remove sticky white dust on nearby objects, in this case our scenery). Any pathogens growing in the stagnant tank will also be dispersed in the air. Therefore, they should be cleaned regularly to prevent bacterial contamination from being spread throughout the air. The amount of minerals and other materials can be greatly reduced by using distilled water, though no water is absolutely pure.
Science behind foggers
As noted earlier, the fogger consists of a piezoelectric ceramic disc which is provided with current through two nickel electrodes. Since the ceramic is piezoelectric, it oscillates in the presence of electric current at ultrasonic frequency (Ultrasonic means that you don't hear the sound waves generated in water).
With the increase of the frequency of oscillation of the plate, the water tries to follow the frequency of oscillation. However, due to its inertia and weight the water fails to match this frequency creating the water wave lags behind the wave of the disc. This creates an area of low pressure between them and this in turn forms a cavity - an occurance known as cavitation. The cavity can be a void or it can be filled with air since there is air dissolved in water and with the formation of low pressure, air moves into the cavity. When this cavity implodes, the imploding jet has a lot of energy. The vibrating disc also causes capillary waves at the surface of water (ripples). The capillary waves keep oscillating up and down due to surface tension and gravity. As the cavity implodes, a crossed capillary wave is formed at the surface. As a result at the crest of the wave, very small droplets of water have enough energy to break off the surface tension and get out of water. As soon as these minute drops of water exit the surface they are absorbed into the air and leave the machine as mist. The size of the aerosols gets smaller with increased frequency.

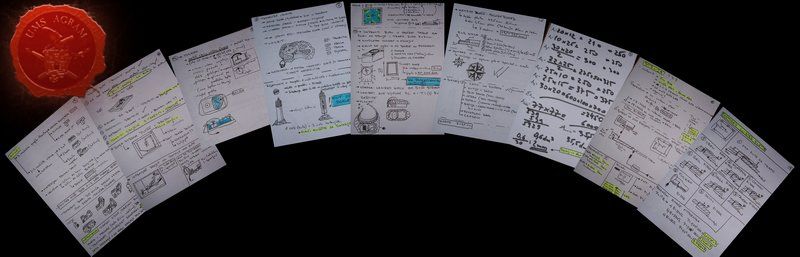
After deciding what electric and electronic gadgets to use on the board, we could make preliminar sketches of the entire table with the sizes of each individual island, and from there we could extrapolate the sizes not only of the houses/huts but also of the boats and ships. Slowly, our gaming board was begining to take shape. But before starting the work, we still needed to work how big all the electronics would be. For that, we needed to make a short calculation.
The Begining of the Build
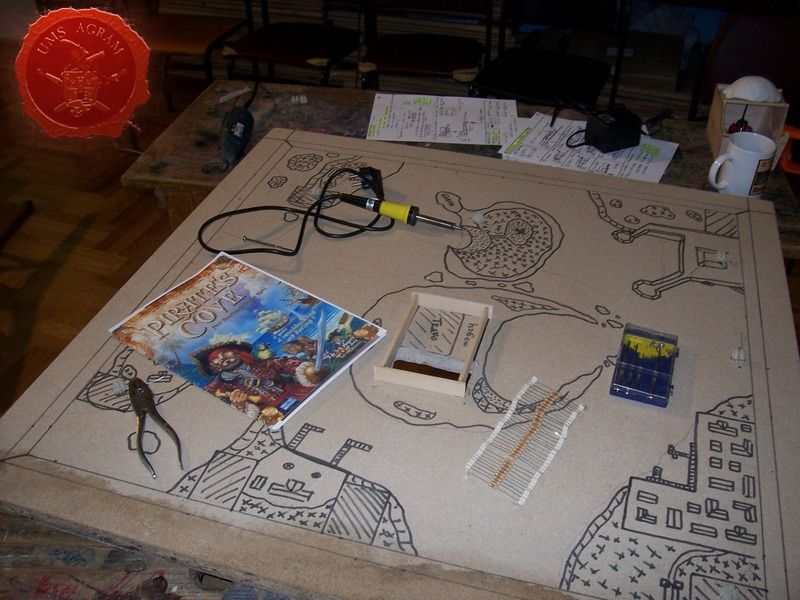
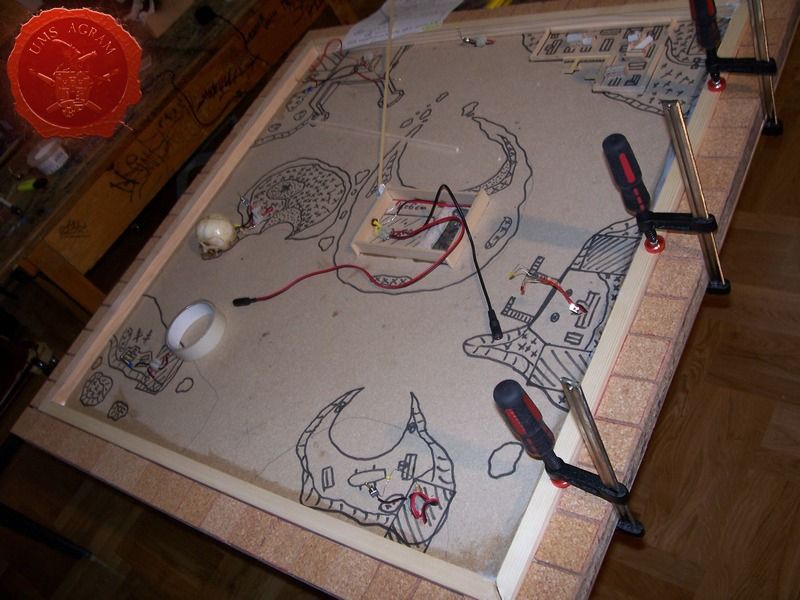
With the basics of the electronics given above, I'll continue the practical application of it in the next issue. This article, I'll conclude with basic work done to the board itself. As mentioned, tha basic design was drawn first on the board itself. Then, a large hole for the wires was cut in the middle of the board, as well as a number of smaller ones, carefully distributed around the islands.
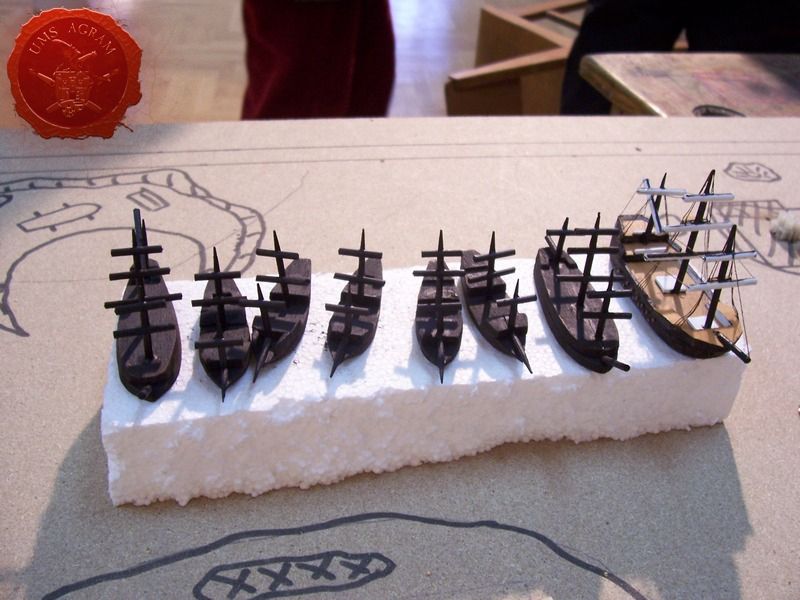
Andrija also made model ships out of balsa wood. Ahe first drew the basic outline of the waterline of the ship on a piece of paper. Then he cut it to make a template which he then used to draw the shapes of the ships onto a piece of balsa. Once cut and assembled, the ships were sanded and consequently painted with some basic rigging added.
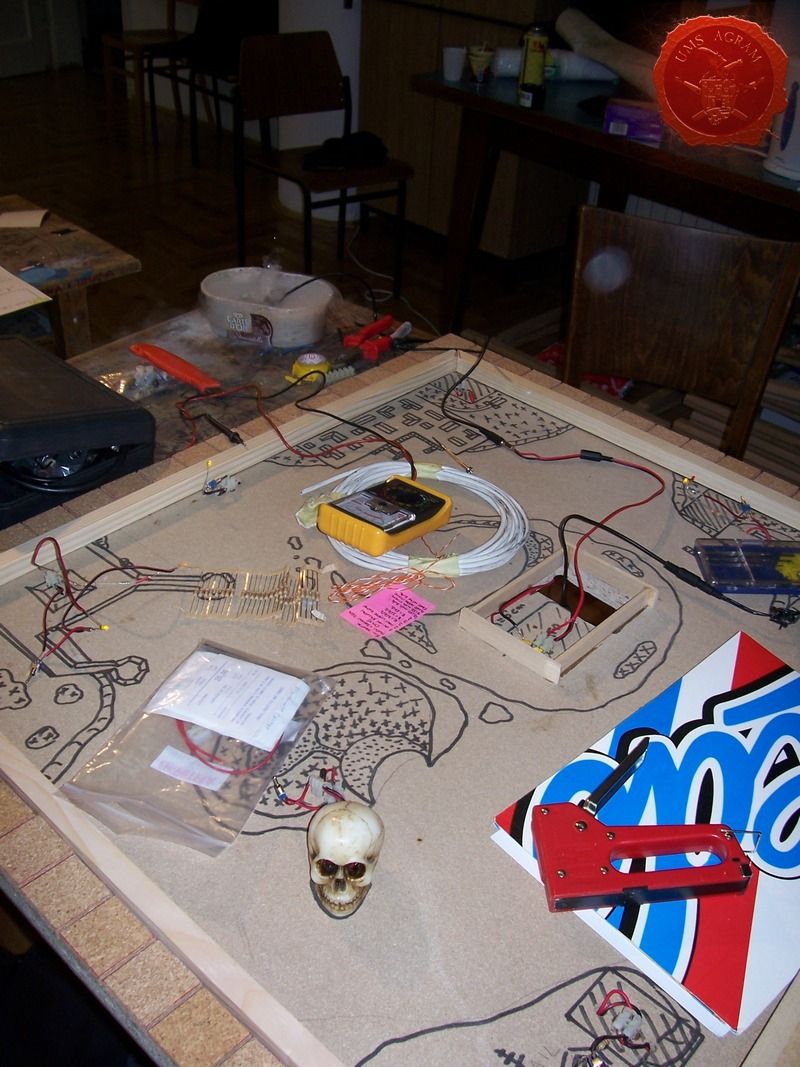
While Andrija was busy with our armada, I was trying to run the wires to each of the islands. I decided that the wires would go underneath the table and would be fixed to the board using a staplegun.
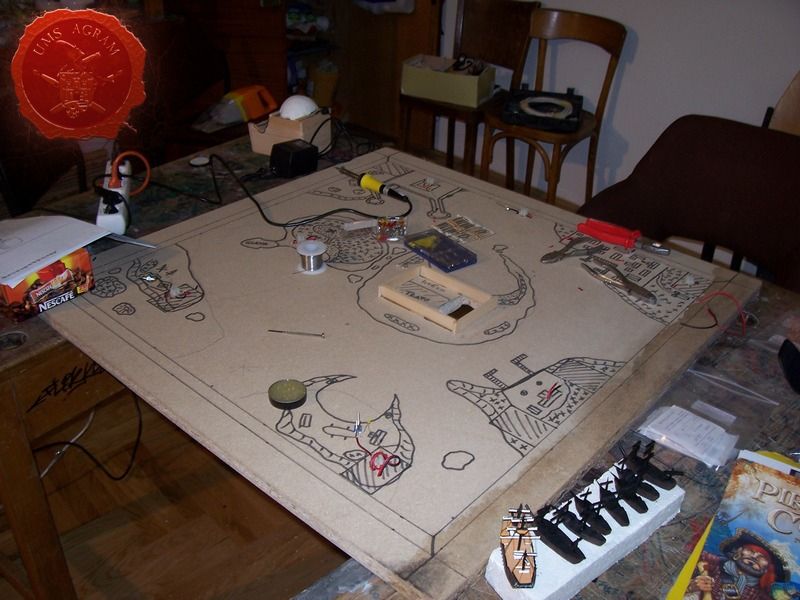
This ends the begining part of the project. In the next issue, I'll describe how we built the islands, all the houses and the rest of the scenery as well as describe the electric circuits built in the gaming board.
Latest articles
- Making of MUMMY dioramas Sebastian Søgård, 17th June 2026
- Miniature Painting Workshop - 75mm Dwarf Ivan Knezović, 26th May 2026
- We visited: Festival Svet v Malem 2026, Pivka, Slovenia Krunoslav Belinić, 26th May 2026
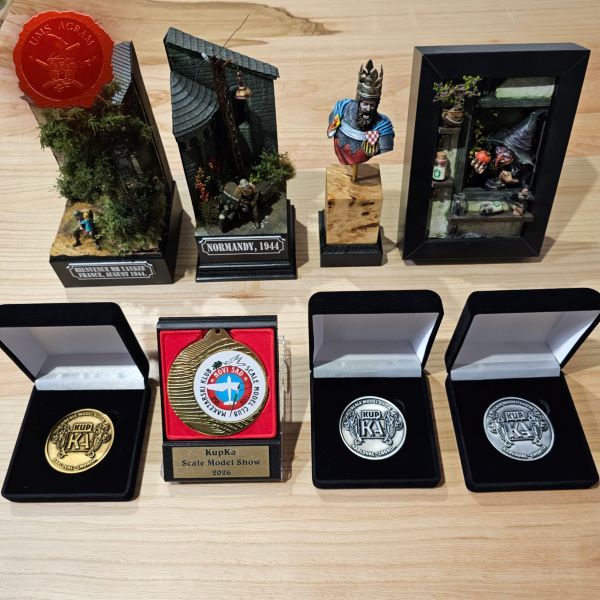
- We visited: KupKA 2026 Marko Paunović, 26th May 2026
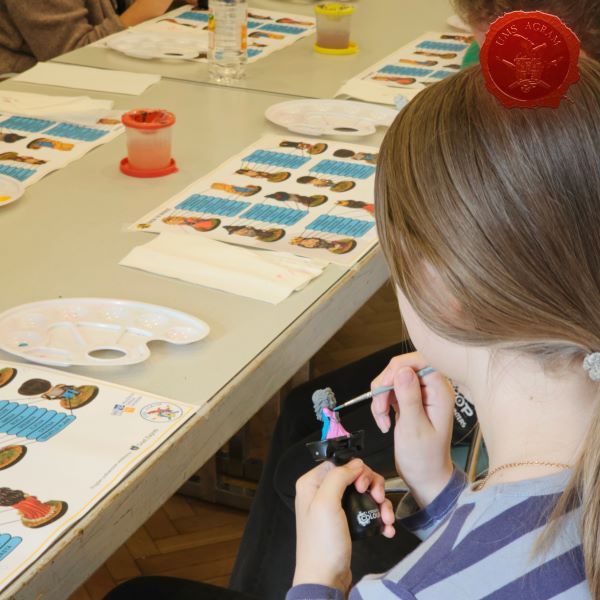
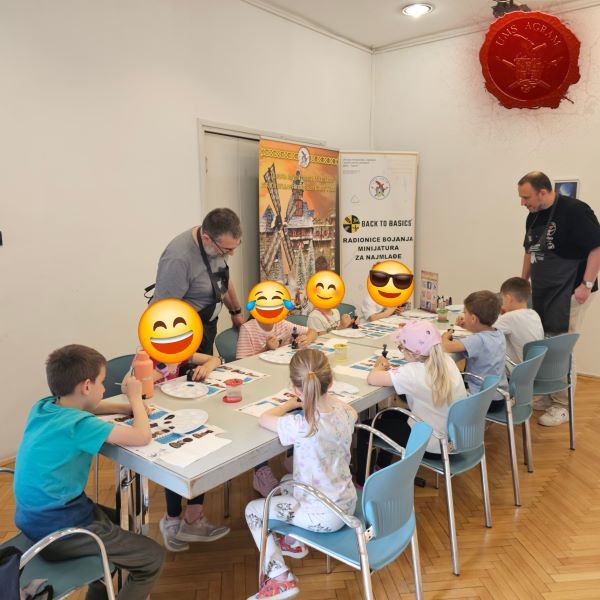
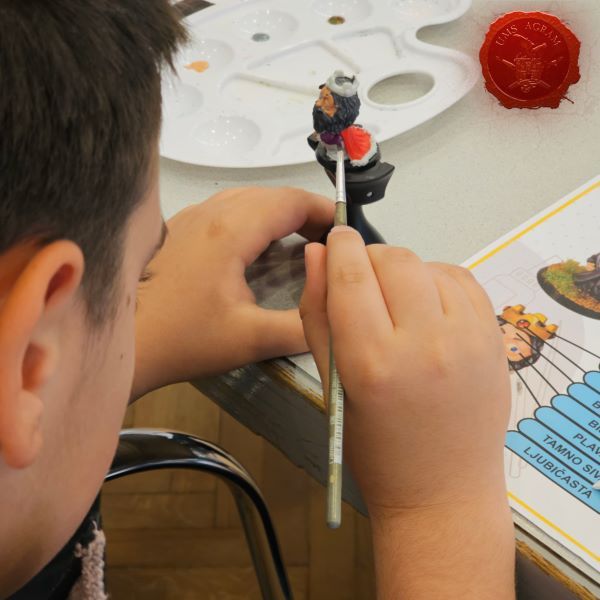
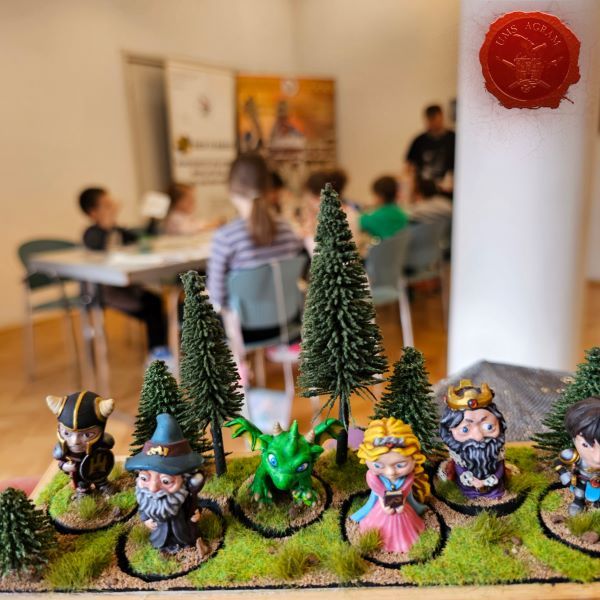
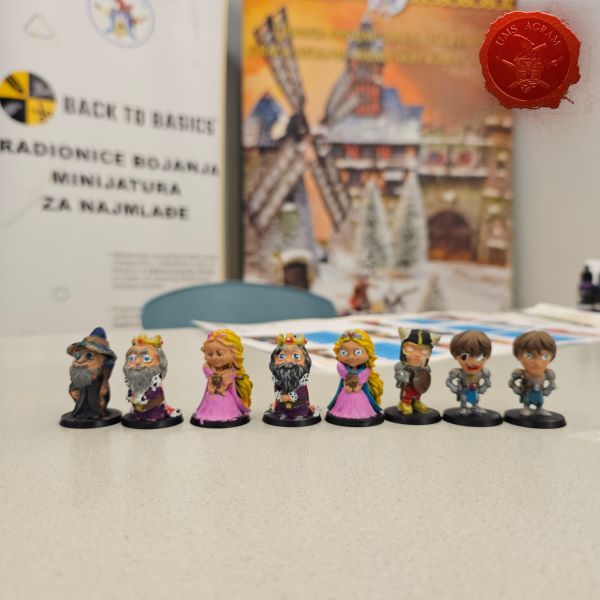
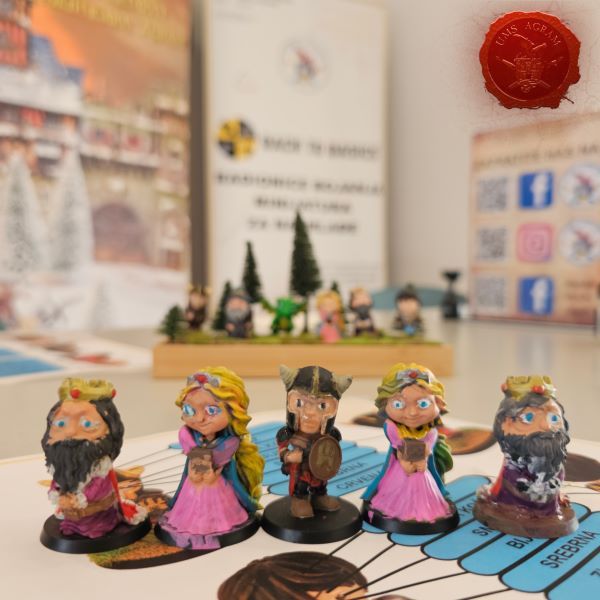
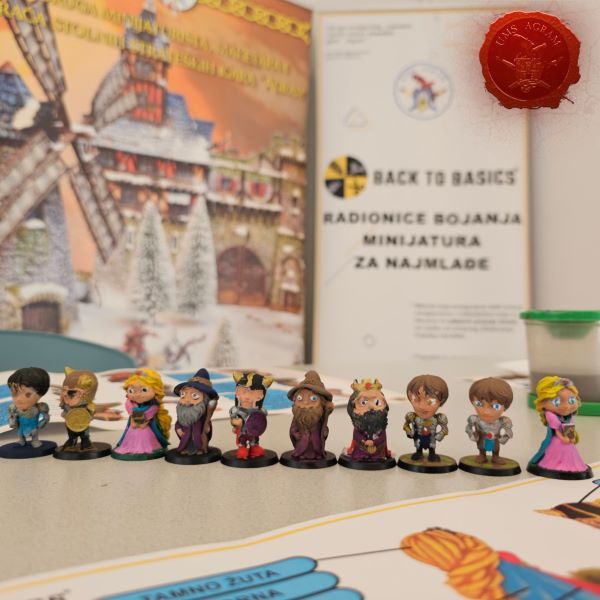
- Back to Basics Workshops in Gallery VN Krunoslav Belinić, 26th May 2026


Latest battle-reports
- Kill Team - Blooded vs. Vespid Stingwings 28th February 2025, GW - Warhammer 40.000, and Antoni Pastuović (Imperial Guard)
- 22nd April 2022, GW - Warhammer 40.000, Borna Pleše (Space Marines) and Kristijan Kliska (Tau Empire)
- 17th November 2021, GW - Warhammer 40.000, and Nino Marasović (Space Marines)