Obavijesti
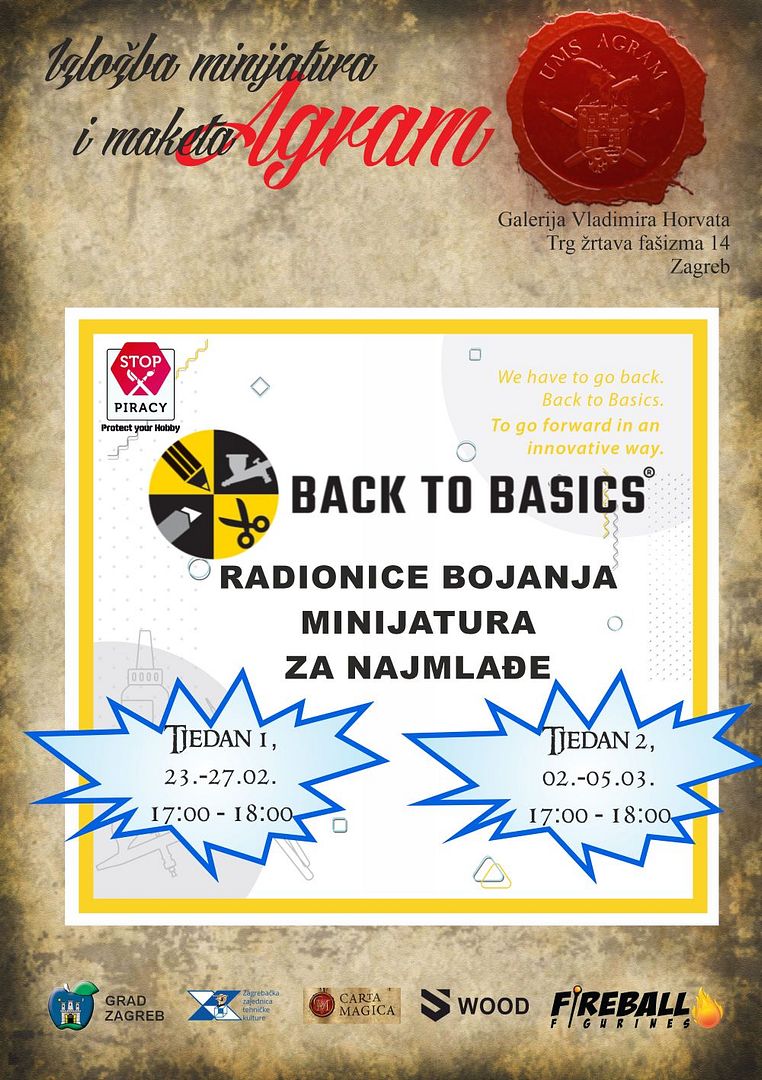
Back to Basics Radionice za najmlađe na Izložbi minijatura i maketa Agram 2026
17.02.2026., objavio Krunoslav Belinić u Obavijestima iz radioniceTijekom naše Izložbe minijatura i maketa Agram 2026 svakog radnog dana od 17:00 do 18:00 organizirat ćemo i Back to Basics radionice bojanja minijatura za najmlađe (8+).
ULAZ BESPLATAN!
Radionice (trajanja cca 1h ) su prigodne za najmlađe korisnike jer se samo koriste bazične tehnike, alati i materijali a omogućava lakši pristup minijaturizmu i maketarstvu fokusiranjem na zabavni proces izrade za razliku od uobičajenog inzistiranja na iščekivanje krajnjeg rezultata koji najčešće donosi stres mlađim polaznicima.
U svakom od termina po četiri polaznika će moći obojati i sastaviti vlastitu figuru (koju onda nose doma).
Agram Lego Sekcija - bolid Formule 1 Williams FW14B
17.02.2026., objavio Krunoslav Belinić u Obavijestima iz radionicePozivamo Vas na predavanje u sklopu naše Agram Lego Sekcije koje će se održati tijekom Izložbe minijatura i maketa Agram 2026!
Ulaz na predavanje je besplatan i otvoren za sve te prijave nisu potrebne.Izrada makete je rezervirana za članove Agram Lego Sekcije.
Ukoliko se želite uključiti u izgradnju, javite se za više informacija na ums.agram@gmail.com .
Predavanje počinje u srijedu 25.2.2026. u 18:00, a predviđeno trajanje predavanja je 45 minuta.
Tema: Formula 1 - WIlliams FW14B Bolid za budućnost - Marko Paunović, dipl.ing.stroj.
Radionice i eventi na Black Queen H&MPC 2026
06.02.2026., objavio Marko Paunović u Obavijestima iz radionicePozivamo vas na radionice i evente koje ćemo organizirati tijekom Black Queen Hobby and Miniature Painting Competition 2026!
ULAZ BESPLATAN!
DEMONSTRACIJE / RADIONICE:
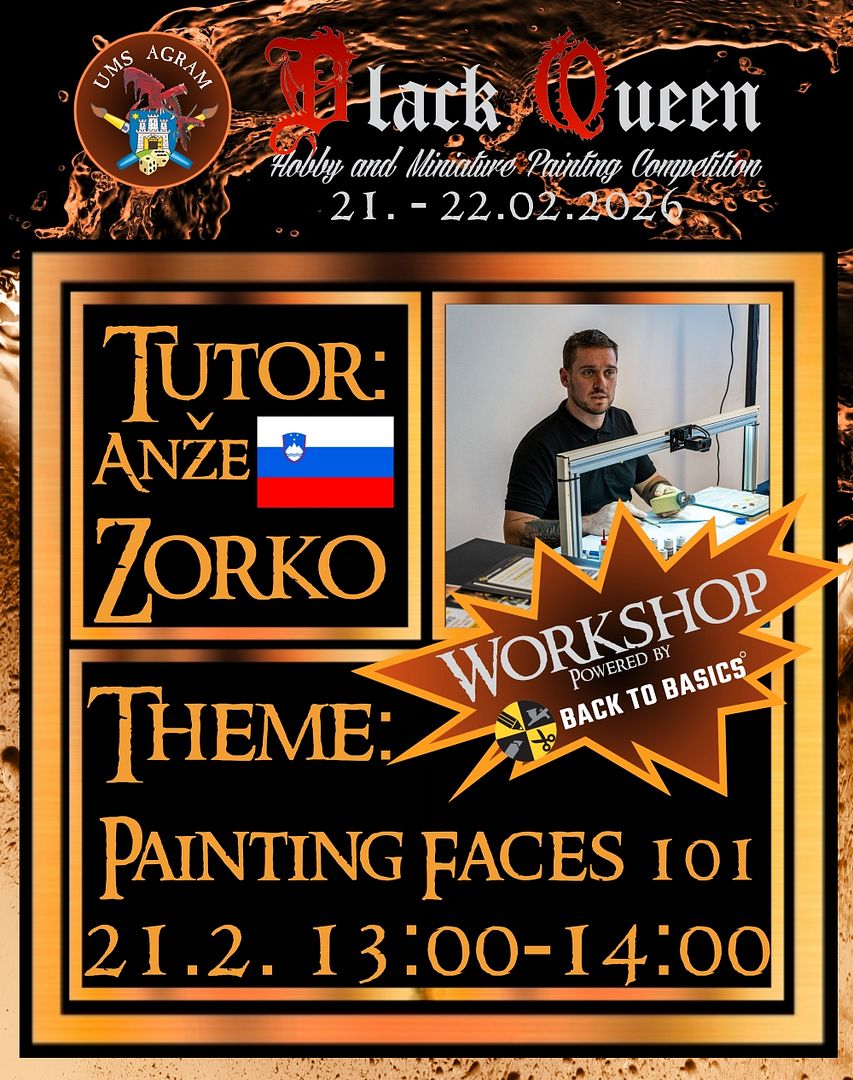
Uvod u bojanje lica
VRIJEME: Subota 21. veljače 2026., 13:00-14:00
PREDAVAČ: @Anže Zorko
SADRŽAJ: Anže će u svojoj radionici pokazati kako bojati lica koristeći i zračni kist, ali i standardne kistove. Tijekom prezentacije bojat će Back To Basics bistu vatrogasca modernog doba.
JEZIK: Slovenski i engleski
O PREDAVČU: ANŽE ZORKO – Rođen 1993. godine u Kranju. Maketarstvom se bavi od svoje 12 godine. Kao i većina, počeo je s avionima i tenkovima, ali u posljednje 3 godine sve se više bavi figurama. Boja svakakve figure, ali najdraže su mu fantasy minijature, gdje sve svoje ideje mogu pretočit na "platno".
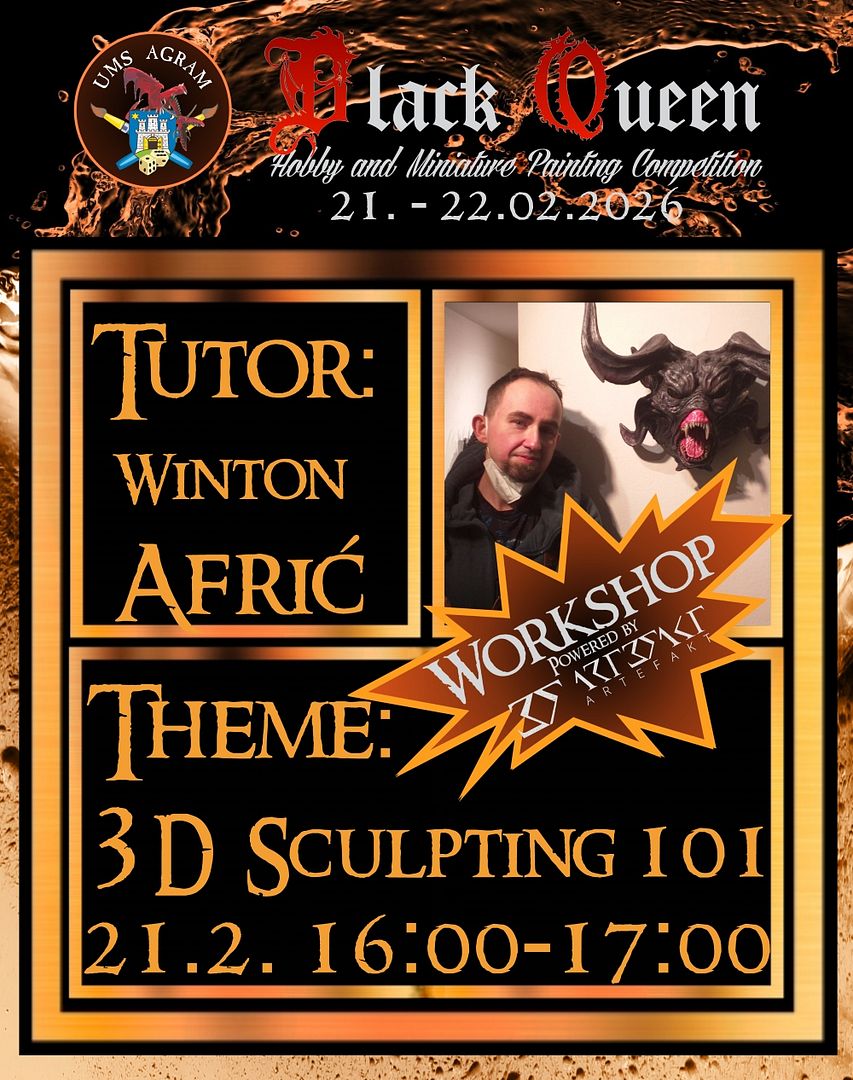
Uvod u 3D sculpting
VRIJEME: Subota 21. veljače 2026., 16:00-17:00
PREDAVAČ: @Winton Afrić
SADRŽAJ: Radionica će obraditi postupak izrade 3D mini...
Pročitaj više o "Radionice i eventi na Black Queen H&MPC 2026"Izložba minijatura i maketa Agram 2026
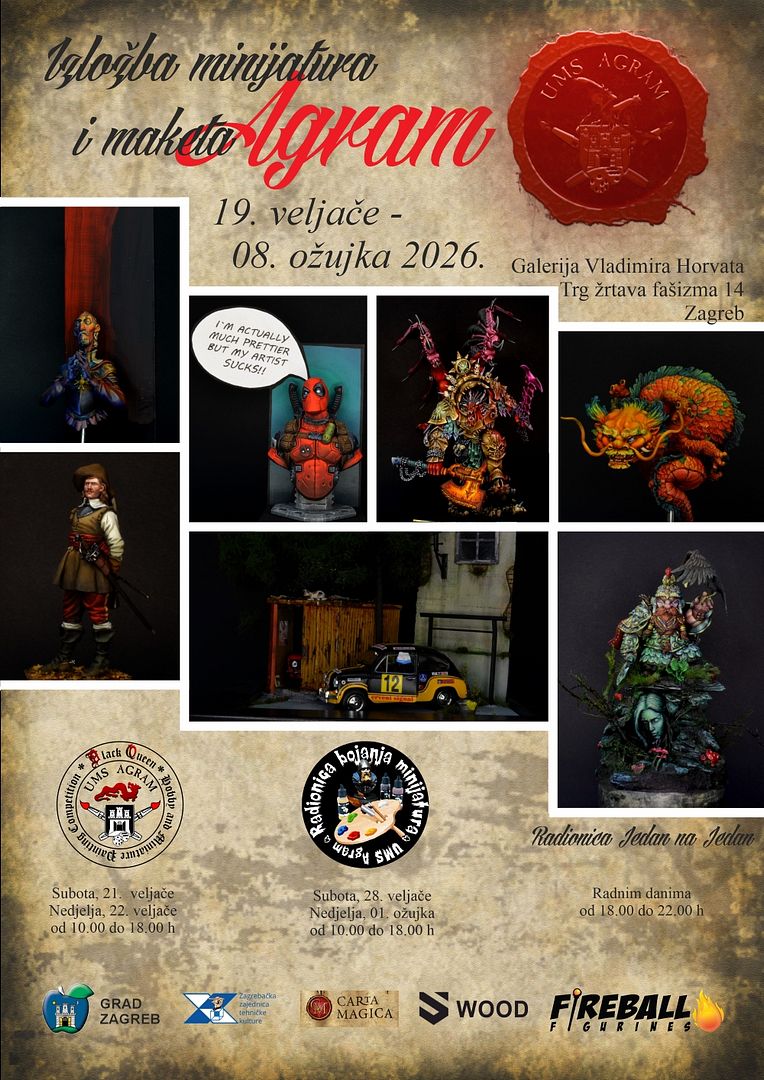
Datum događaja: 19.02.2026., 18:00h - 08.03.2026., 00:00h 02.02.2026., objavio Marko Paunović u Najavama i reportažama događanjaDragi prijatelji,
pozvani ste na Izložbu minijatura i maketa Agram 2026.
ULAZ BESPLATAN
19. veljače - 08. ožujka 2026.
Svečano otvorenje: četvrtak 19. veljače 2026. u 18:00h
Galerija Vladimira Horvata (ZZTK)
Trg žrtava fašizma 14
Zagreb
I ove godine, u sklopu Izložbe organiziramo brojne radionice, natjecanja i druga događanja.
Prvi vikend (21.02.-22.02) održat će se međunarodno natjecanje u bojanju minijatura Black Queen 2026. Ulaz na natjecanje, kao i sudjelovanje, bit će besplatno.Tijekom natjecanja, održat će se brojne ogledne radionice bojanja minijatura, natjecanje u brzom bojanju minijatura, te po prvi puta Back to Basics radionice bojanja minijatura za najmlađe.
Istog vikenda, vraća nam se i Agram Arena - međunarodno natjecanje u stolnim strateškim igrama. Ovoga puta na redu je Necropolis28 i kampanja Leaving Asphodel.
Na vikend 28.02. - 01.03. u sklopu Izložbe održat će se i dvodnevna radionica bojanja minijatura.
Pored tog...
Pročitaj više o "Izložba minijatura i maketa Agram 2026"Radionica bojanja minijatura - GRIMDARK - Trench Crusade
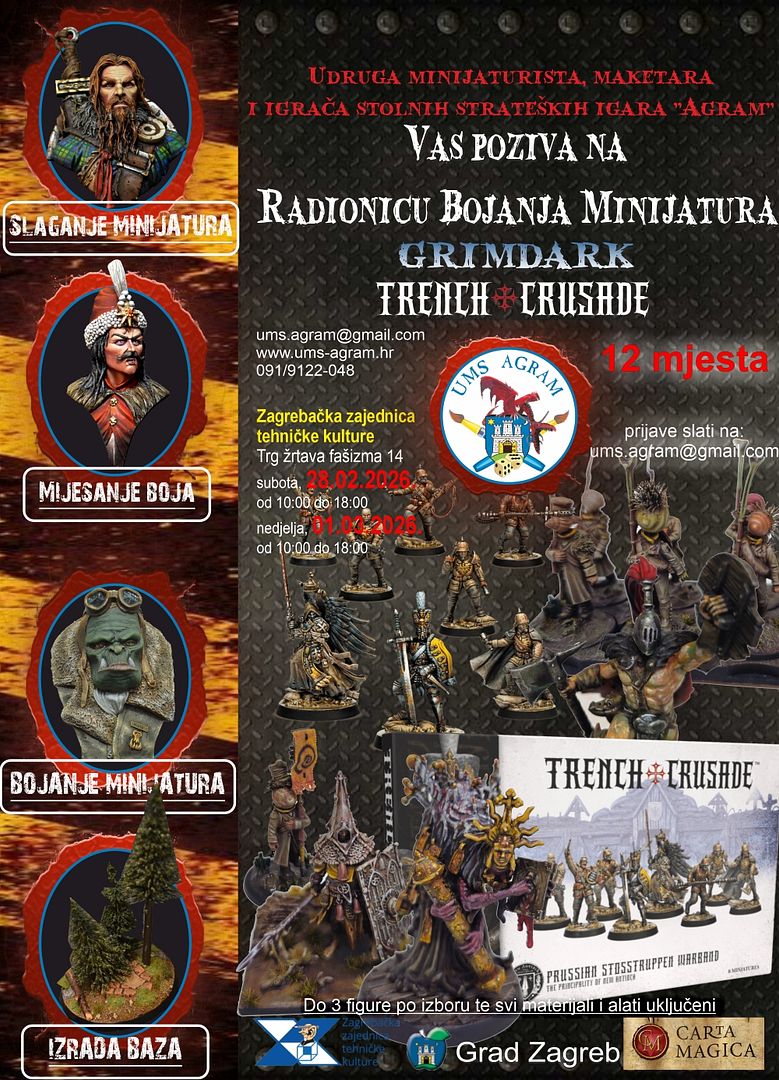
30.01.2026., objavio Marko Paunović u Obavijestima iz radioniceRADIONICA BOJANJA MINIJATURA – GRIMDARK STIL – Trench Crusade
VRIJEME:
28.2. - 01.03.2026. 10-18h
MJESTO:
Zagrebačka zajednica tehničke kulture, Trg žrtava fašizma 14, Zagreb
SADRŽAJ:
Radionica će se provoditi kroz dva dana (cijeli vikend) i polaznici će bojiti do tri različite figure za igru Trench Crusade (prema izboru). Fokus ovih predavanja bit će bojenje više minijatura odjednom prepoznatljivim GRIMDARK stilom, no znanja s radionice jednako su primjenjiva i na bojenje vojski za boardgame igre te kolekcija figura za pen&paper rpg-ove. Na radionici će biti predstavljene boje i pribor, priprema figura, nekoliko tehnika bojenja minijatura od osnovnih do naprednijih, te tehnike i trikovi za brzo i efikasno bojenje većih količina figura odjednom. U sklopu radionice bit će korištene akrilne boje na bazi vode te uljni efekti jednostavni za korištenje. Predavanja će biti prilagođena tako da će voditelji posvetiti jednako vrijeme svim polaznicima i moći će...
Hobby kutak srijedom 2026
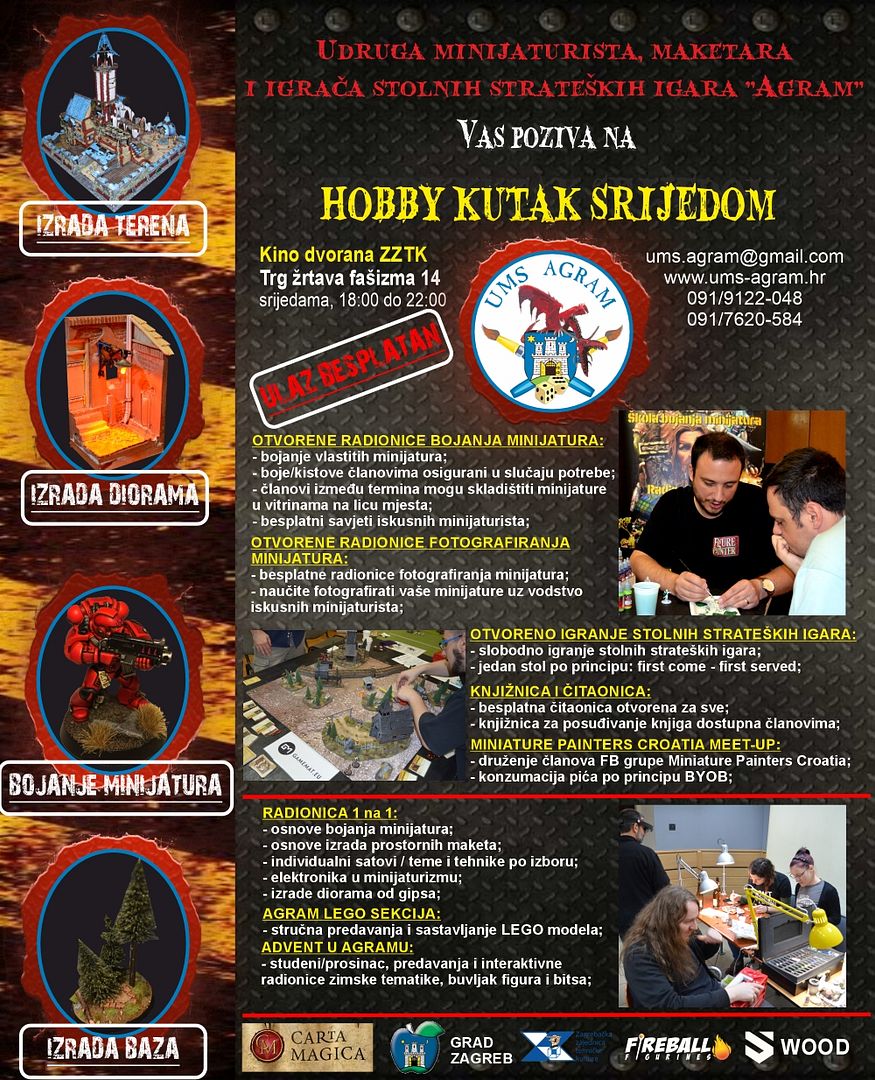
07.01.2026., objavio Krunoslav Belinić u Obavijestima iz radionicePozivamo vas na Hobby Kutak Srijedom!
Mjesto:
Kino dvorana ZZTK, Trg žrtava fašizma 14, Zgb
Termini:
Srijedama u 2026.
Vrijeme: 18:00 – 22:00
Hobby Kutak Srijedom je zamišljen kao suma besplatnih aktivnosti u prostoru kojeg koristi UMS „Agram“ u terminima srijedom navečer. Većina aktivnosti je otvorena za sve, uz neke pogodnosti za članove UMS „Agram“ poput skladištenja minijatura (koje farbaju u otvorenim radionicama bojanja minijatura) u vitrinama između termina ili pak posuđivanje knjiga iz naše bogate Knjižnice. Sve aktivnosti bit će dostupne u svakom od termina, osim Radionice fotografiranja koja će biti organizirana u jednom od termina – sa zasebnom najavom. Pa krenimo redom s popisom aktivnosti:
OTVORENE RADIONICE BOJANJA MINIJATURA:
- bojanje vlastitih minijatura;
- boje i kistove pruža Udruga u slučaju potrebe;
- članovi između termina mogu skladištiti minijature u vitrinama na licu mjesta;
- besplatni savjeti iskusnih minijaturista;
Najnoviji članci
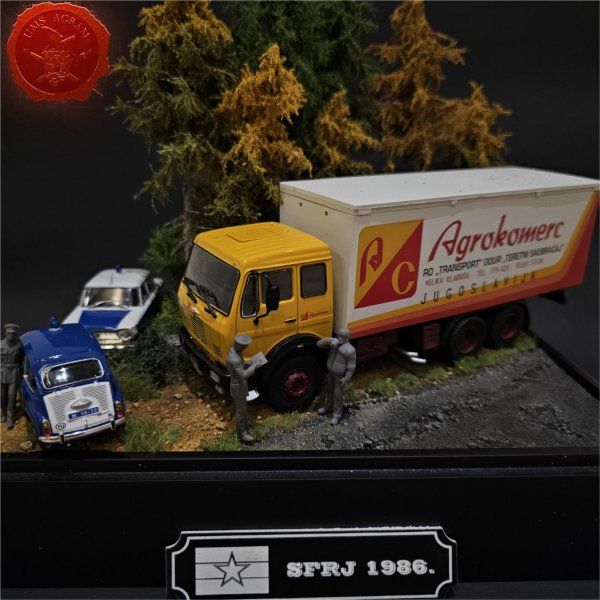
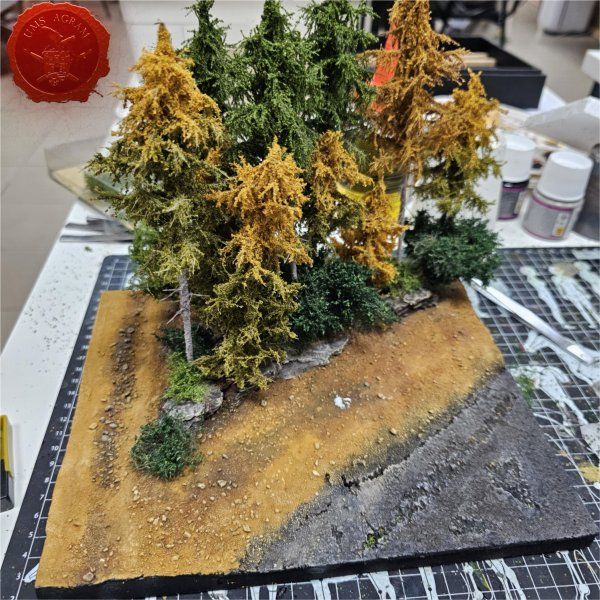
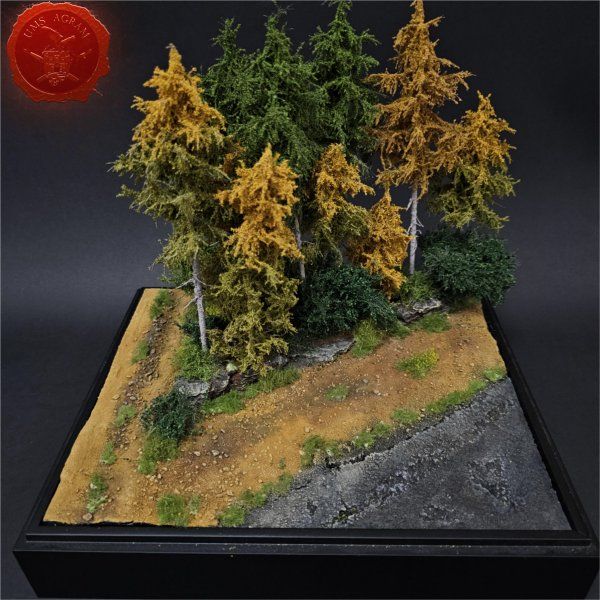
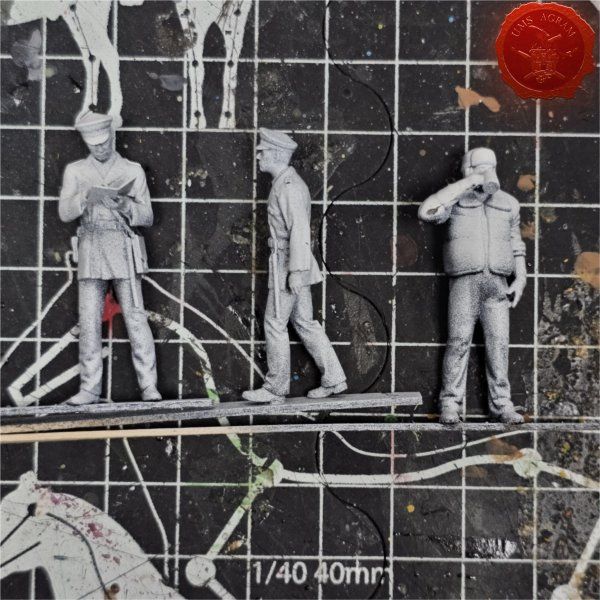
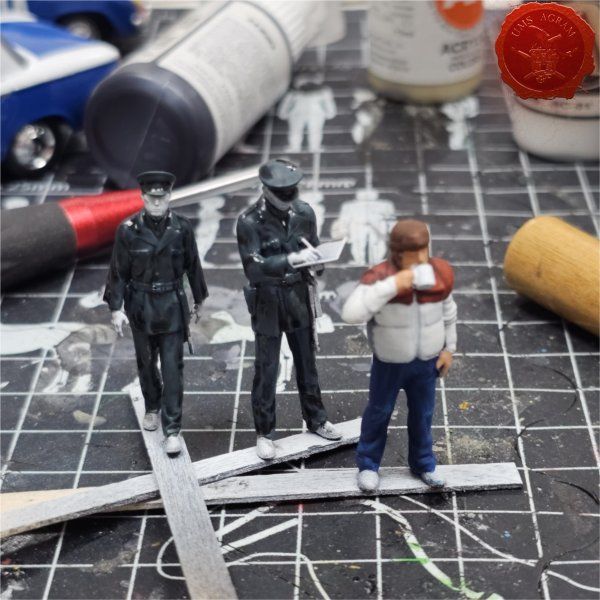
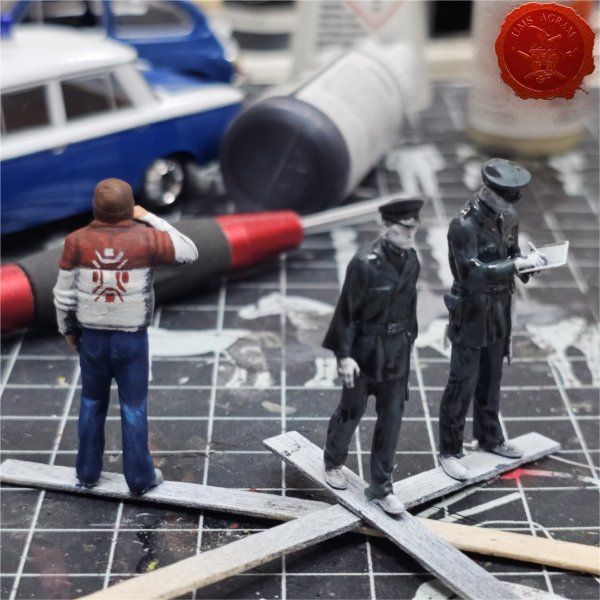
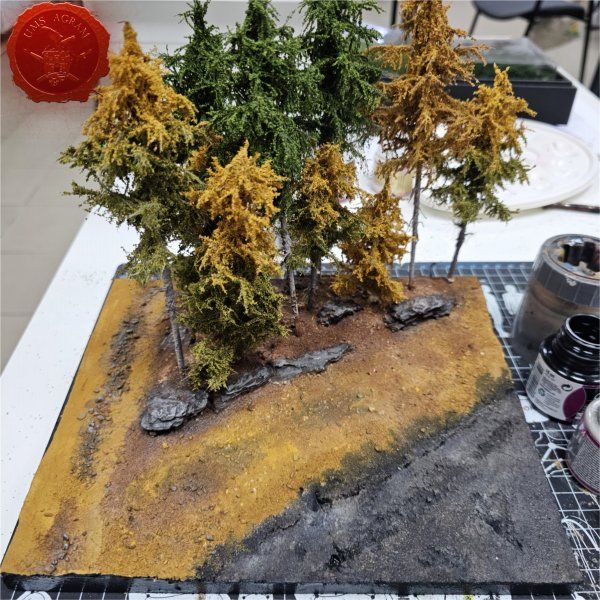
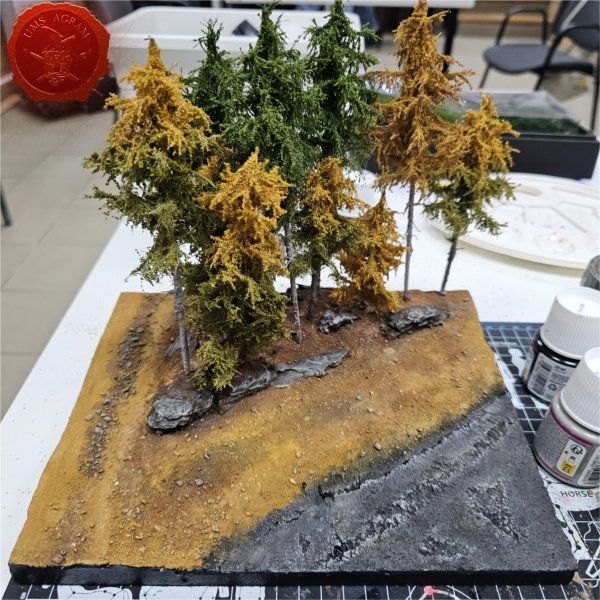
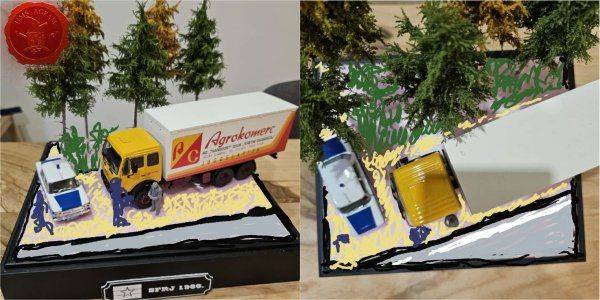
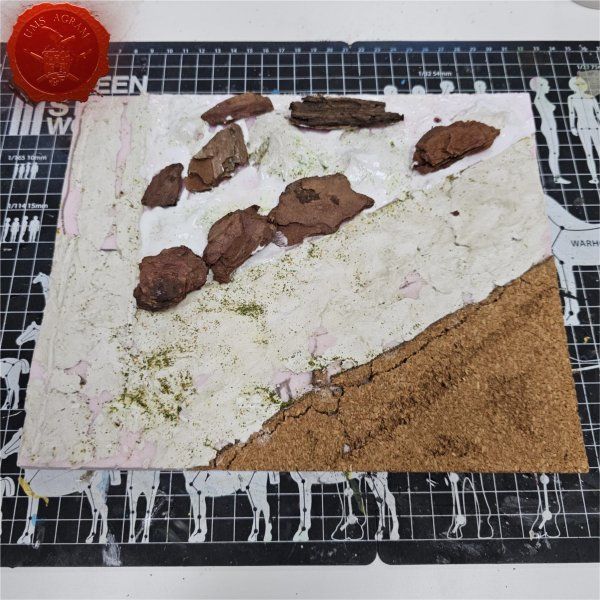
- Diorama SFRJ 1986 v2– dio 5 Marko Paunović, 19.01.2026.
- Diorama SFRJ 1986 v2– dio 4 Marko Paunović, 19.01.2026.
- Diorama SFRJ 1986 v2– dio 3 Marko Paunović, 19.01.2026.
- Diorama SFRJ 1986 v2– dio 2 Marko Paunović, 19.01.2026.
- Diorama SFRJ 1986 v2– dio 1 Marko Paunović, 19.01.2026.
Najnoviji izvještaji s bojišta
- Kill Team - Blooded vs. Vespid Stingwings 28.02.2025., GW - Warhammer 40.000, i Antoni Pastuović (Imperial Guard)
- Dark Angels protiv T'au Battlereport 22.04.2022., GW - Warhammer 40.000, Borna Pleše (Space Marines) i Kristijan Kliska (Tau Empire)
- Sisters of Battle protiv Ultramarines 17.11.2021., GW - Warhammer 40.000, i Nino Marasović (Space Marines)

