Najnovije obavijesti
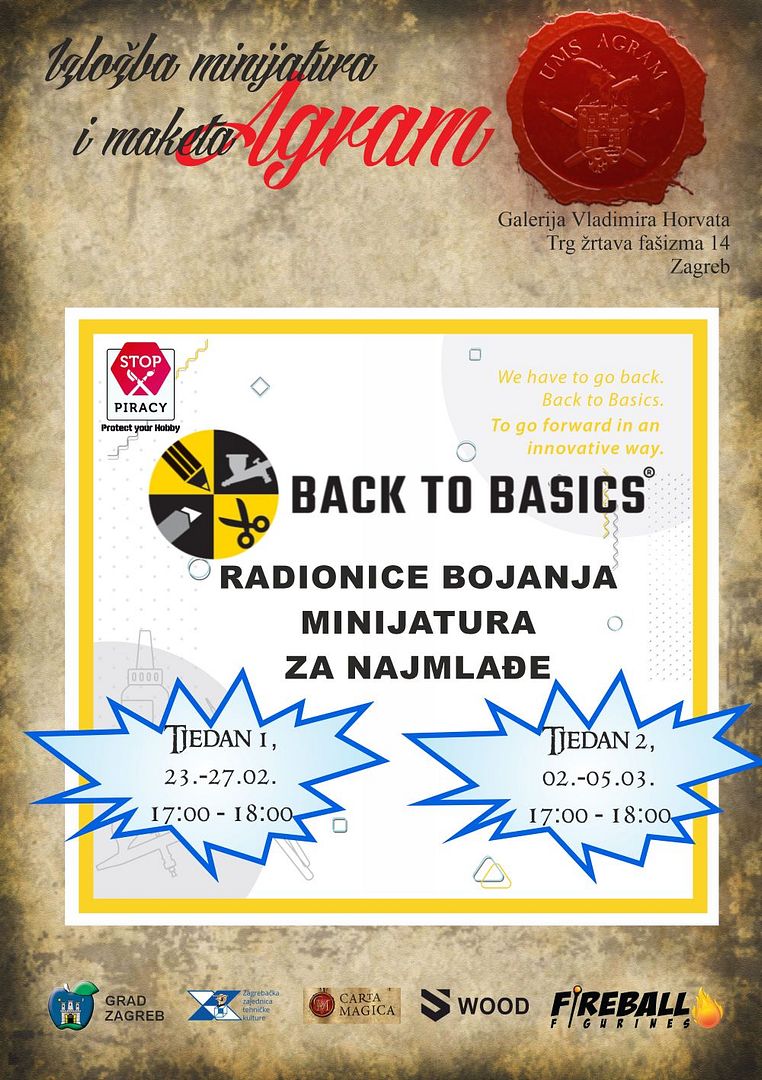
Back to Basics Radionice za najmlađe na Izložbi minijatura i maketa Agram 2026
17.02.2026., objavio Krunoslav Belinić u Obavijestima iz radioniceTijekom naše Izložbe minijatura i maketa Agram 2026 svakog radnog dana od 17:00 do 18:00 organizirat ćemo i Back to Basics radionice bojanja minijatura za najmlađe (8+).
ULAZ BESPLATAN!
Radionice (trajanja cca 1h ) su prigodne za najmlađe korisnike jer se samo koriste bazične tehnike, alati i materijali a omogućava lakši pristup minijaturizmu i maketarstvu fokusiranjem na zabavni proces izrade za razliku od uobičajenog inzistiranja na iščekivanje krajnjeg rezultata koji najče...
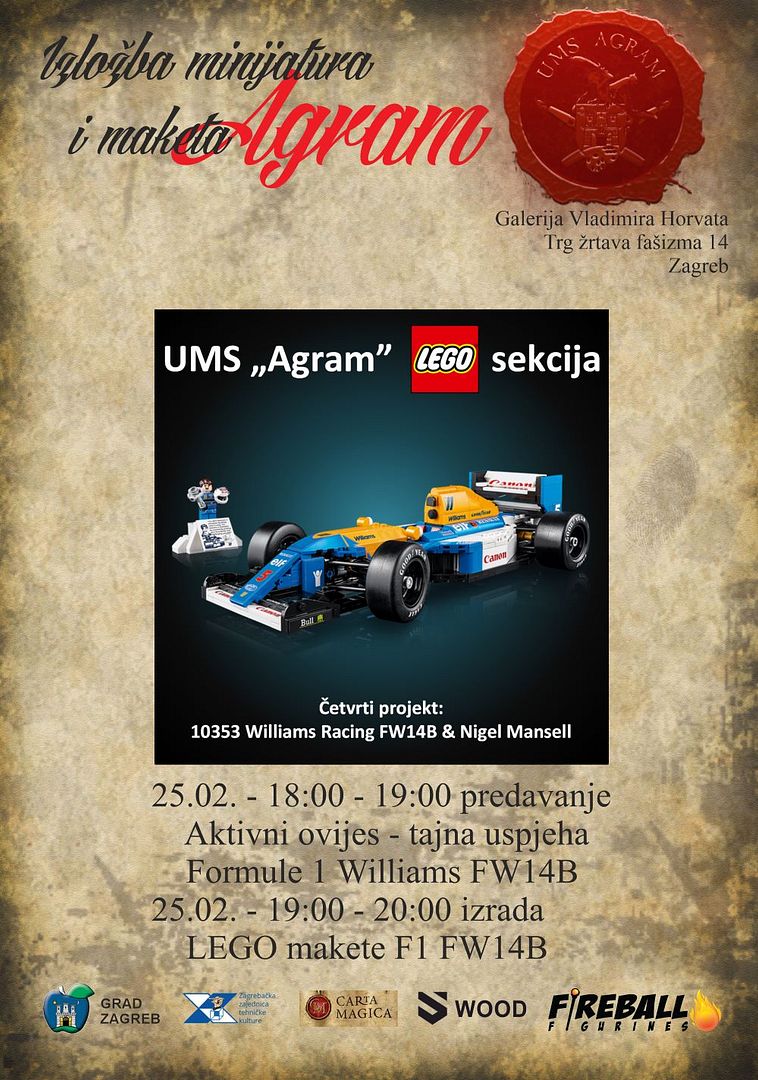
Pročitaj više o "Back to Basics Radionice za najmlađe na Izložbi minijatura i maketa Agram 2026"Agram Lego Sekcija - bolid Formule 1 Williams FW14B
17.02.2026., objavio Krunoslav Belinić u Obavijestima iz radionicePozivamo Vas na predavanje u sklopu naše Agram Lego Sekcije koje će se održati tijekom Izložbe minijatura i maketa Agram 2026!
Ulaz na predavanje je besplatan i otvoren za sve te prijave nisu potrebne.Izrada makete je rezervirana za članove Agram Lego Sekcije.
Ukoliko se želite uključiti u izgradnju, javite se za više informacija na ums.agram@gmail.com .
Predavanje počinje u srijedu 25.2.2026. u 18:00, a predviđeno trajanje predavanja je 45 minuta.
Tema: Formula 1 - WI...
Pročitaj više o "Agram Lego Sekcija - bolid Formule 1 Williams FW14B"Radionice i eventi na Black Queen H&MPC 2026
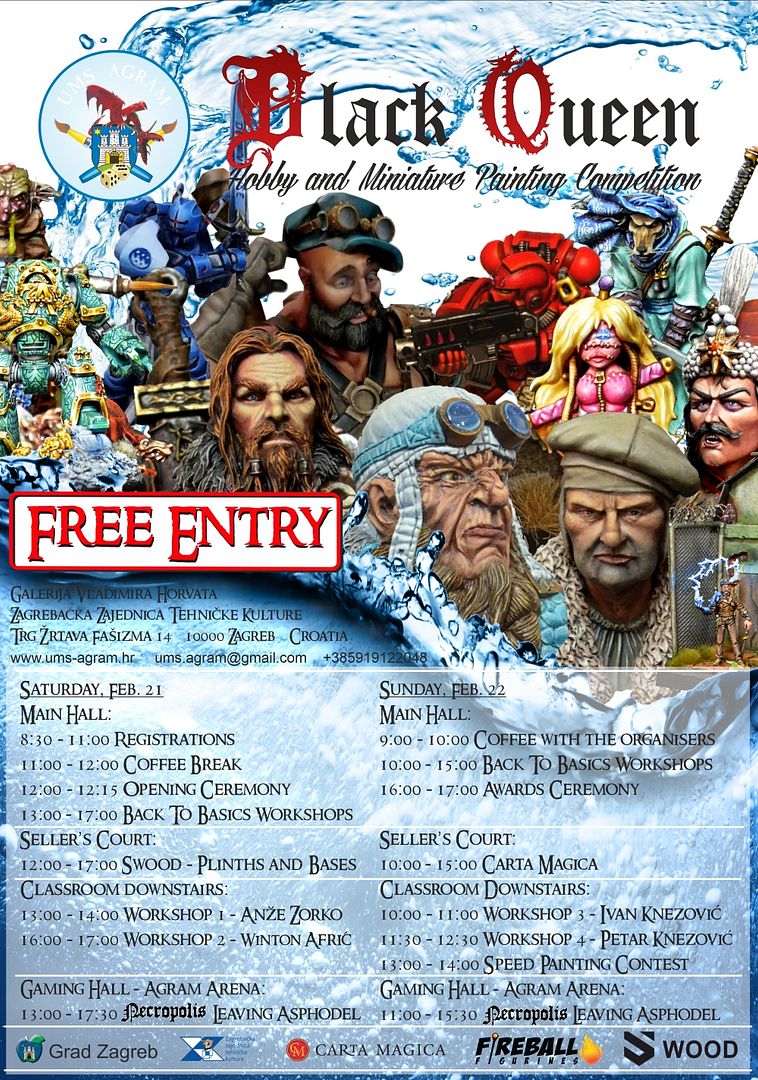
06.02.2026., objavio Marko Paunović u Obavijestima iz radionicePozivamo vas na radionice i evente koje ćemo organizirati tijekom Black Queen Hobby and Miniature Painting Competition 2026!
ULAZ BESPLATAN!
DEMONSTRACIJE / RADIONICE:
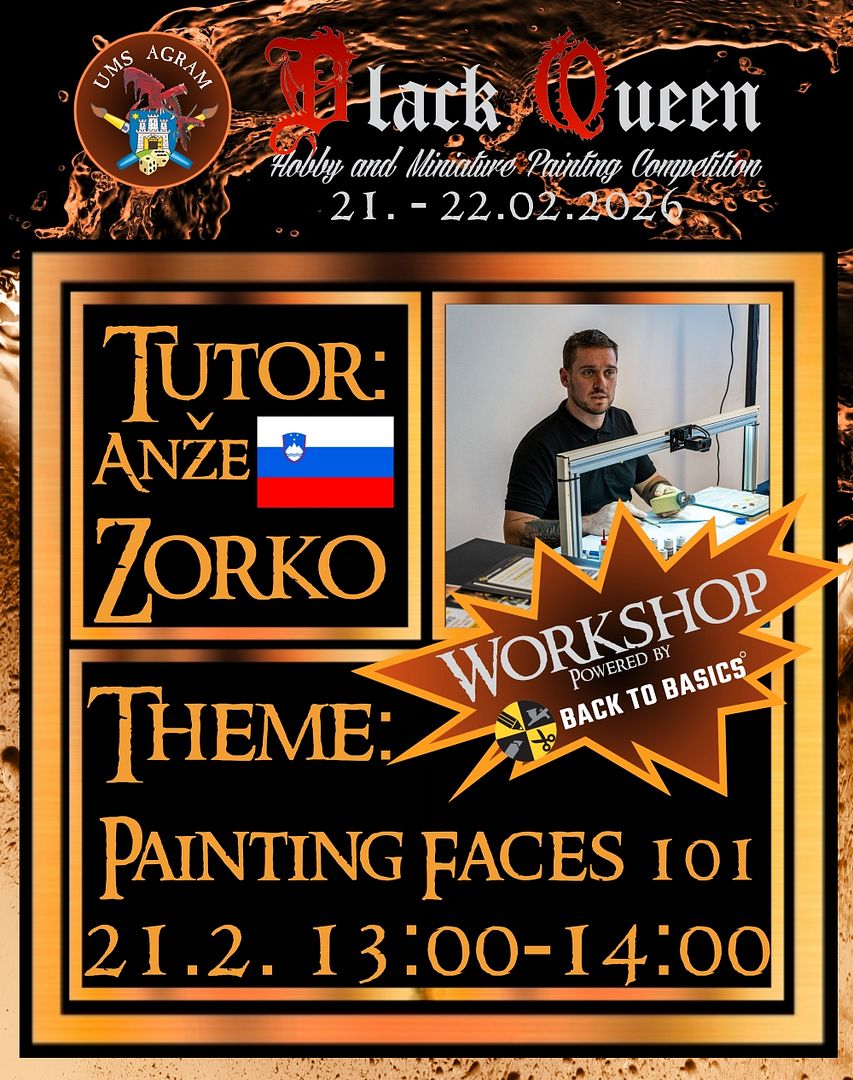
Uvod u bojanje lica
VRIJEME: Subota 21. veljače 2026., 13:00-14:00
PREDAVAČ: @Anže Zorko
SADRŽAJ: Anže će u svojoj radionici pokazati kako bojati lica koristeći i zračni kist, ali i standardne kistove. Tijekom prezentacije bojat će Back To Basics bistu vatrogasca modernog doba.
JEZIK: Sl...
Pročitaj više o "Radionice i eventi na Black Queen H&MPC 2026"Najnoviji članci
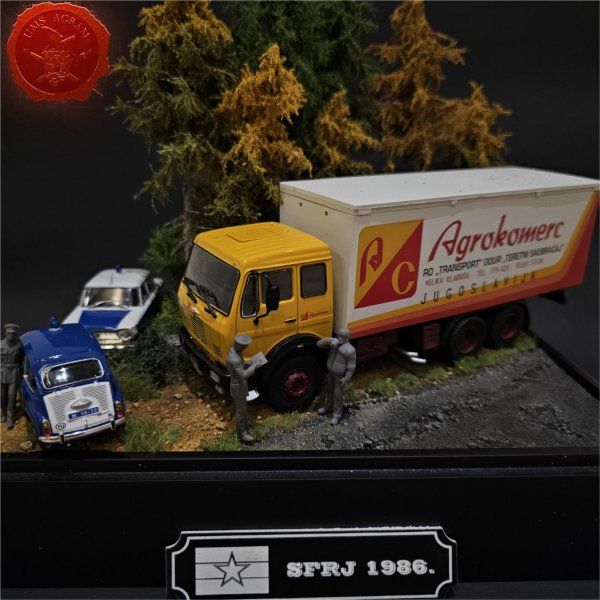
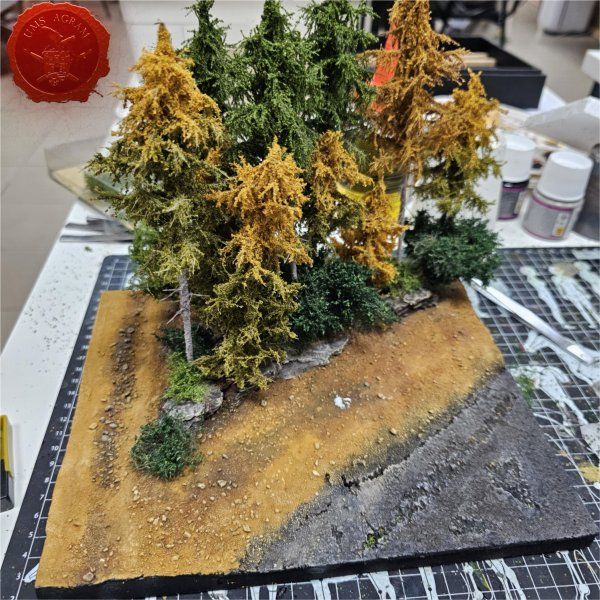
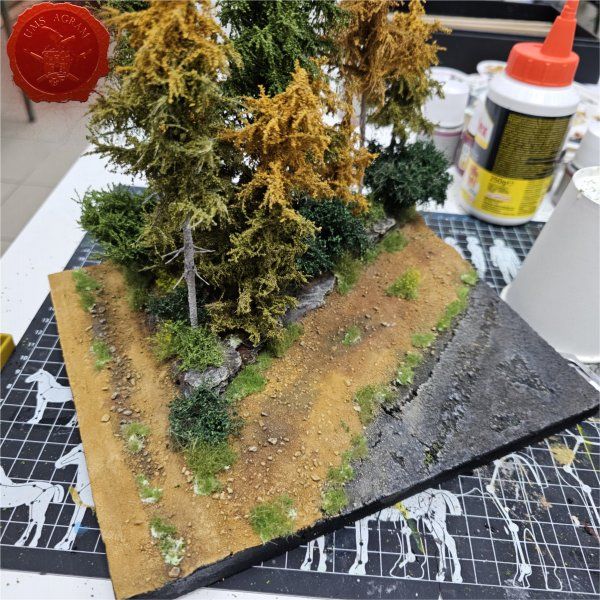
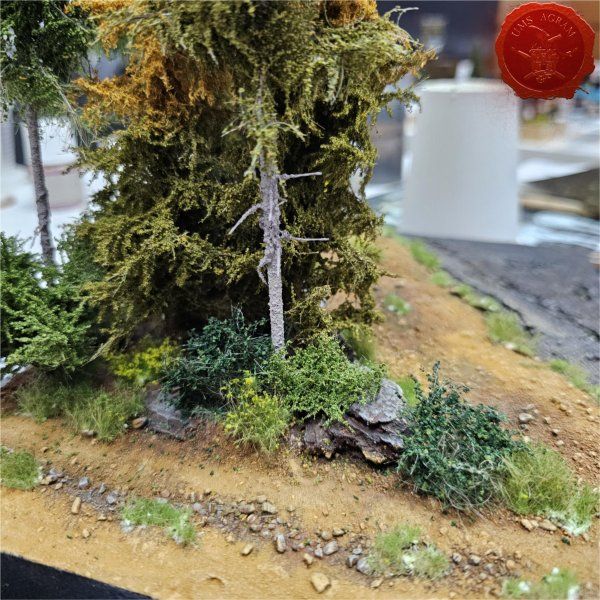
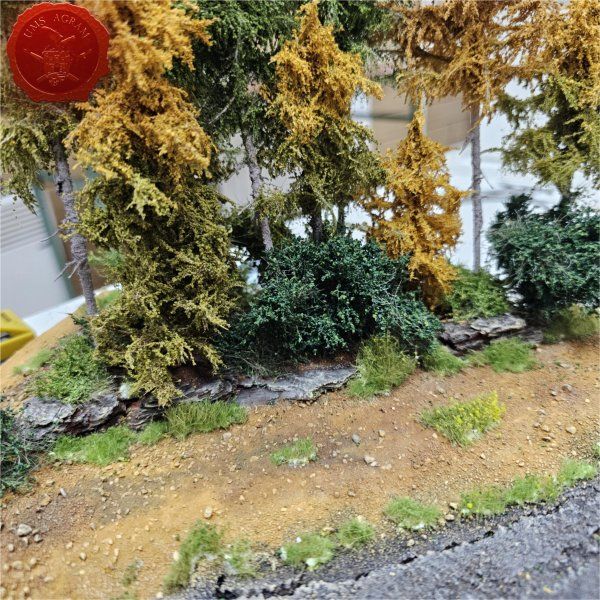
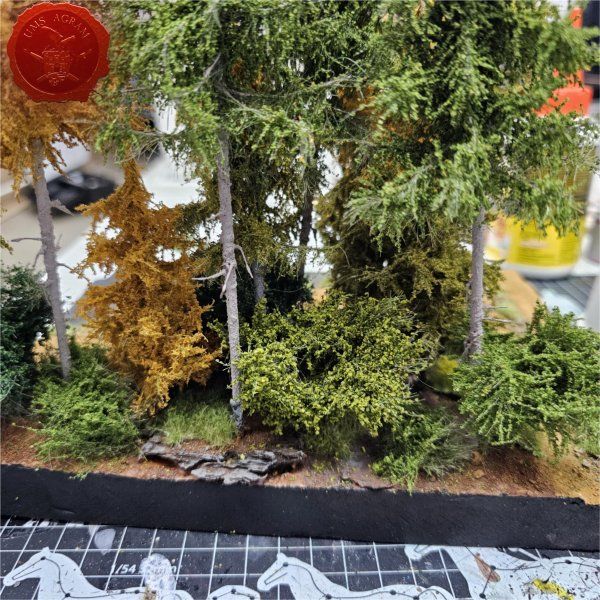
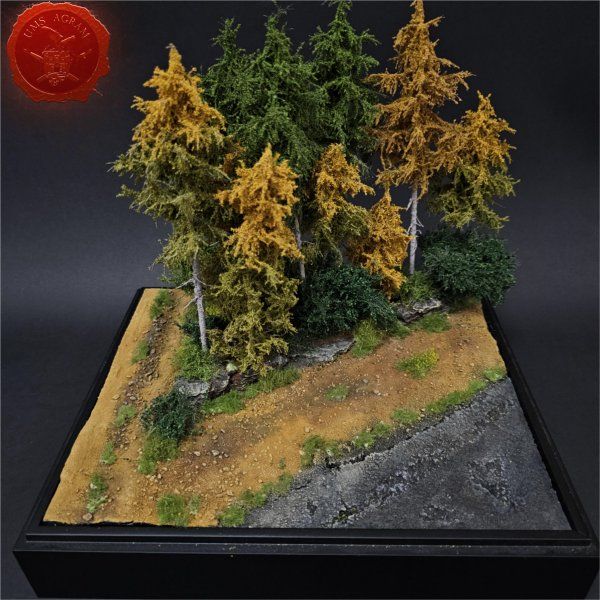
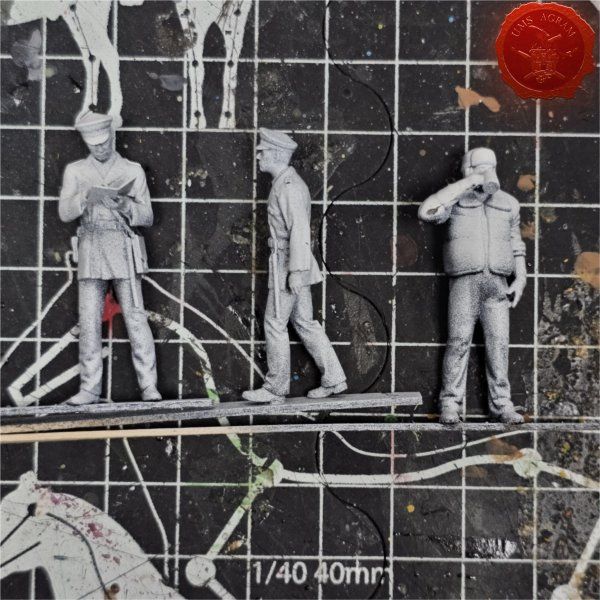
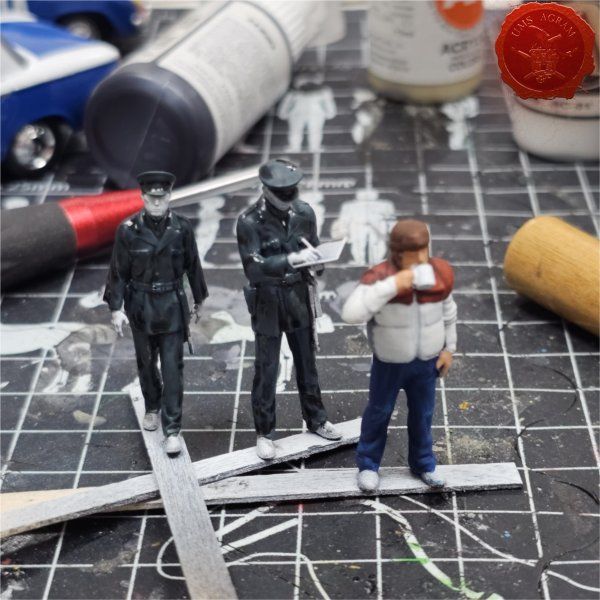
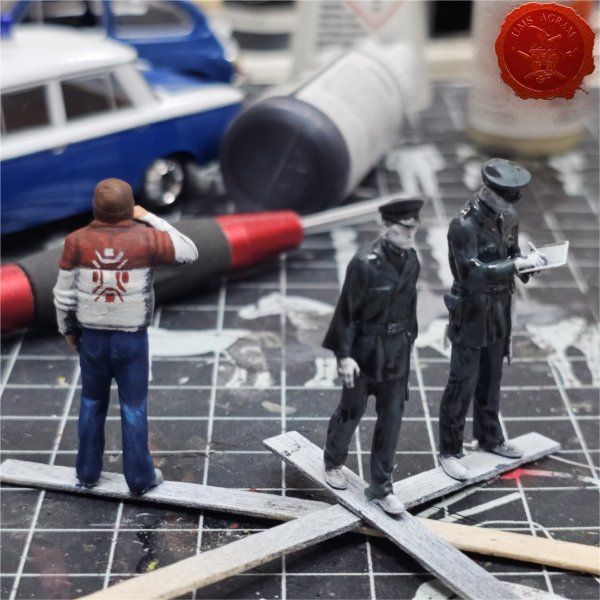
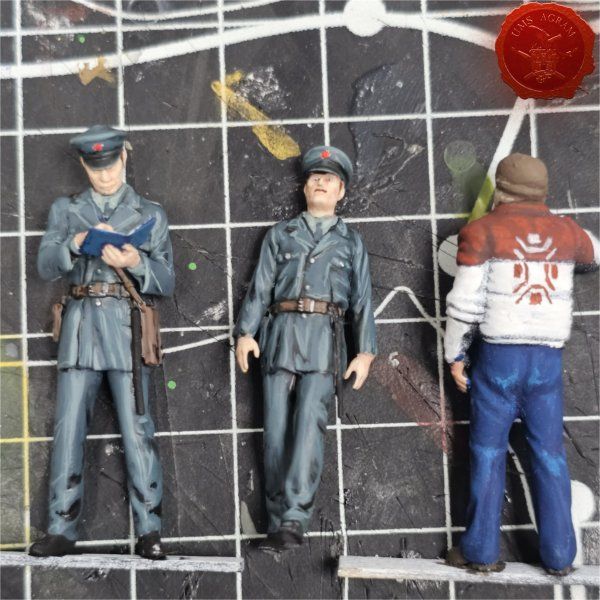
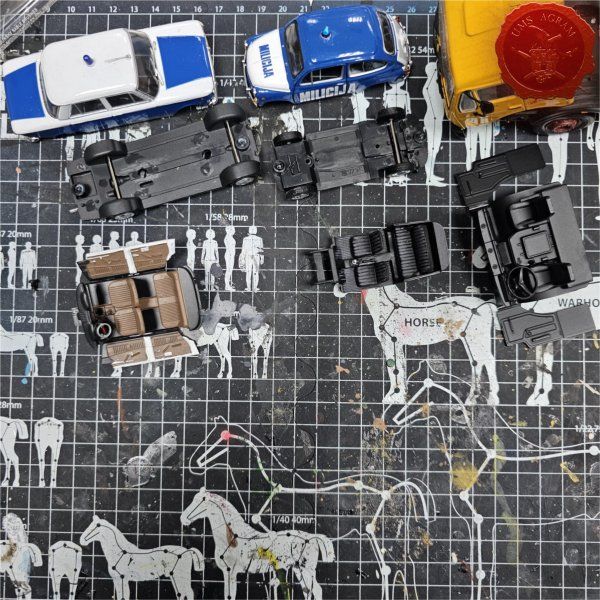
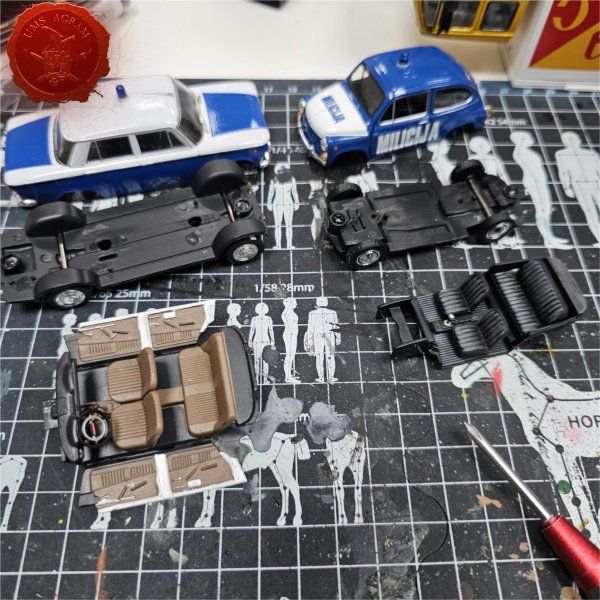
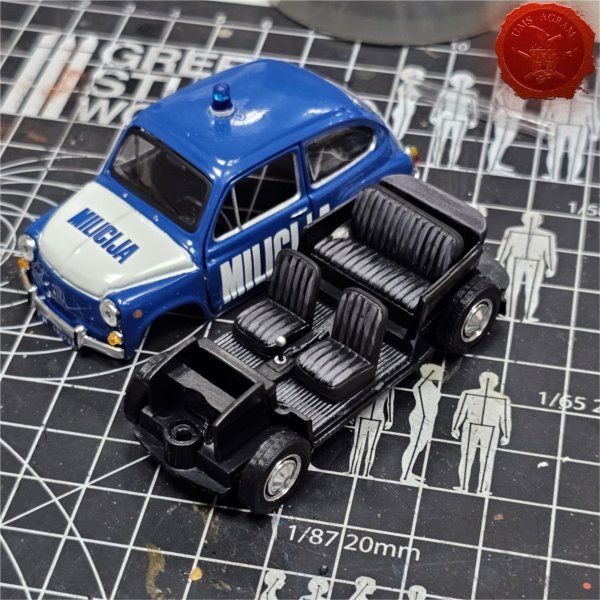
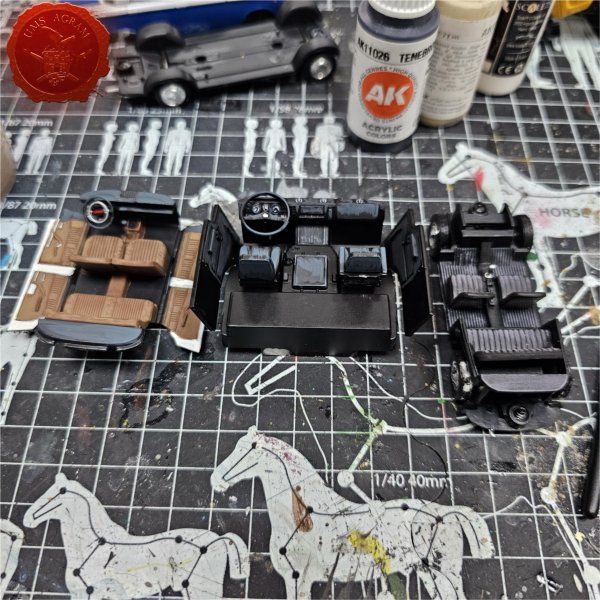
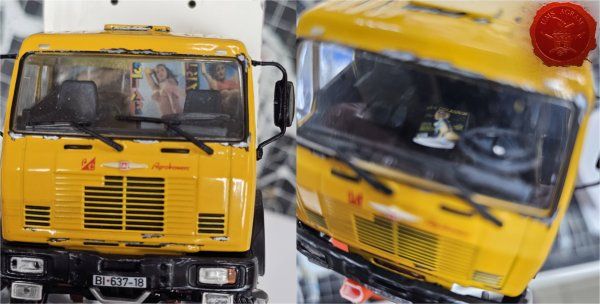
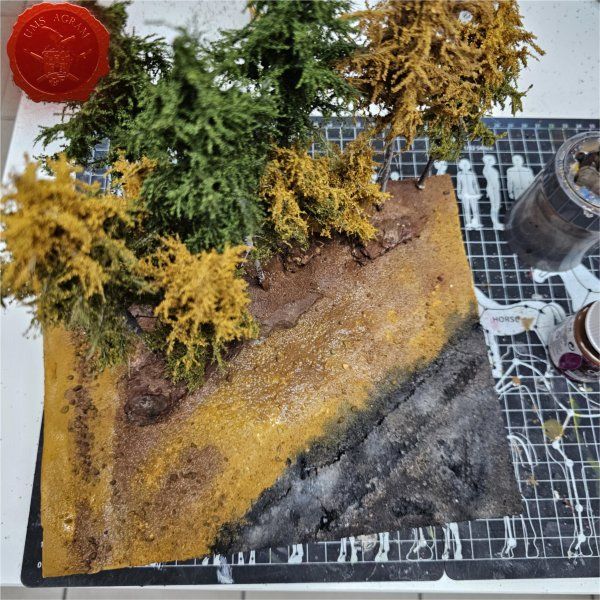
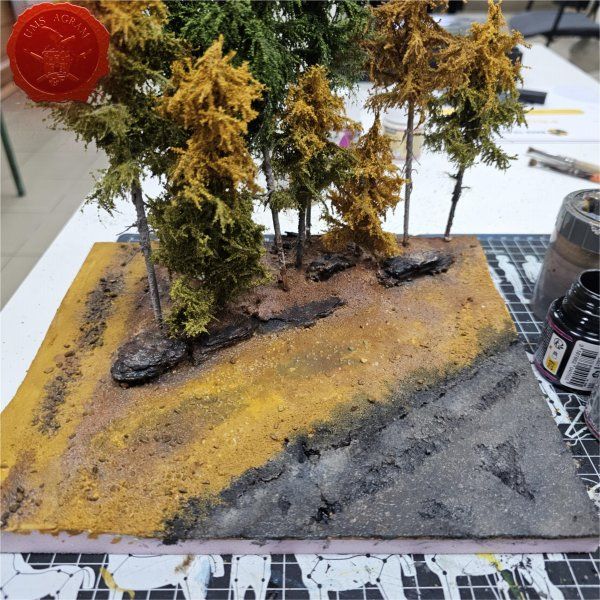
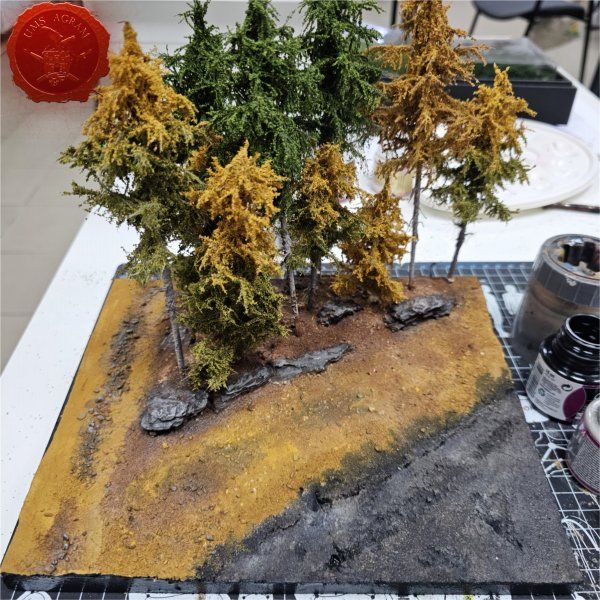
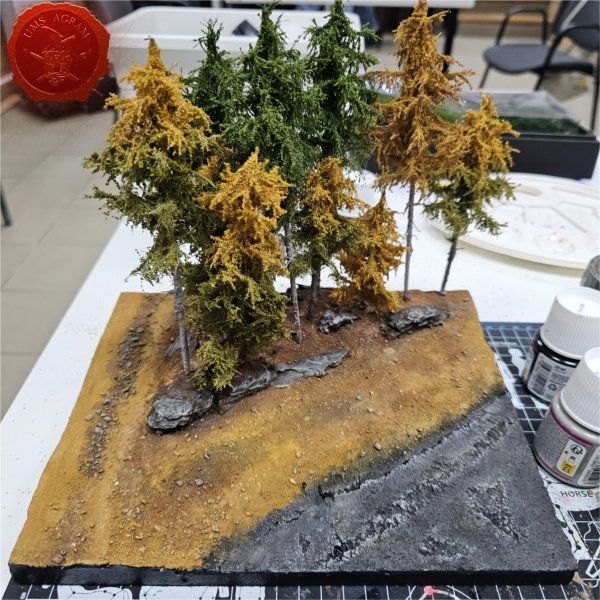
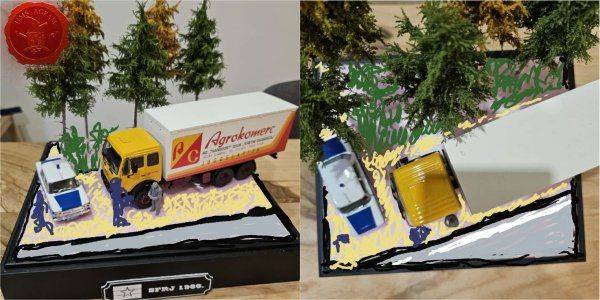
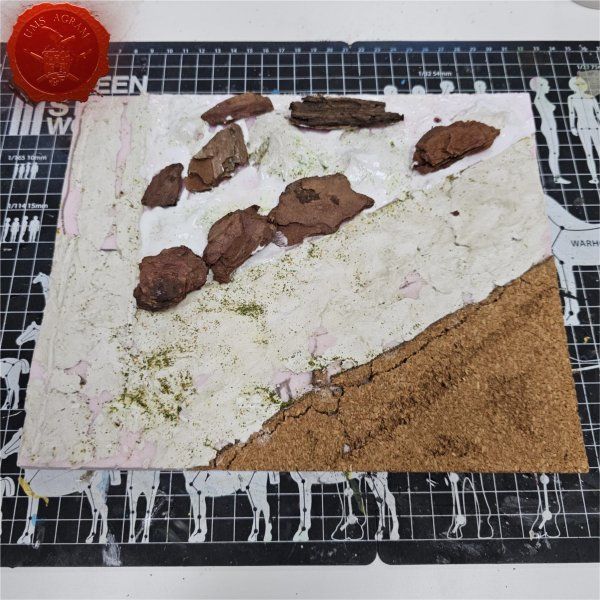
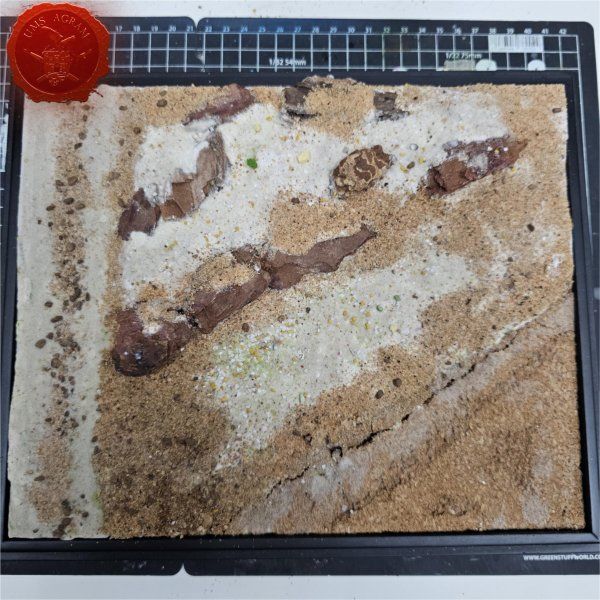
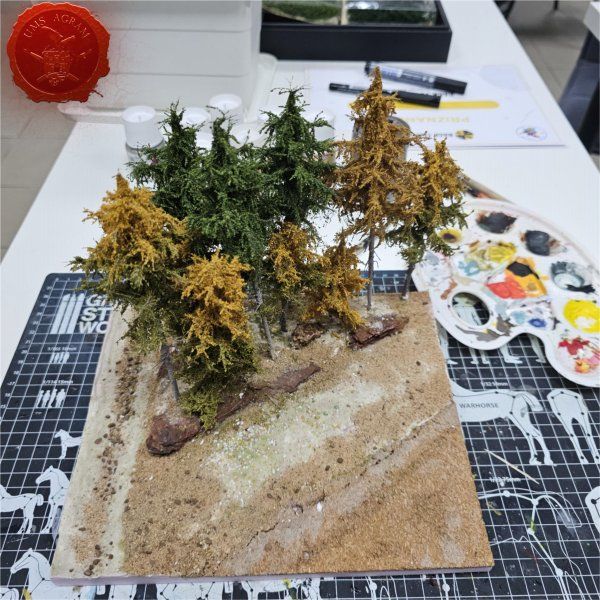
- Diorama SFRJ 1986 v2– dio 5 Marko Paunović, 19.01.2026.
- Diorama SFRJ 1986 v2– dio 4 Marko Paunović, 19.01.2026.
- Diorama SFRJ 1986 v2– dio 3 Marko Paunović, 19.01.2026.
- Diorama SFRJ 1986 v2– dio 2 Marko Paunović, 19.01.2026.
- Diorama SFRJ 1986 v2– dio 1 Marko Paunović, 19.01.2026.
Najnoviji izvještaji s bojišta
- Kill Team - Blooded vs. Vespid Stingwings 28.02.2025., GW - Warhammer 40.000, i Antoni Pastuović (Imperial Guard)
- Dark Angels protiv T'au Battlereport 22.04.2022., GW - Warhammer 40.000, Borna Pleše (Space Marines) i Kristijan Kliska (Tau Empire)
- Sisters of Battle protiv Ultramarines 17.11.2021., GW - Warhammer 40.000, i Nino Marasović (Space Marines)
Tko smo?
Minijaturisti, maketari, igrači, veliki i mali ljudi koji koji gaje posebnu ljubav za minijaturne figurice i stolno-strateške igre. Na ovim stranicama možete pročitati nešto više o našim aktivnostima, upoznati se s aktualnim igrama u udruzi i našim članovima, te pogledati kako to izgleda kad se veselo društvo prihvati minijatura!
POMOGNITE RADU UDRUGE!
U znak zahvale za Vaše donacije, uz određene iznose dobivate i jednu ili više naših publikacija. Za više informacija obratite nam se na ums.agram@gmail.com.
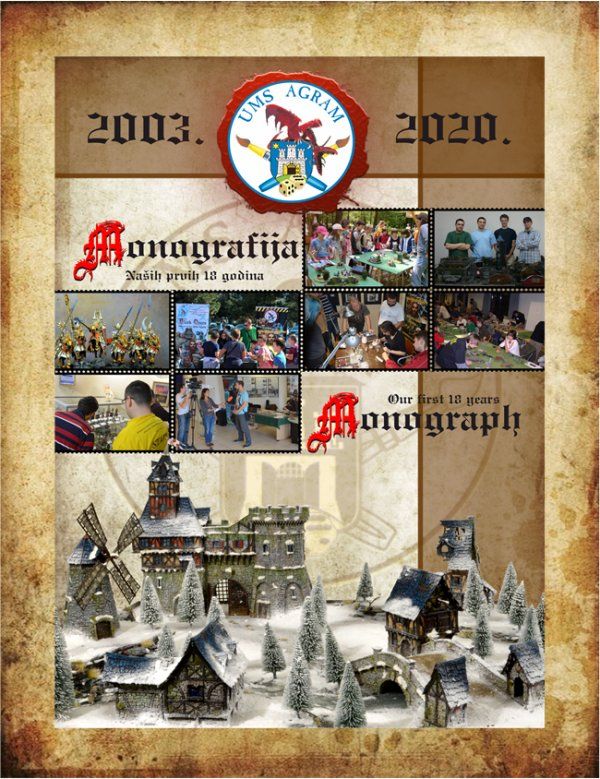
Uz donaciju od 20,00€ dobivate Monografiju - Naših prvih 18 godina.
Uz donaciju od 25,00€ dobivate jednu od:
- Bojanje minijatura za početnike, II izdanje
ILI
- Minijaturizam u doba Corone
ILI
- Minijaturizam u doba nakon Corone
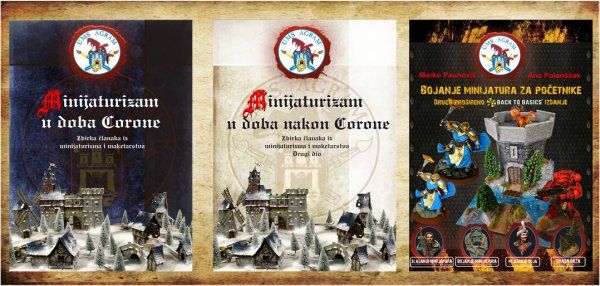
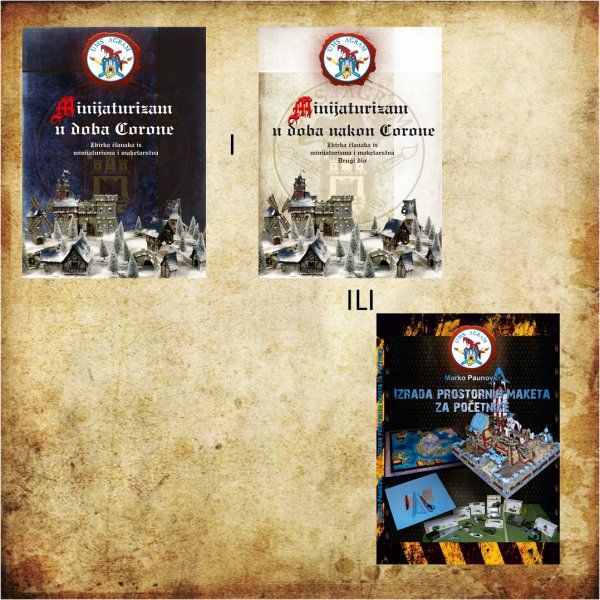
Uz donaciju od 40,00€ dobivate:
- Izrada prostornih maketa za početnike
ILI
- Minijaturizam u doba Corone
I
- Minijaturizam u doba nakon Corone
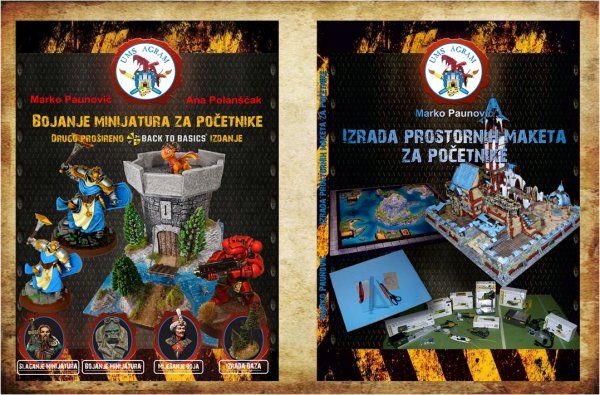
Uz donaciju od 60,00€ dobivate:
- Izrada prostornih maketa za početnike
I
- Bojanje minijatura za početnike, II izdanje
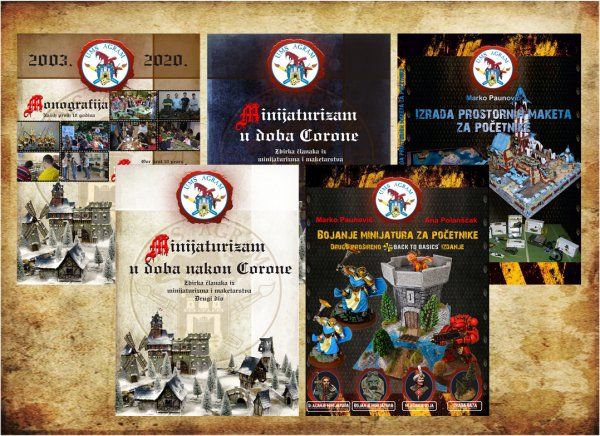
Uz donaciju od 100,00€ i više dobivate:
SVIH PET NAŠIH KNJIGA!

